There is a fizzle of excitement in the air. The boxes of decorations in the attic are waking from their hibernation, the lists are itching to be made and the dodgy old seasonal playlist is at the ready. We are in the countdown. Christmas is on its way.
I say on its way but I’ve already held two of my Christmas cooking demo’s, the last one is a week away. These are always such fun with a valuable exchange of Christmas top tips and ideas from the assembled along with all my suggestions of things to cook, presents to give, goods for your hampers and general festive chit chat.
I make no secret of my love for this build up. Dare I say it, the anticipation and weeks before the big Ho Ho Ho are often the most fun. Don’t get me wrong, I am no bah humbug and love Christmas Day itself, the excuse for a cocktail early in the day, the possibility of a new cook book, paper hats at a rakish tilt and all the bonhomie that comes from being with loved ones (and possibly from that 11am cocktail).
So back to the anticipation which goes hand in hand with the list making and wrapping. First on the list are the spiced cherries in bacon which need to be soaked. Possibly the craziest canapé recipe you will ever come across but surely one of the easiest and most delicious. You will find it along with other get ahead tips in my November 2013 post. The longer the cherries languish in their Worcester sauce bath the better.
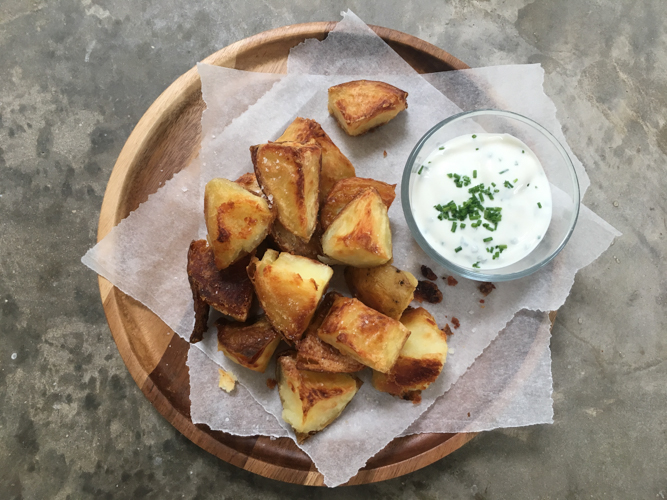
Secondly get those roast potatoes for the big day by getting them in the freezer now. You’ll find details in the 2013 post mentioned above but essentially parboil them, give ’em a good shake and flat freeze before tumbling into a bag or tub for storage in the freezer. On the day put them into a pan with hot oil and roast as usual. This saves peeling a mountain of potatoes on Christmas Eve and then finding somewhere to put them, followed by boiling a vat of water the next day so your mascara clumps as you lean into the steam to check them. Win win.
Christmas Biscotti, which I made a ton of last year for Christmas hampers (54 since you ask) is another treat to get under your belt (literally as well as figuratively). It lasts for ages, tastes delicious and is an absolute winner to give as a present, tied with a little red and white bow.
I would also recommend whipping up some Gougeres (November 2016) – little light and airy balls of cheesy fabulousness that I couldn’t countenance Christmas Eve evening without. Easy to make, just a little heating and mixing and no reason to get out your piping bag unless you enjoy that sort of thing, two teaspoons will suffice. These are another perfect canapé which freeze and reheat like a dream.
I won’t repeat all my other get ahead tips here as they are easily found on these pages but what I will reiterate is the calm, happiness and relief I feel knowing I have done as much as possible before Christmas really starts (ie a freezer and larder full of goodies to tuck into). A couple of times when we have been a smaller gathering I haven’t thought it necessary to do so much ahead of time. Believe me, it was and I won’t slip up again. Never underestimate how many other things you would rather do on Christmas day than roll out pastry for some sausage rolls…..
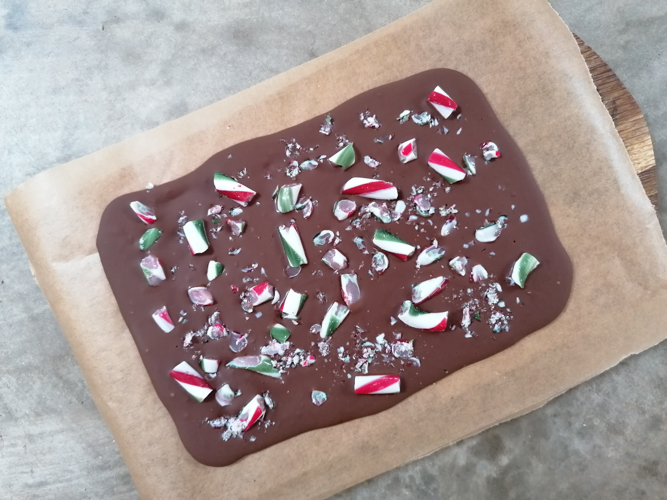
This is a proper little treat that couldn’t be more Christmassy. As a child the only candy canes I saw were those in the book Eloise at Christmas, I thought they were glorious and envied all our American cousins whom I imagined nibbling candy canes throughout the holidays. Easily available here, they always shout Christmas loud and clear and this is my favourite way to eat them. Although if this bark appeals you could always try my Chocolate Peppermint tart (December 2014), just saying….
Chocolate and candy cane bark
Ok so you can make as much or as little as you like. The amounts below make a bar roughly 12x18cm which is just right for giving as a present or bringing out after dinner. Children obviously love making, and giving (and eating) this. You can even leave the layer of chocolate to set unadorned then top it with a layer of white chocolate before adding the candy canes.
100g dark (but not too dark or bitter) chocolate
1/2 teaspoon vegetable oil
Pinch of salt
2-3 candy canes broken into small pieces but not total dust
Melt the chocolate along with the oil and salt in a bowl over a pan of hot water. When melted pour onto a piece of baking parchment (I find it easiest if this is on a small board) and spread to about half a centimetre then sprinkle over the candy canes. Leave in the fridge to set then tuck in.
The picture you see above was some bark I made for guests at one of my demos – I barely had time to take the photograph before it disappeared.