Pulled Pork

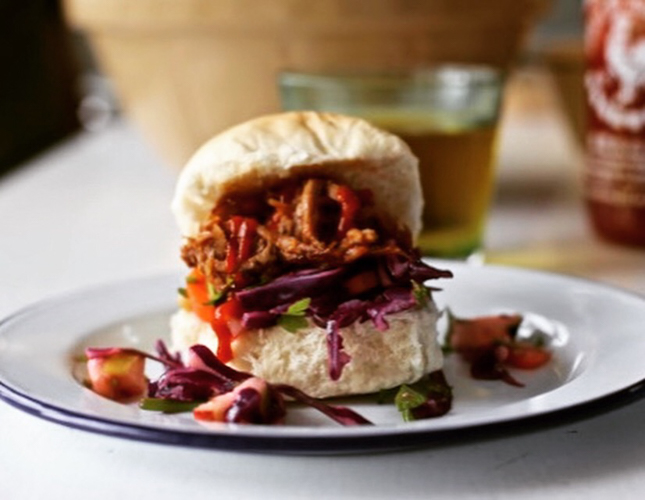
I can’t count how many times I have cooked this – any time of year it seems perfect, particularly when we have a load of friends round.  Very little hands on time, works a dream if you make it ahead of time and is an unbelievably economic way to feed a crowd. Did I forget to mention that it is also downright delicious.   Super tender, long cooked soft pork bathed in a sweet, spicy and tangy barbecue sauce stuffed in a soft bap with my crunchy, zippy fresh Christmas salad, topped with quick pickled onions and hot sauce.  Seriously, what is not to love.

I have made this with a whole shoulder and it made a huge amount, more than enough for 20 with extra for the freezer (a super useful number to have stashed away and it reheats a treat).  I tend to make this more often then with half a shoulder, rather easier to marinade and manoeuvre – last weekend one did 8 children and 6 adults with seconds.  I cooked it fully on Friday, shredded it (easier whilst warm) mixed it with the sauce and then reheated it in the oven on Saturday.  Too easy for words.

The Christmas salad (December 2013) despite its name is also a year round winner, crunchy and tangy, it works so well with the pork, they complement each perfectly.  Quick pickled onions (August 2014) bring a sweet/sour tang to the party and I couldn’t countenance my assembly without a good squirt of sriracha on top.

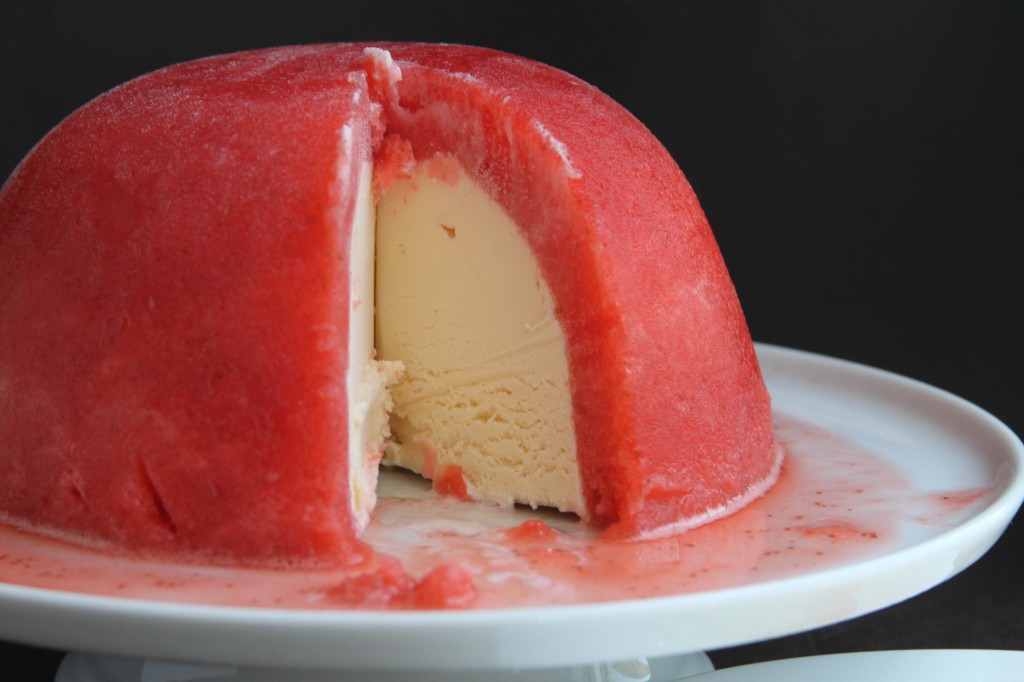
For pudding last weekend I made my son’s favourite, the Giant Strawberry Mivvi (June 2014), see the picture below.  This is a summer treat we look forward to all year and as it needs to be made ahead is another good one for entertaining.

Pulled Pork

1 heaped tablespoon paprika

1 heaped teaspoon smoked paprika

2 teaspoons fine salt

1 heaped teaspoon cumin

1/2 teaspoon cayenne

2 tablespoons soft brown sugar

20 turns of the black pepper mill

Shoulder of pork, around 5/6lbs

50ml cider (or white wine) vinegar

1 bottle good barbecue sauce

Mix the first 7 ingredients together in a bowl then rub into all sides of the pork.  Wrap tightly in cling film and leave in the fridge for at least 4 hours or up to overnight.  When you are ready to cook, preheat the oven to 200 and let the pork come to room temperature.  Put into a baking pan not much bigger than the pork, put the 50ml vinegar and 50ml water in the bottom of the pan (don’t pour it over the pork or it will wash off some of the spices) and cover with foil. Put in the hot oven and immediately turn it down to 160 and cook for 6-7 hours until the meat falls apart when prodded with a fork.   Pour all the cooking liquid into a pan, skim off the fat, pour in the barbecue sauce and simmer gently for 20 minutes until slightly thickened.  Meanwhile remove and discard the layer of fat from the pork, shred the meat and return to the baking pan.  When the sauce is ready pour it over the pork, mix well and serve.
Spring Lemon Cake

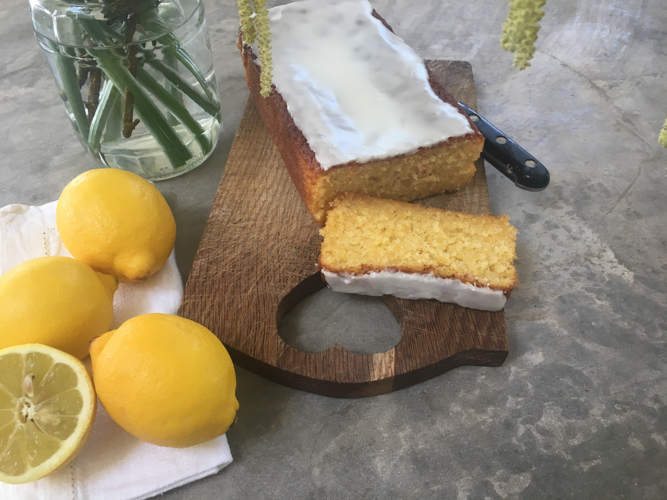
I can’t tell you how many lemons have been squeezed and cakes made here in the name of research.  Lemon drizzles, lemon curds, lemon polentas and of course there is the layered beauty that features here in Lemon Cake and the 1970’s (May 2013) and often graces our table as our Easter Cake*.

I’m happy to eat a lemon based cake any day of the year but in Spring it seems even more appropriate.  That bright yellow zip and zest works perfectly when there is still a nip in the air but green shoots are on show and the hope of sunny days feels well founded.  This then is a cake for teatime, picnics or rainy days, trips to the beach, eating outside or in front of the fire and, of course, for all those school bake sales.

This modest looking little loaf cake has been tried and tested in many incarnations and this  is my favourite.  It couldn’t be easier, is very quick and a doddle if you have children who want to make a cake.  If you don’t have any lemon curd don’t worry it will still be delicious but it’s worth having a jar of good curd in the fridge for such occasions.  You can stick with a crunchy sugar and lemon drizzle if you prefer but this lemony icing is our perfect topping.  Finally, whilst I am a huge fan of butter, it has become quite expensive and Stork or similar works brilliantly here – if its good enough for Mary Berry, its certainly good enough for me!

Spring Lemon Cake

160g butter or Stork (see introduction)

120g caster sugar

Good pinch of salt

2 large eggs

140g self raising flour

1/2 teaspoon baking powder

Zest of one large unwaxed lemon

2 tablespoons milk

2 tablespoons lemon curd (see introduction)

150g icing sugar

Juice of 1/2 – 1 lemon

Preheat the oven to 180 and line a loaf tin.  Cream the butter or Stork and sugar together until light and fluffy, I use a stand mixer for this but a wooden spoon and bowl work a treat too.  Add the eggs one at a time with a spoonful of flour until well incorporated and then add the remaining flour, salt, baking powder, zest and milk.  Finally swirl in the lemon curd leaving a few streaks.  Put the mix into the lined tin and bake for 40 minutes.  Check after 30 and cover with foil if its brown on top before a skewer comes out clean.  Whilst the cake is cooling, mix the icing sugar and lemon juice (add the juice slowly as you may not need it all) and then pour over the top of the cake.  Leave to set and then tuck in.


*Whilst I know a Simnel Cake is the usual Easter offering and I love it, none of my immediate family like fruit cake (also my daughter is allergic to nuts).  Besides, we all know what happens to a cake when only one person likes it……

Olive, thyme and chilli soda bread

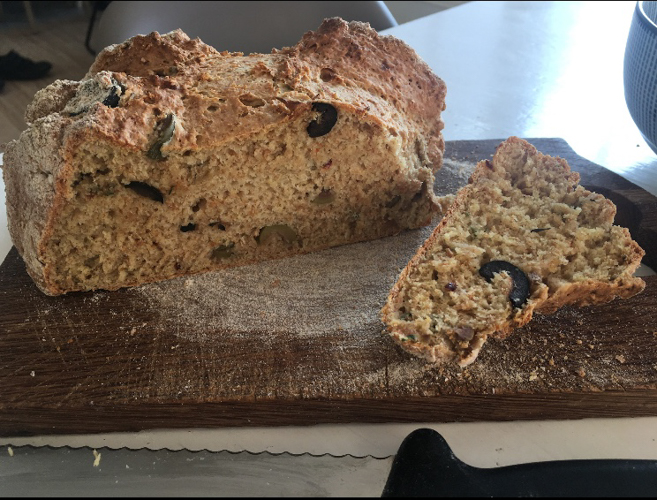
I made this recently to put out before lunch when friends came over and it was gone in minutes.  Served with a garlicky courgette dip it was just the ticket with some pre lunch drinks and kept the children more than happy.  As luck would have it this takes minutes to make and as such is something I regularly turn to.  Although I love making all kinds of bread and make a loaf of white or sourdough weekly, this is a great one to have up your sleeve when the clock is ticking and there is no time for proving and rising.

Whilst I might not have buttermilk in the fridge at all times, I always have yogurt to hand.  This, let down with a bit of milk, works a treat in place of buttermilk and means a loaf of this moreish bread is never more than about half an hour away.   My daughter adores olives and chilli so can polish off half of this loaf without thinking and it takes the sting out of the veggie soup or salad that often accompanies it.

Essentially a riff on my seedy soda bread, April 2013, I add some punchy flavours to this one.  The chilli is up to you but I think it works a treat with the olives and thyme.  There is a thyme plant outside the kitchen that manages to soldier on whatever the weather so along with some store cupboard olives this one is always a contender for lunch or supper.   Or serve as I did at the weekend with a dip, a herby labneh perhaps or hummus and you will have happy faces all round.

Olive, thyme and chilli soda bread

I make this with a mix of wholemeal and regular white flour but you can go with all white if you prefer or if that is what you have.  Buttermilk sometimes comes in 284ml tubs for some reason so just make this up to 300ml with milk.  If you are using yogurt, use 200ml and make it up to 300ml with milk.

150g wholemeal flour, plus a bit extra

150g plain flour

1 teaspoon fine salt

1 teaspoon bicarbonate of soda

2 teaspoons soft brown sugar

300ml tub buttermilk (or yogurt, see introduction)

50g olives, I like a mix of green and black, chopped up a bit

1 teaspoon thyme, leaves only

1/2 teaspoon chilli (omit this if you like)

Preheat the oven to 200.  Put the flours, salt, bicarb, sugar, olives, thyme and chilli in a large bowl and mix.  Add the buttermilk and give it a good mix together.  Sprinkle some wholemeal flour on a baking sheet, make the dough into a ball, put on the tin, sprinkle a little more flour over and cut a cross in the top with a sharp knife.  Bake for 30-35 minutes until crusty, golden brown and sounds hollow when you tap the bottom.


Spicy Seeds

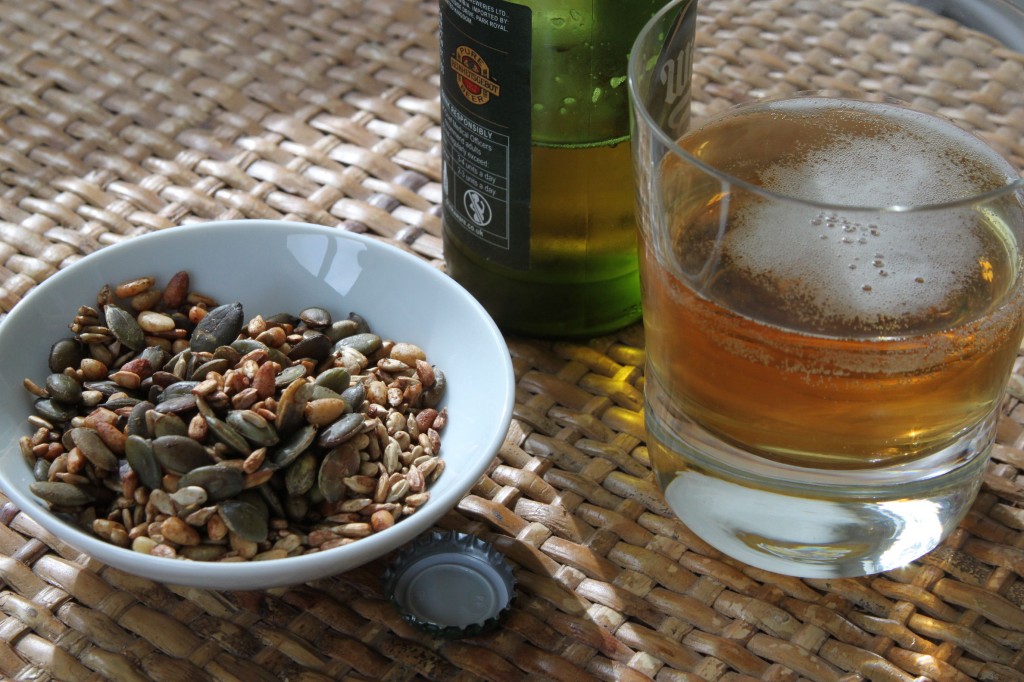
Drinks, cocktails, aperitifs – whatever you want to call them there is something rather civilised about relaxing with a good drink as the sun sets over the yardarm.   Ice clinking against glass heralds the end of the working day and whether you are in some top notch bar or your own kitchen there is nothing wrong with making the most of it.  Along with a delicious drink I like something to nibble at the same time.  Not necessarily as elaborate as canapés (not on a school night, come on) but certainly a little salty treat to savour.  Crisps can get a little greasy and nuts we tend to avoid as my daughter is allergic to them.  These seeds tick every box and prove a winner whenever I whip them up.

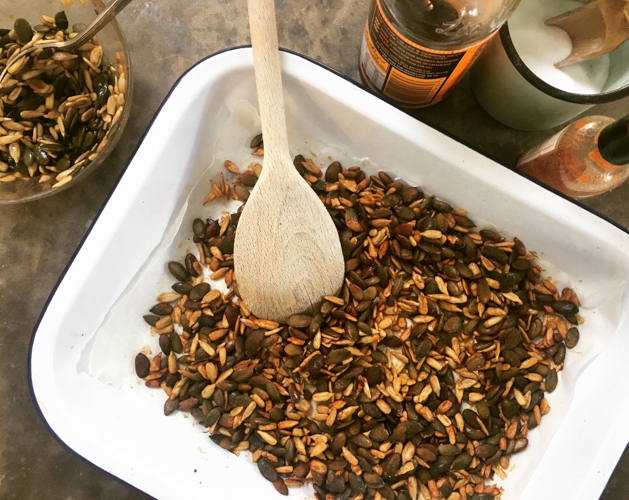
This isn’t the first time I’ve mentioned these utterly moreish seeds but I thought they deserved another shout out.  So much better for you than crisps, this spicy snack is made in a matter of minutes and can be as spicy (or not) as you like.  I often put a bowl of these out before lunch or supper and they go in a flash, the tangy heat seems irresistable.

A great addition to a salad or to top off a bowl of hearty soup, these are properly useful to have in a jar in the kitchen.  Fill little cellophane bags with them and give to friends.  With a suitably festive ribbon these make a great Christmas present particularly if you are getting a little hamper together which I sometimes do.

Spicy Seeds

60g sunflower seeds

60g pumpkin seeds

30g pine kernels

1 tablespoon Worcester sauce

1/2 teaspoon Tabasco

Sea salt

Mix everything together and spread in a single layer on a baking sheet.  Bake for 5-6 minutes at 200, leave to cool briefly before adding a tiny sprinkle of salt and digging in.


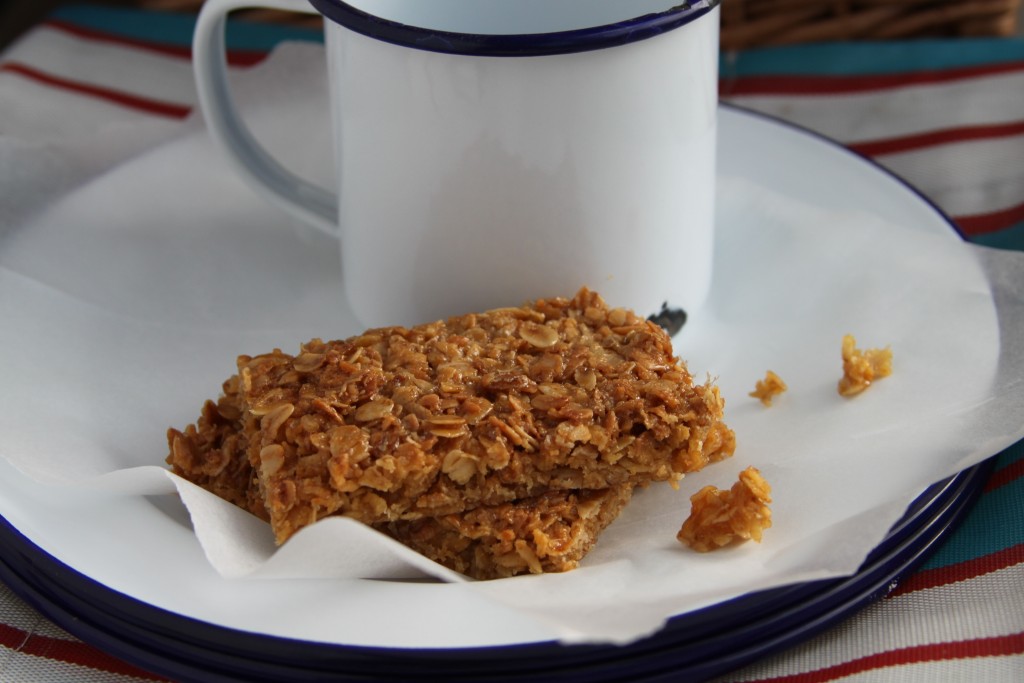
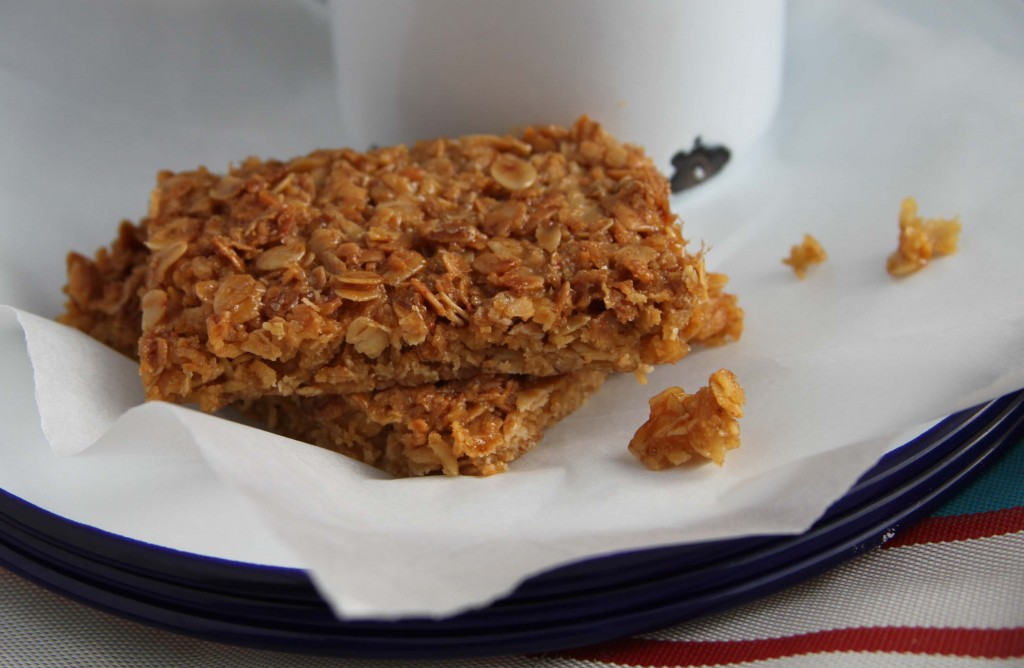
Flapjacks

IMG_3563

I don’t know if you can beat a flapjack.  Not only because it is quick, so easy and made from things you probably have in the cupboard.  No, more in terms of what it delivers.  Sweet, chewy, toffeeish (is that a word?) and supremely satisfying.  A perfect mouthful.

My children have just been for an adventure in the woods, along with two friends, and part of the supplies taken on this expedition were flapjacks.  Just the thing on a chilly and breezy half term Wednesday.  They came back pink cheeked and jolly from their jaunt and all with room for one more piece – in the nick of time I might add as the friends’ Mother and I were slowly working our way through the rest of the tin.

I have always loved Flapjacks and homemade are infinitely better than bought.  You can customise as you please, chewy or crisp (cook a bit longer) – add raisins, seeds, nuts or chocolate chips.  In short, these are the ideal treat to whip up this half term.  Yes there are many more exotic cakes and confections that you can make if you have the time (and energy).  For me though these hit the mark exactly, quick, easy and somehow just right.

Flapjack 2

Flapjacks

I think of flapjacks as old fashioned and nostalgic and for some reason always make them with Imperial measurements.   I find this the easiest way to remember them and I know these amounts make flapjacks just how we like them.  You can use 4oz of sugar if you want them a little gooier but I find 3 is just right.

5oz butter

3oz  demerara (or any brown) sugar

2 tablespoons golden syrup

Pinch of salt

8oz oats

Preheat the oven to 170 and line a tin around 8 x 26cm with baking parchment.   Put the butter, sugar, syrup and salt into a large pan and melt gently.  Add the oats, give it all a good stir and spread in the prepared tin.  Bake for about 15 minutes.  Remove from the oven and leave for 5 minutes before marking into bars.  Leave for a further 10-15 minutes before trying to separate – any sooner and they might fall apart.