Olive, thyme and chilli soda bread

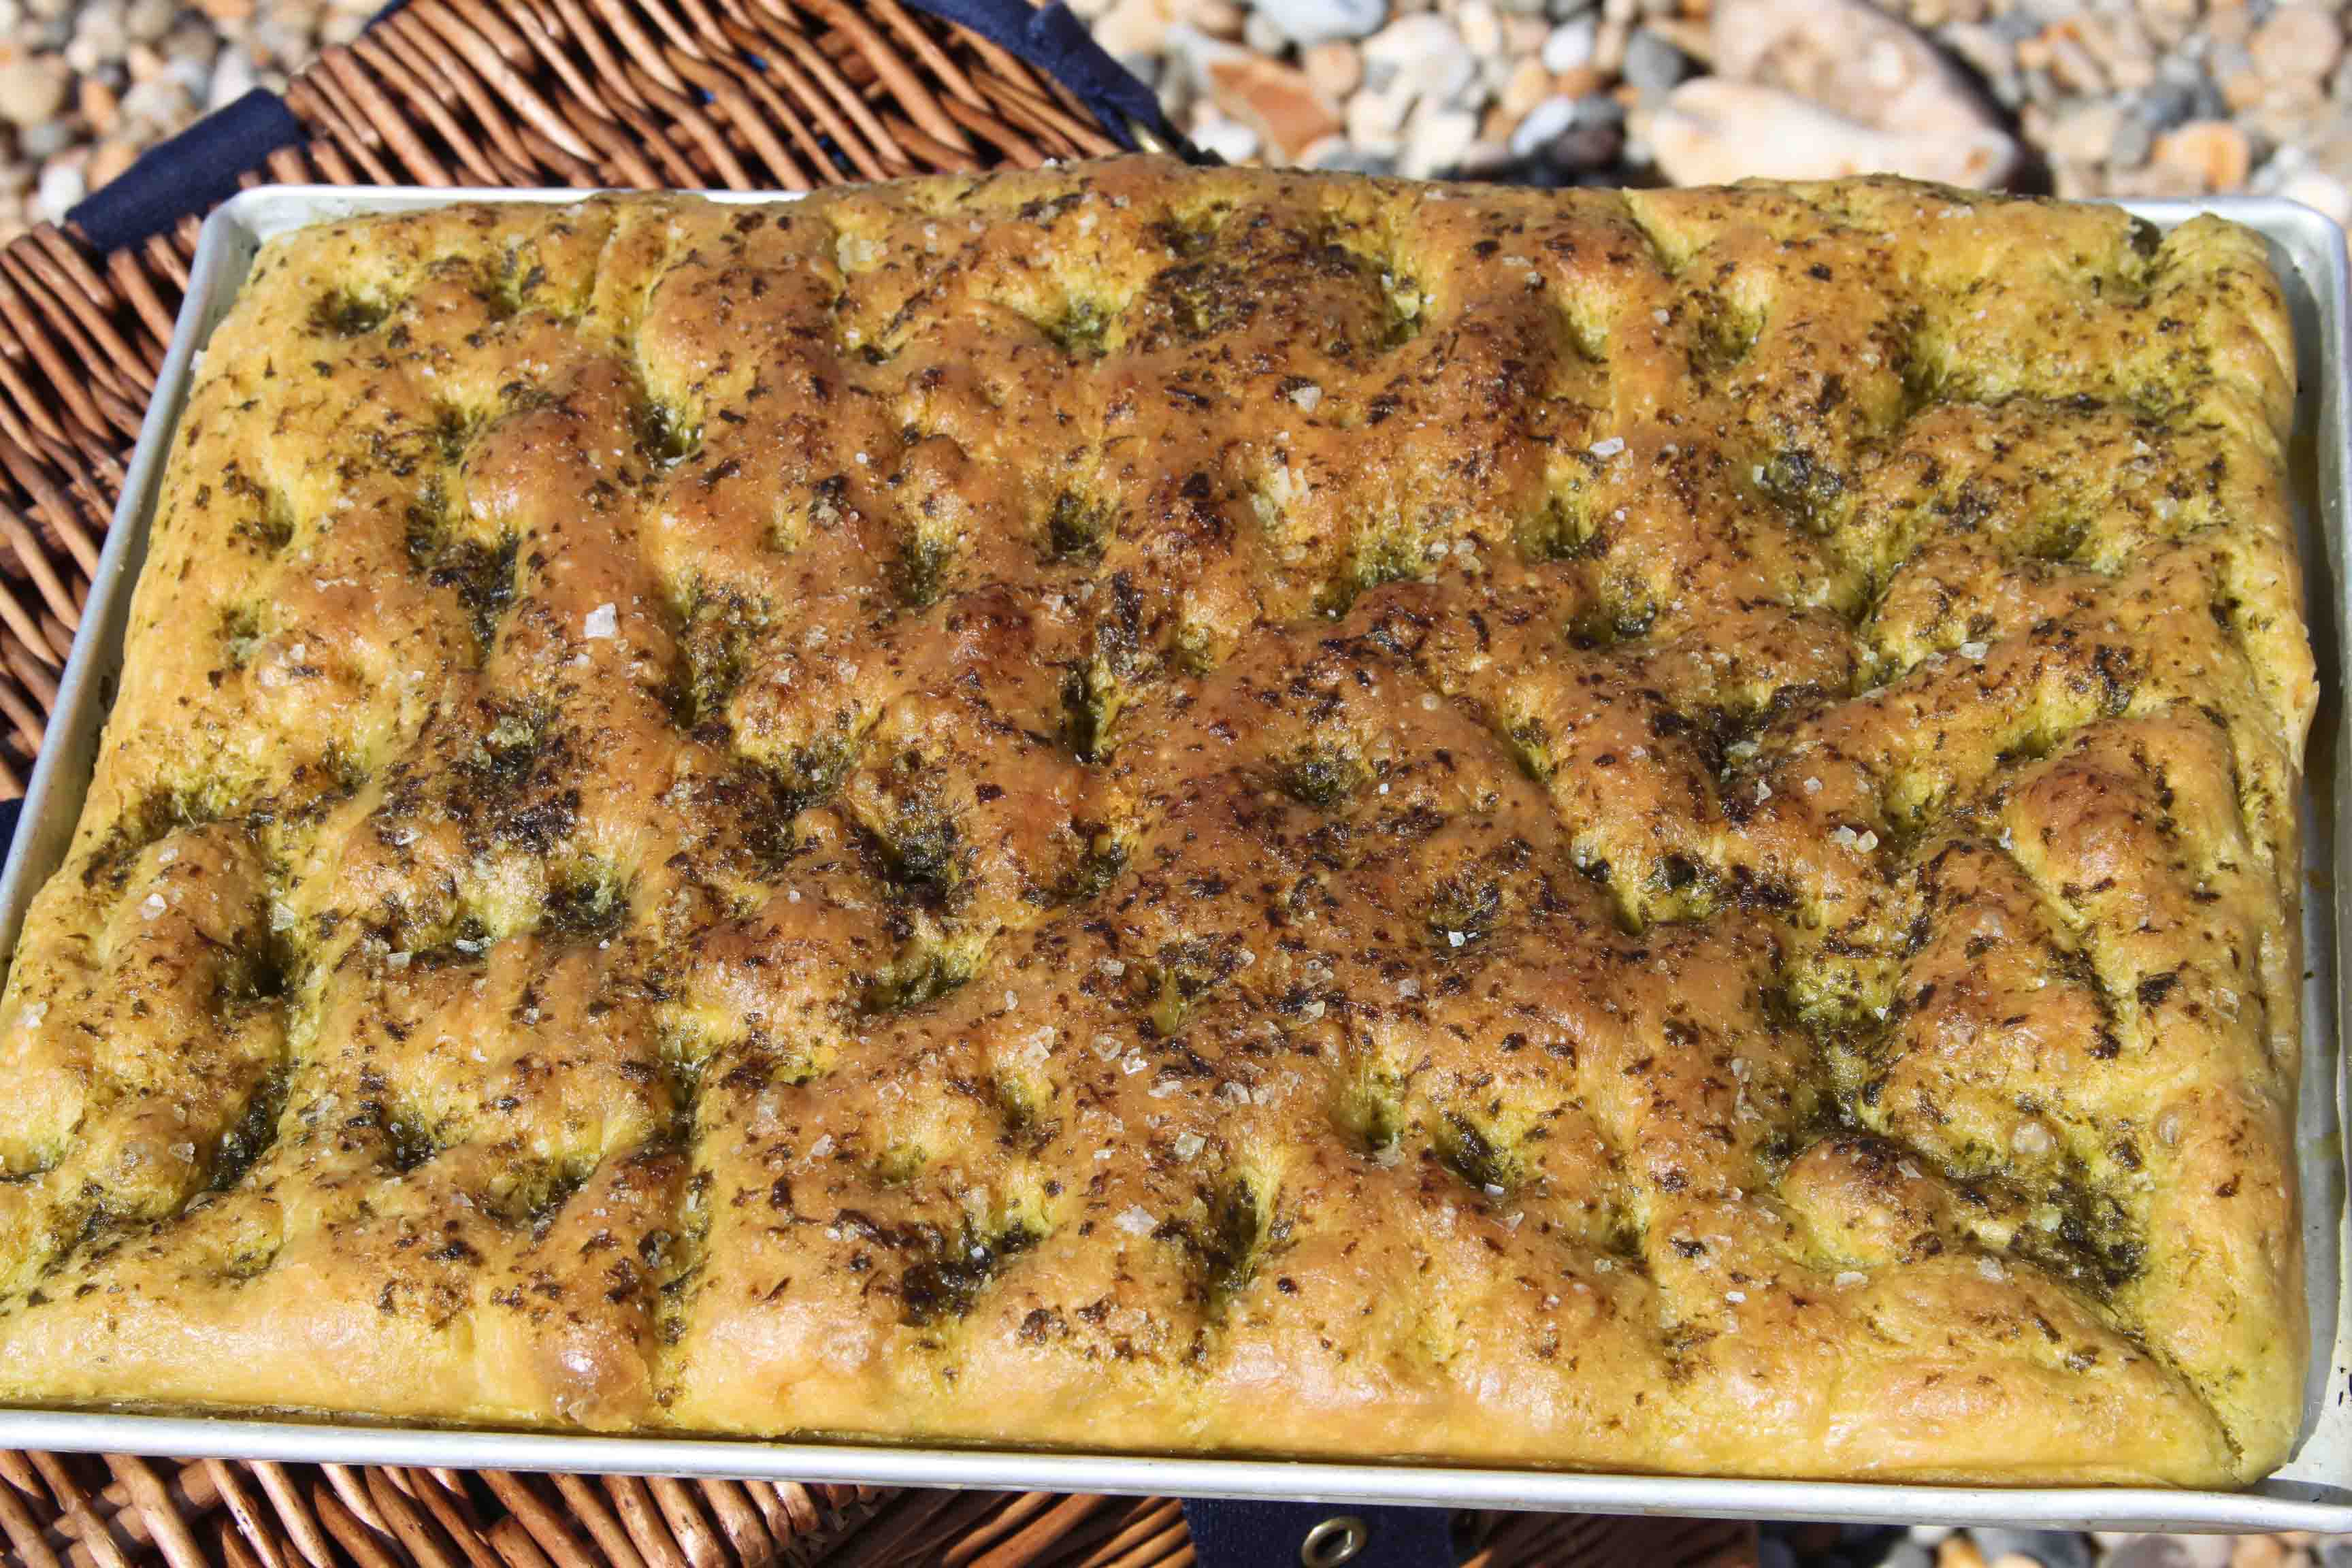
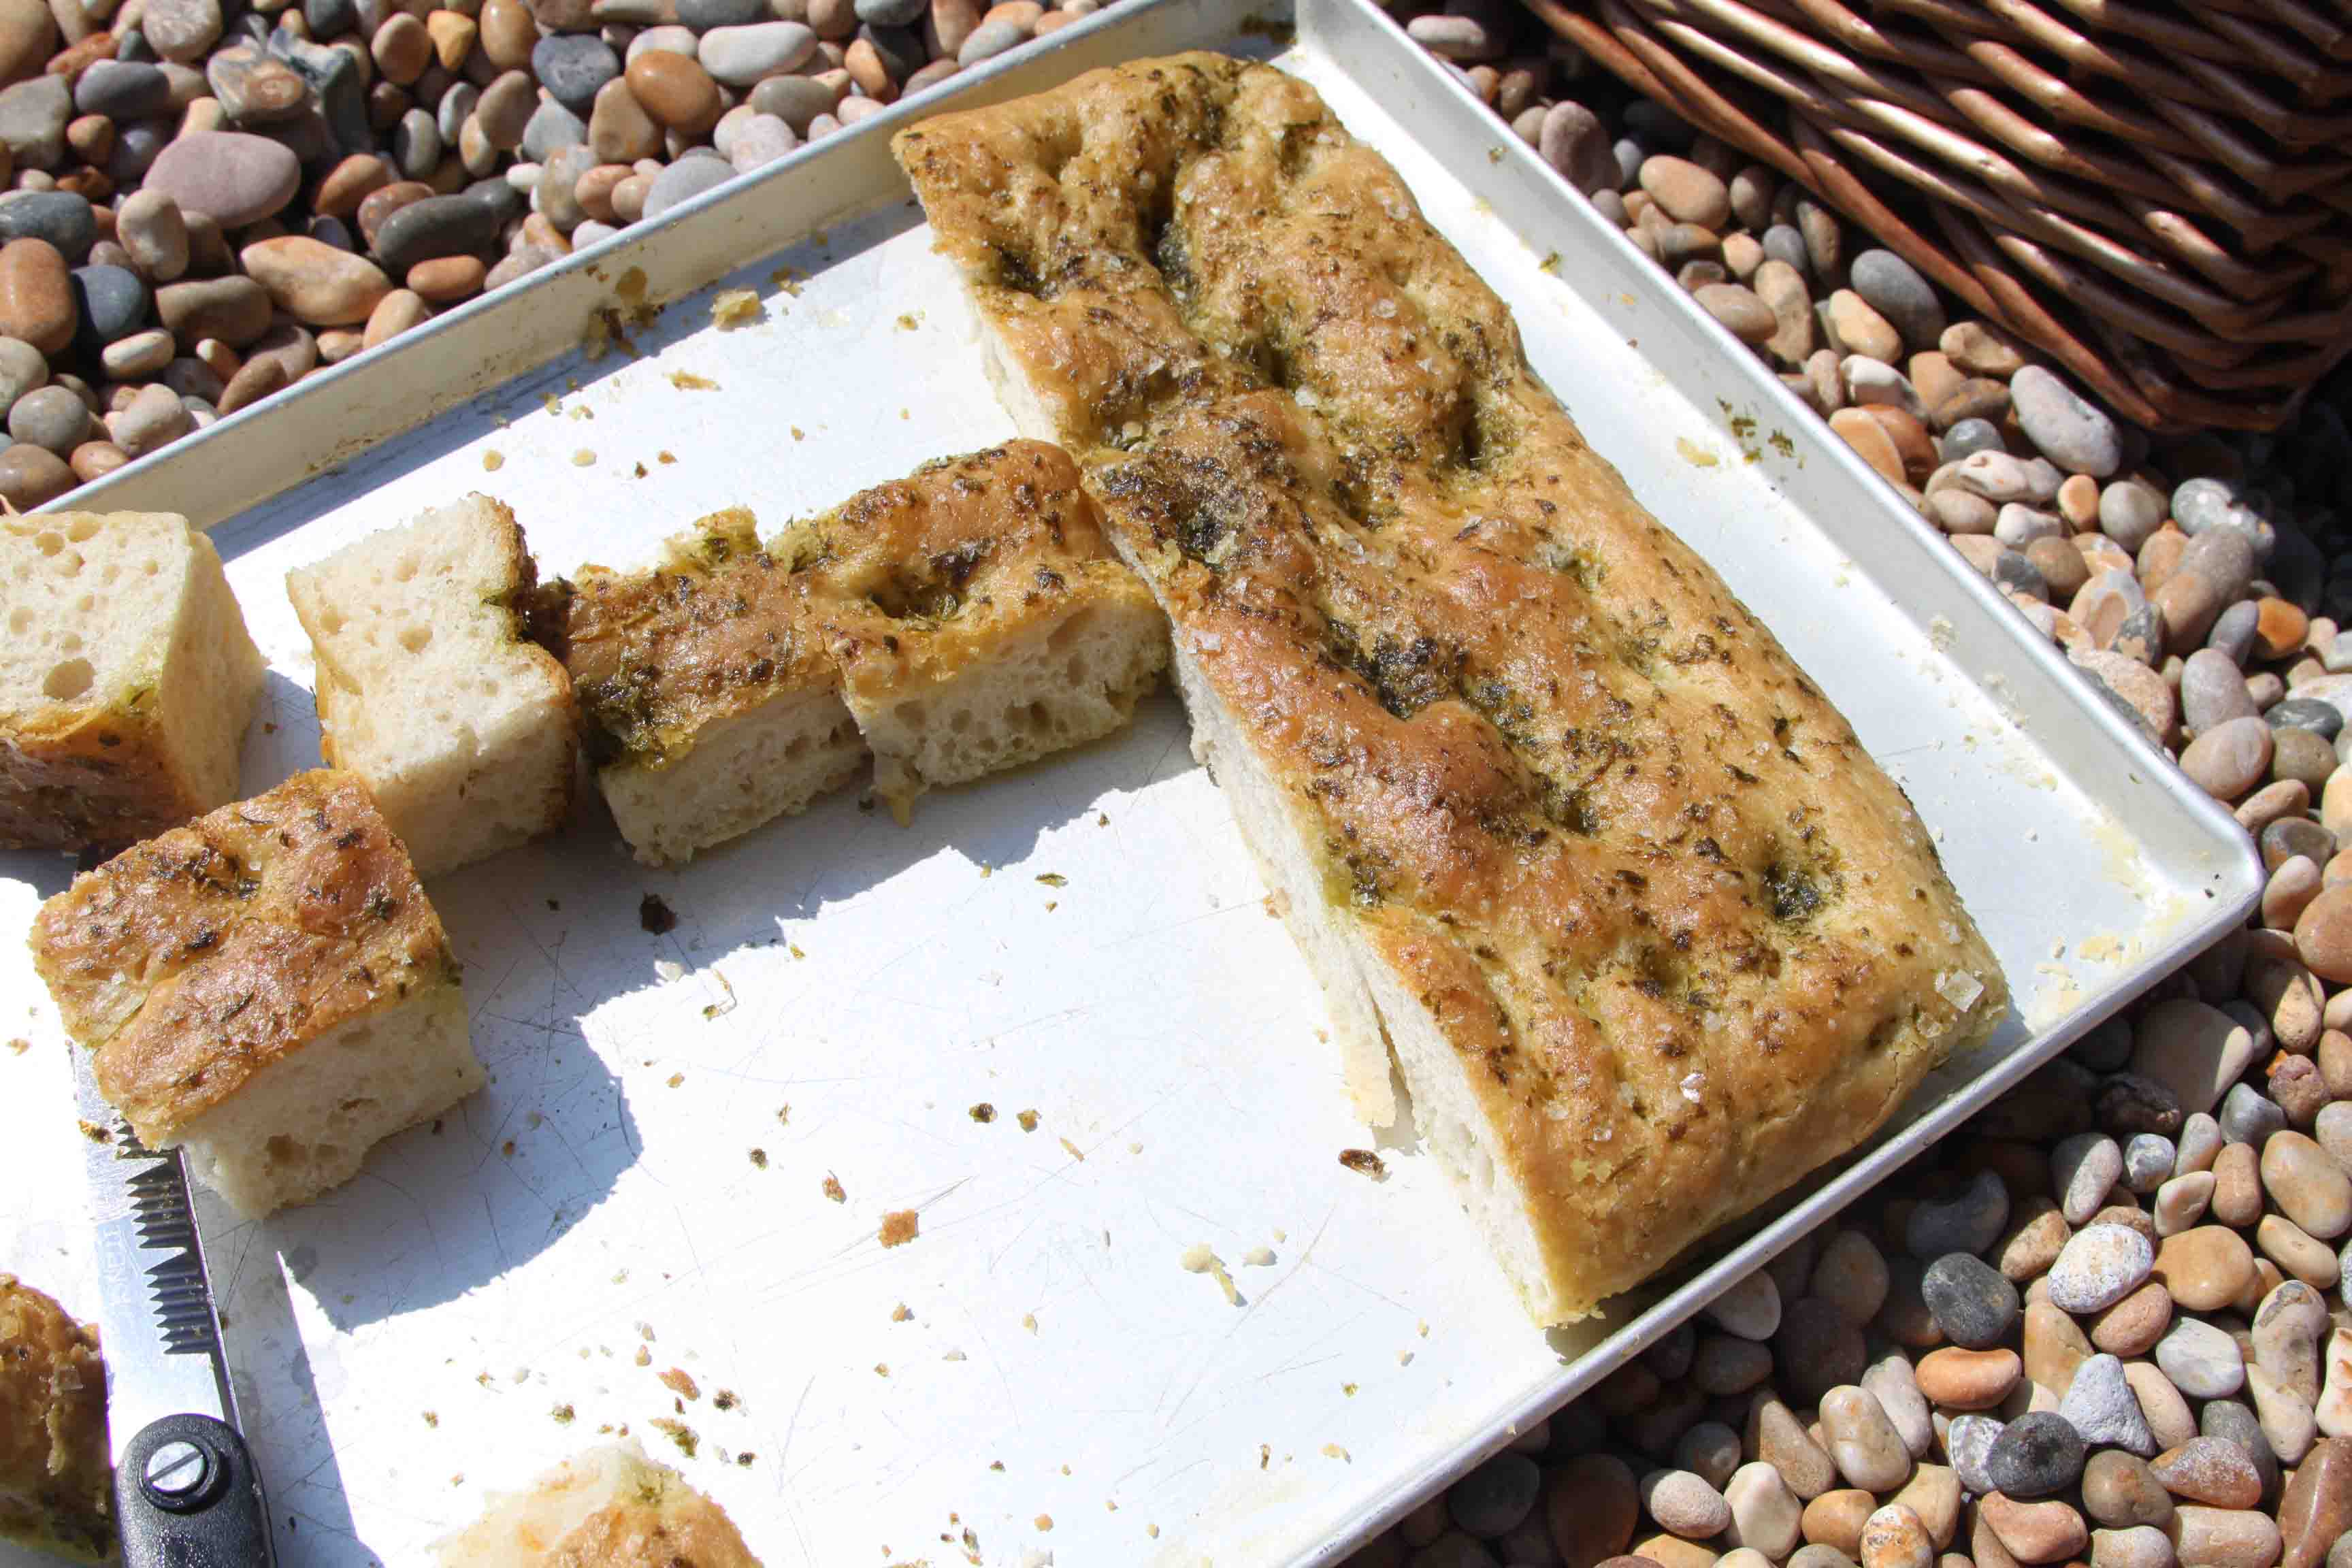
I made this recently to put out before lunch when friends came over and it was gone in minutes.  Served with a garlicky courgette dip it was just the ticket with some pre lunch drinks and kept the children more than happy.  As luck would have it this takes minutes to make and as such is something I regularly turn to.  Although I love making all kinds of bread and make a loaf of white or sourdough weekly, this is a great one to have up your sleeve when the clock is ticking and there is no time for proving and rising.

Whilst I might not have buttermilk in the fridge at all times, I always have yogurt to hand.  This, let down with a bit of milk, works a treat in place of buttermilk and means a loaf of this moreish bread is never more than about half an hour away.   My daughter adores olives and chilli so can polish off half of this loaf without thinking and it takes the sting out of the veggie soup or salad that often accompanies it.

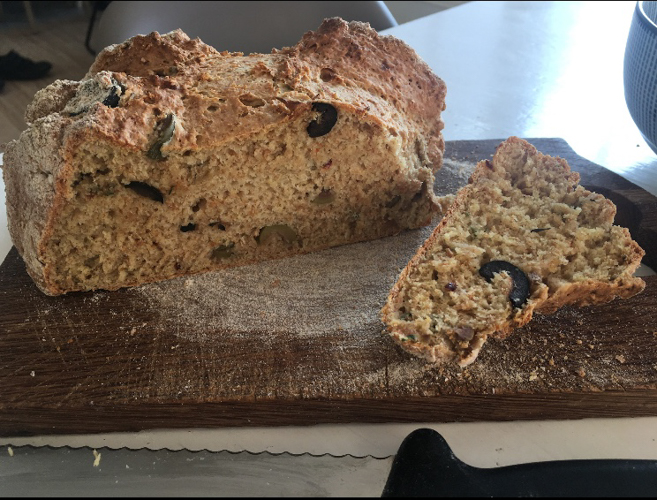
Essentially a riff on my seedy soda bread, April 2013, I add some punchy flavours to this one.  The chilli is up to you but I think it works a treat with the olives and thyme.  There is a thyme plant outside the kitchen that manages to soldier on whatever the weather so along with some store cupboard olives this one is always a contender for lunch or supper.   Or serve as I did at the weekend with a dip, a herby labneh perhaps or hummus and you will have happy faces all round.

Olive, thyme and chilli soda bread

I make this with a mix of wholemeal and regular white flour but you can go with all white if you prefer or if that is what you have.  Buttermilk sometimes comes in 284ml tubs for some reason so just make this up to 300ml with milk.  If you are using yogurt, use 200ml and make it up to 300ml with milk.

150g wholemeal flour, plus a bit extra

150g plain flour

1 teaspoon fine salt

1 teaspoon bicarbonate of soda

2 teaspoons soft brown sugar

300ml tub buttermilk (or yogurt, see introduction)

50g olives, I like a mix of green and black, chopped up a bit

1 teaspoon thyme, leaves only

1/2 teaspoon chilli (omit this if you like)

Preheat the oven to 200.  Put the flours, salt, bicarb, sugar, olives, thyme and chilli in a large bowl and mix.  Add the buttermilk and give it a good mix together.  Sprinkle some wholemeal flour on a baking sheet, make the dough into a ball, put on the tin, sprinkle a little more flour over and cut a cross in the top with a sharp knife.  Bake for 30-35 minutes until crusty, golden brown and sounds hollow when you tap the bottom.


Quick and Easy Flatbreads

Could this be the most useful recipe ever?  These flatbreads certainly have the power to transform and are quite delicious.  I am not a huge fan of those frisbee like flatbreads or tortillas available in most shops.  Flimmy flammy in texture, always rather chewy and disappointing – definitely the single reason I never buy filled wraps.  If you are lucky enough to live near a Middle Eastern shop you will probably be able to lay your hands on top notch authentic flatbreads which are an absolute treat.  Failing that, make these – they are utterly delicious, soft and pliable, completely moreish – perfect to step in when you may need a pita, wrap or bread roll.

Fajitas in these flatbreads are sensational, try Camp Fajitas, (July 2016) or the Lamb Meatballs (October 2012).  Wrap one around a sausage with slow cooked onions or Firecracker Red Cabbage (November 2013) for a Bonfire night treat.  If I want to serve these alongside a curry, say the Prawn Curry (November 2012) I will add a scattering of nigella/black onion seeds when rolling out for that naan bread vibe.  Use them to dip into hummus or any other dips, Cannellini Bean, Parsley and Lemon dip, (April 2015) or with leftover chilli to fashion an unconventional burrito.  If serving them simply torn to go with a stew or dips then roll in whatever you like, finely chopped rosemary or thyme, a sprinkle of oregano, chilli flakes or cumin seeds…. Customise them at your will.

I have tried many, many different recipes for flatbreads and still love those made with a yeast risen dough but these are the ones to turn to in a hurry.  I always have yogurt in the fridge and flour in the cupboard – these are super quick, just the mixing of a few ingredients, rolling out and cooking in a hot pan.  Life changing.

Quick and Easy Flatbreads

As you can imagine these are at their best when just cooked – this shouldn’t be a problem as they are so good they often don’t make it to the table in our house.  If you want to make ahead I recommend you mix the dough whenever it suits and then wrap in clingfilm until you are ready to cook the flatbreads.  I often put the dough together in  the morning when I have 5 spare minutes ready to whip up the flatbreads later in the day but it will happily sit in the fridge for day if that suits you better.  I’ve used most kinds of yogurt and they all work, earlier this week I used a mix of both Greek and natural because I wanted to finish one pot before I opened the other and the flatbreads were perfect.  You may need a drop more yogurt or a sprinkle more flour sometimes as flours can behave differently but 200/200 is usually right.  I can’t recommend them highly enough!

200g self-raising flour

Large pinch of fine salt

1/2 teaspoon baking powder

1 tablespoon olive oil, plus a little extra for brushing the flatbreads for cooking

200g yogurt, any kind will do, I’ve used both Greek and regular natural yogurt or even a mix (see introduction).

Sea salt (optional)

Mix the flour, salt, baking powder, oil and yogurt to a dough.  Form into a ball, flatten and divide into 6 (or 4 if you want larger flatbreads).  Roll these out on a floured surface until the size of a side plate (now is the time to add any flavourings such as nigella seeds – see introduction).  Heat a frying pan over a medium heat, brush one side of the flatbread and put it oiled side down in the pan, cook for a few minutes until turning golden then brush the uppermost side with oil and turn to cook that side.  This whole process with take a matter of minutes.  Repeat with the remaining dough.  Sprinkle with a little salt when warm but I warn you this makes them irresistable….  Makes 6.


Grissini with Rosemary

Grissini

When I lived in London there were several favourite Italian restaurants that I would frequent from time to time.  There is something particular about entering such an establishment, the clamour and enthusiasm, the noise and bustle, the smell of herbs and garlic cooking that fills the air.   Following the greeting and seating a proper treat awaits you.  The grissini – slender, crunchy breadsticks all the better for gouging through the butter.  Not as filling as the proffered focaccia but the perfect nibble with a glass of wine whilst perusing the menu.  I love them and so do my family so we make our own.

Now I can’t pretend that dining in my kitchen offers quite the same experience.  Different certainly but just as much fun I would hope.   These grissini however are definitely up to those of nostalgic, rose or should that be frascati touched memory.   Crispy, savoury and in this case taken to new heights with the addition of chopped rosemary.   I serve these before and alongside lunch or dinner, take them on picnics and they are much in demand for packed lunches.   Very delicious and moreish to eat and so easy to make.  The rolling out takes me back to the days of plasticine and playdoh and is repetitive and relaxing, in a black clad Italian Mama sort of way.  Think Sophia Loren….

Grissini with Rosemary

Children love making these which is always a help and last week, rather than making the traditional stick shapes, my daughter fashioned each dough snake into an initial to place in each diners place at the table.  It looked charming and went down a storm.

250g plain flour

250g strong white bread flour

7g sachet yeast

7g fine salt

300ml lukewarm water

25ml olive oil

1 tablespoon finely chopped rosemary

Sea salt

Preheat the oven to 200.  Put both the flours, yeast and fine salt into the bowl of a stand mixer, turn it on and then add the water and oil until it comes together in a ball (you may need a drop more water).  Leave it kneading away in the machine for 10 minutes, adding the chopped rosemary for the last minute so it is evenly mixed through the dough.  Leave for half an hour if you can but they will still work if you are pushed for time.  Pinch off pieces the size of a large cherry and roll these out until about a foot long and pencil thin on a non-floured table or surface.  Gently and with fingers splayed seems the best way to do this.  Put them onto a baking sheet lined with parchment, sprinkle with sea salt and bake for 15 minutes.   After this time they should be golden brown and crispy, leave to cool on a wire rack and then store in an air tight container.   Makes around 40 grissini but if you get bored whilst rolling these out the dough will sit happily in the fridge for a day until you feel like making some more.   I’d say they last for a week but I’ve never had any hang around for more than a day or two.

Finally, they make a fabulous present to take if you are going to friends for supper.

Grissini 2


Cheddar and Chive Bread

Cheese and Chive Bread 2

Prior to the big feasts in a week or so, it is a very much a soup time of year.  Nothing like a bowl of soup, cosy and warming to keep the chill out.  What I really like is something special to go with it to make a proper lunch rather than a simple token something to eat.  As I ever, I want a feast.  Earlier this year I shared the recipe for some cheese scones which were fabulous with my quick pea soup.  This bread is along similar lines but a little more versatile and could well be your star guest over Christmas.  Not only is it perfect with soup or any starters, but a warm loaf of this presented alongside cold turkey or ham will turn leftovers into something properly special.

I made this with the last of my Barber’s 1833 Vintage Reserve Cheddar which you may have seen feature in a couple of recipes recently – a knockout steak, cheese and sweet onion relish toastie and butternut stuffed with leeks and cheese.  In both cases this super tangy, full flavoured cheddar was king which, considering Barbers have been making this cheese since 1833 is unsurprising.  To get to the point, they  have really got the hang of it and their cheese is fantastic.

I make this bread with my regular white loaf recipe and if you omit the cheese and chives that is exactly what you will have, a good everyday loaf should you need one.  If you have some blue cheese hanging around over Christmas then use this instead for your bread with some chopped rosemary in place of the chives – it is a sensational combination.

Cheddar and Chive Bread

I usually use this amount to make two loaves, one cheddar and chive and the other gorgonzola and rosemary.  The 125g cheese is enough for one loaf, simply double that and the chives if you are making both loaves cheddar and chive. You could of course leave the second loaf plain and have it for breakfast.

500g strong white bread flour

10g fine salt

10g dry instant yeast

50g soft butter

300ml luke warm water

125g strong cheddar, cut into small cubes (this is enough for one of your loaves)

Small bunch of chives, finely chopped (this is enough for one of your loaves)

Mix the flour, salt, yeast, butter and water into a dough and knead for 10 minutes either by hand or with a stand mixer.   Cover with a tea towel and leave to rise somewhere warm for at least an hour or until doubled in size.  Split the dough in two and roll each out into a rough A4 rectangle, scatter over the cheese and chives and roll up into a log shape squidging the cheese into the dough as you go.  If you are leaving one of the loaves plain just form it into whatever shape loaf you like.  Place these onto a lined and floured tin, cover with a tea towel and leave for a further hour.  Preheat the oven to 200.  Slash the top of the loaves a couple of times if you like and then bake for 20 minutes until golden brown, some of the cheese may leak out but that is part of the charm and those bits will be delicious for whomever gets to them first….

Cheese and Chive Bread


Wild Garlic Focaccia

Wild Garlic Focaccia

It is that time of year again and the familiar whiff of wild garlic is in the air.  This feels like the beginning of a slew of seasonal goodies and I look forward to it every Spring.  As soon as I picked a bunch of wild garlic yesterday I knew I wanted to make a focaccia with it and whizzing the leaves into the oil seemed the best way to get the herbaceous notes into the bread.  I made the dough yesterday evening and let it rise overnight so I only had to knock it back and put it in the tin for a final rise this morning – couldn’t have been easier.  You could of course make it all in one day but this suited me better for brunch on the beach with friends.

This makes a fabulous, squidgy loaf perfect for lunch or with a picnic as we had it today.  I took it from the oven to the car and it was still warm when we ate it.  Dip into oil and balsamic or use it to make a stella sandwich, stuffed with whichever goodies you like.  We had ours cut into little squares which the children loved, a sort of herby garlic bread.  My husband had his cut in half horizontally with a fried egg cooked on the fire on the beach, perfect.

For other ways to use your wild garlic check out the pesto (May 2013) which I wrote about last year or how about strewing some chopped leaves over a salami topped pizza….

Wild Garlic Focaccia 3

Wild Garlic Focaccia

450g strong bread flour

7g yeast

7g table salt

250-300 ml luke warm water

50ml olive oil

Small bunch wild garlic, about 6-8 leaves

75ml olive oil

Sea salt

Mix the flour with the yeast, salt, water (start with 250 you might not need the full 300ml)  and 50ml of oil and knead for 5 minutes.  Leave in a warm place for 1-2 hours until doubled in size or put in the fridge overnight.  Preheat the oven to 190, knock the air out of the dough and then press it into a shallow tin approximately 24x34cm.  Cover loosely and leave to rise for 30 minutes.  Meanwhile whizz the garlic and 75ml of oil with a hand blender, or similar, until you get a fabulous green oil.

Press your fingers into the dough to make dimples and then pour the oil over to fill the little holes and cover the entire surface.  Sprinkle generously with sea salt and bake for 25-35 minutes until golden.  Check the bottom is brown, you can always give it another 5 minutes directly on the rack if necessary.

Pepper and Caper Crostini

Pepper Crostini

I love something punchy and full of flavour on top of a crunchy bit of toasted bread and find it an easy prepare ahead canapé to serve with drinks before lunch of supper.  From the super simple garlic rubbed toasts to something that requires a little chopping and cooking.  The basis of this is often some softened vegetables with a good hum of garlic and a bit of sharpness from capers, balsamic or lemon juice.  Courgettes work a treat as do leeks or onions if that is what you have.  The crisp little toasts can be made days ahead and kept in an airtight tin enabling you to make this in a matter of moments.

This time I have used peppers which cook down to silky soft sweetness with very little attention.  Pushed for time you can use jarred peppers but try and find the ones in oil rather than brine.  Use a little of the oil they are packed in for the pan, chop them and then proceed with the recipe.  They will only need heating briefly and marrying with the garlic.

Incidentally, my children who both profess to not like peppers will scoff these with unseemly speed….

Pepper Crostini 2

Pepper and Caper Crostini

2 peppers, red orange or yellow but not green, sliced

1 tablespoon olive oil

1 clove garlic, finely chopped

1 tablespoon capers

4 slices of toasted sourdough or similar, (rubbed with garlic if you want a bit extra!)

1 small bunch parsley, chopped

Heat the oil in a frying pan and cook the peppers for about 15-20 minutes until soft (or you could do this in the oven).  Add the garlic and cook for a minute then remove from the heat.  Stir through the capers, check for seasoning and then pile onto the slices of toast.  Sprinkle with parsley and tuck in.