Spring Lemon Cake

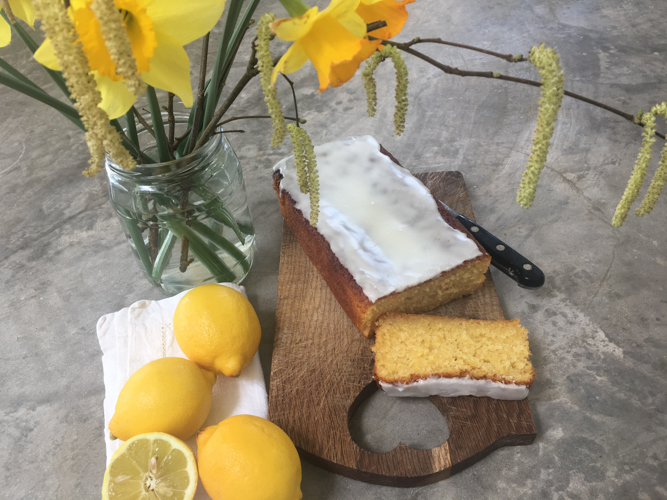
I can’t tell you how many lemons have been squeezed and cakes made here in the name of research.  Lemon drizzles, lemon curds, lemon polentas and of course there is the layered beauty that features here in Lemon Cake and the 1970’s (May 2013) and often graces our table as our Easter Cake*.

I’m happy to eat a lemon based cake any day of the year but in Spring it seems even more appropriate.  That bright yellow zip and zest works perfectly when there is still a nip in the air but green shoots are on show and the hope of sunny days feels well founded.  This then is a cake for teatime, picnics or rainy days, trips to the beach, eating outside or in front of the fire and, of course, for all those school bake sales.

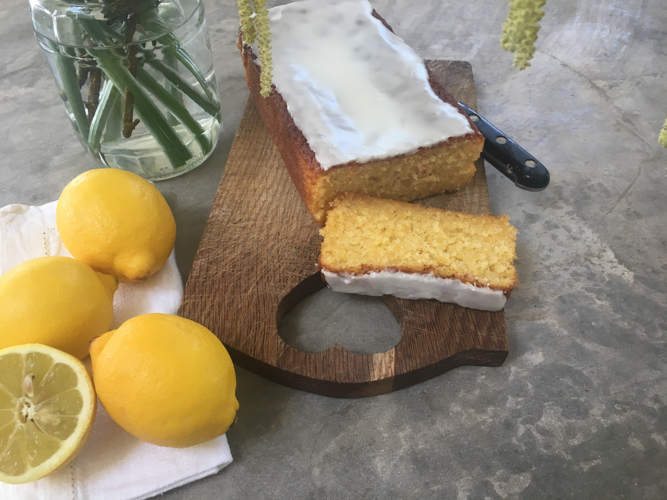
This modest looking little loaf cake has been tried and tested in many incarnations and this  is my favourite.  It couldn’t be easier, is very quick and a doddle if you have children who want to make a cake.  If you don’t have any lemon curd don’t worry it will still be delicious but it’s worth having a jar of good curd in the fridge for such occasions.  You can stick with a crunchy sugar and lemon drizzle if you prefer but this lemony icing is our perfect topping.  Finally, whilst I am a huge fan of butter, it has become quite expensive and Stork or similar works brilliantly here – if its good enough for Mary Berry, its certainly good enough for me!

Spring Lemon Cake

160g butter or Stork (see introduction)

120g caster sugar

Good pinch of salt

2 large eggs

140g self raising flour

1/2 teaspoon baking powder

Zest of one large unwaxed lemon

2 tablespoons milk

2 tablespoons lemon curd (see introduction)

150g icing sugar

Juice of 1/2 – 1 lemon

Preheat the oven to 180 and line a loaf tin.  Cream the butter or Stork and sugar together until light and fluffy, I use a stand mixer for this but a wooden spoon and bowl work a treat too.  Add the eggs one at a time with a spoonful of flour until well incorporated and then add the remaining flour, salt, baking powder, zest and milk.  Finally swirl in the lemon curd leaving a few streaks.  Put the mix into the lined tin and bake for 40 minutes.  Check after 30 and cover with foil if its brown on top before a skewer comes out clean.  Whilst the cake is cooling, mix the icing sugar and lemon juice (add the juice slowly as you may not need it all) and then pour over the top of the cake.  Leave to set and then tuck in.


*Whilst I know a Simnel Cake is the usual Easter offering and I love it, none of my immediate family like fruit cake (also my daughter is allergic to nuts).  Besides, we all know what happens to a cake when only one person likes it……

Tarte Tatin

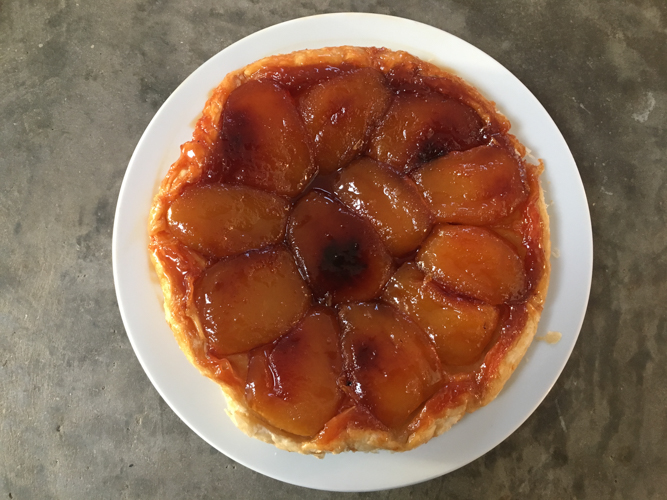
Well this is a proper treat and even better supremely easy to make with only 5 ingredients! That combination of tangy apples bathed in caramel sauce with a crispy, flaky pastry base, just fabulous.  Whilst there are many recipes out there for Tarte Tatin, this one is so simple and delicious that I rarely deviate.  It works like a dream and there is never any left over.   By the way if you are a fan of salted caramel puddings just up the pinch of salt in the ingredients to about 1/2 a teaspoon and voila you will have Salted Caramel Tarte Tatin.

A frying pan with an oven proof or removable handle is ideal but if you don’t have one just cook the apples in a regular frying pan and then transfer to a baking tin before topping with pastry and putting in the oven.  I use a 20cm le creuset that I have had for ever and these amounts work a treat and we easily finish it between the four of us.  I have also used a 30cm saute pan (also le creuset) which make a great big tarte but I did need a little help turning the pan over on to the waiting plate.

Tarte Tatin

I tend to use a pack of ready rolled puff pastry for this.  With a bit of careful cutting out (and patching for the second) I can get two circles of pastry out of one roll so either make another tarte tatin, freeze it or make the Onion Tarte Tatin with Blue Cheese (February 2014)…. just saying.

4 large eating apples, Braeburn are ideal, peeled, cored and quartered

60g butter

50g caster sugar

1 pack ready rolled puff pastry (usually around 375g)

Pinch of salt (see introduction)

Preheat the oven to 200.  Unroll the pastry and measure out a circle using the top of the pan.  Melt the butter with the sugar and add the apples along with a pinch of salt.  Cook for around 20-30 minutes until the apples are tender but not collapsing.  As it bubbles a caramel will form.  Turn the apples a couple of times for even cooking.  Remove from the heat, ensure all the pieces are round side down then extremely carefully place the circle of pastry over the apples and tuck the edges between the side of the pan and the apples.  Put in the oven for 20 minutes or until the pastry is golden and puffed up.  Take the pan out remembering of course that the handle will be hot and let it sit for a couple of minutes to settle.  Using a plate with a lip so you don’t lose all the sauce, invert this over the pan and quickly turn both so that the tarte ends up on the plate pastry side down, apple side up.  Adjust any apples that have slipped out of place and serve with cream.  I divide this into quarters for the four of us but reckon I could eat half without much trouble….


Olive, thyme and chilli soda bread

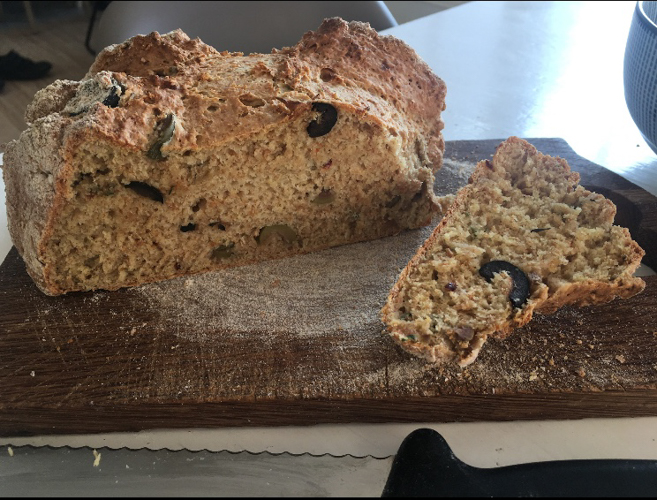
I made this recently to put out before lunch when friends came over and it was gone in minutes.  Served with a garlicky courgette dip it was just the ticket with some pre lunch drinks and kept the children more than happy.  As luck would have it this takes minutes to make and as such is something I regularly turn to.  Although I love making all kinds of bread and make a loaf of white or sourdough weekly, this is a great one to have up your sleeve when the clock is ticking and there is no time for proving and rising.

Whilst I might not have buttermilk in the fridge at all times, I always have yogurt to hand.  This, let down with a bit of milk, works a treat in place of buttermilk and means a loaf of this moreish bread is never more than about half an hour away.   My daughter adores olives and chilli so can polish off half of this loaf without thinking and it takes the sting out of the veggie soup or salad that often accompanies it.

Essentially a riff on my seedy soda bread, April 2013, I add some punchy flavours to this one.  The chilli is up to you but I think it works a treat with the olives and thyme.  There is a thyme plant outside the kitchen that manages to soldier on whatever the weather so along with some store cupboard olives this one is always a contender for lunch or supper.   Or serve as I did at the weekend with a dip, a herby labneh perhaps or hummus and you will have happy faces all round.

Olive, thyme and chilli soda bread

I make this with a mix of wholemeal and regular white flour but you can go with all white if you prefer or if that is what you have.  Buttermilk sometimes comes in 284ml tubs for some reason so just make this up to 300ml with milk.  If you are using yogurt, use 200ml and make it up to 300ml with milk.

150g wholemeal flour, plus a bit extra

150g plain flour

1 teaspoon fine salt

1 teaspoon bicarbonate of soda

2 teaspoons soft brown sugar

300ml tub buttermilk (or yogurt, see introduction)

50g olives, I like a mix of green and black, chopped up a bit

1 teaspoon thyme, leaves only

1/2 teaspoon chilli (omit this if you like)

Preheat the oven to 200.  Put the flours, salt, bicarb, sugar, olives, thyme and chilli in a large bowl and mix.  Add the buttermilk and give it a good mix together.  Sprinkle some wholemeal flour on a baking sheet, make the dough into a ball, put on the tin, sprinkle a little more flour over and cut a cross in the top with a sharp knife.  Bake for 30-35 minutes until crusty, golden brown and sounds hollow when you tap the bottom.


Elderflower and Apple Jelly

I feel jelly has been a fairly regular presence throughout my life.  From children’s parties that frankly weren’t a party if there wasn’t jelly along with the Midget Gems and cocktail sausages (although ideally not in the same mouthful…) to the somewhat more sophisticated Prosecco or Pimms jellies around now.    Although the jelly itself hasn’t really changed over the years I now eat it with a spoon rather than applying it directly to my face as I may have done…

Funny how something so simple still draws the oohs and aahs when brought to the table and goes down equally well with children and grown ups.   Quick to make, cheap and easily zhuzzed up with summer fruits this is real a star to have up your sleeve for entertaining as the warm weather arrives particularly as it has to be made ahead to time.

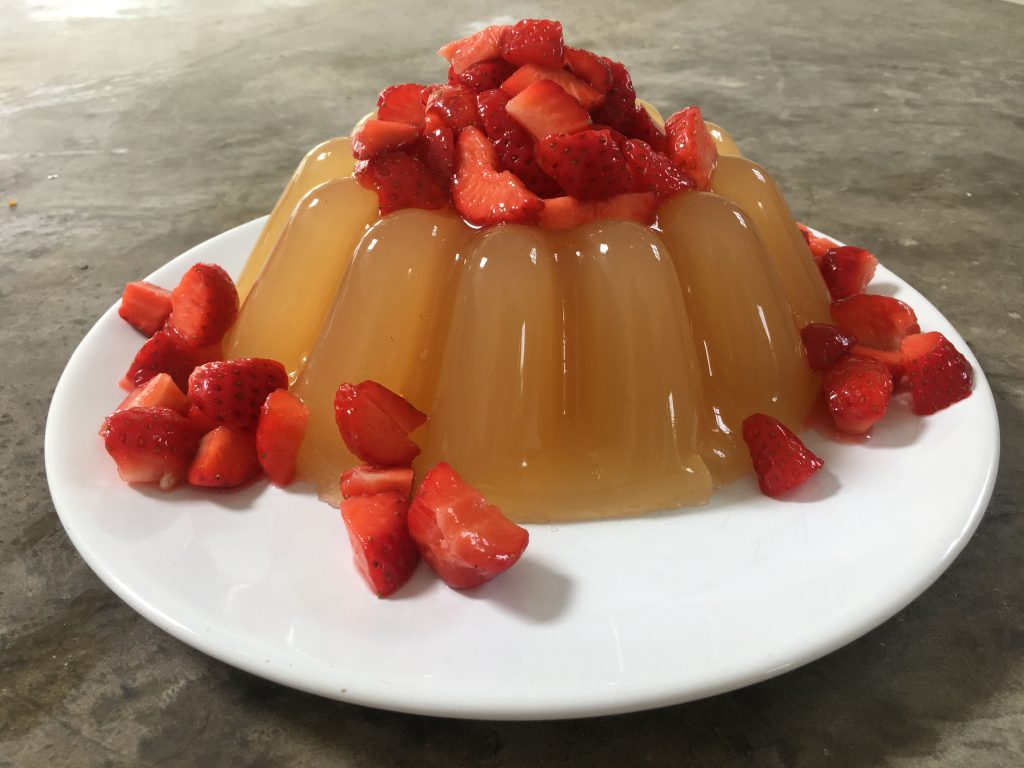
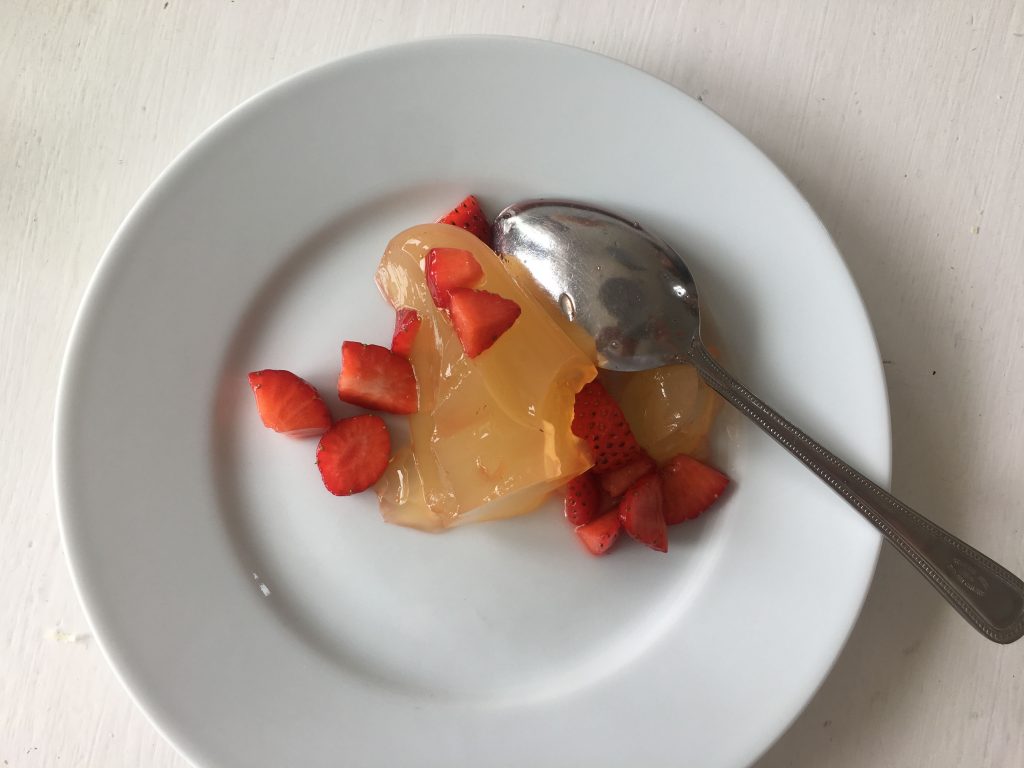
I often try new flavour ideas for jelly – it is after all simply a liquid and the requisite amount of gelatine – and this is our current favourite.  I’ve made this twice over half term and both times have been left with an empty plate.   On the first occasion I served it with rhubarb fool, rhubarb and elderflower being extremely good friends;  the second time with a few strawberries on top which had macerated for half an hour in a spoonful of sugar (as in the pictures here).

When the weather really warms up you can dispense with the gelatine and pour the apple/elderflower mix direct into ice lollies moulds for super refreshing ice pops.

Elderflower and Apple Jelly

I choose to use apple juice and add elderflower cordial as that way I get the balance of flavour I like but you could probably use a combined apple and elderflower juice if you prefer.  There is a recipe for elderflower cordial here, (June 2016).

850 ml apple juice (the one I buy comes in 1 litre bottles so I just drink 150ml)

150ml elderflower cordial

Juice of half a lemon

11 sheets of gelatine (I use Costa and it always works a treat)

Put approximately 300ml of apple juice in a pan and heat gently but don’t let it boil.  Put the rest into a jug and mix with the elderflower cordial.  Meanwhile soak the gelatine in a bowl of cold water.  When the apple juice is hot add the squeezed out gelatine, mix well until it has melted then add to the cold apple and elderflower, stir and pour into a 1 litre jelly mould.  Let it cool then put in the fridge until set, overnight is best.  Sit the mould in hot water for a minute or two and then turn out. Serves 6 easily or more with something else alongside.


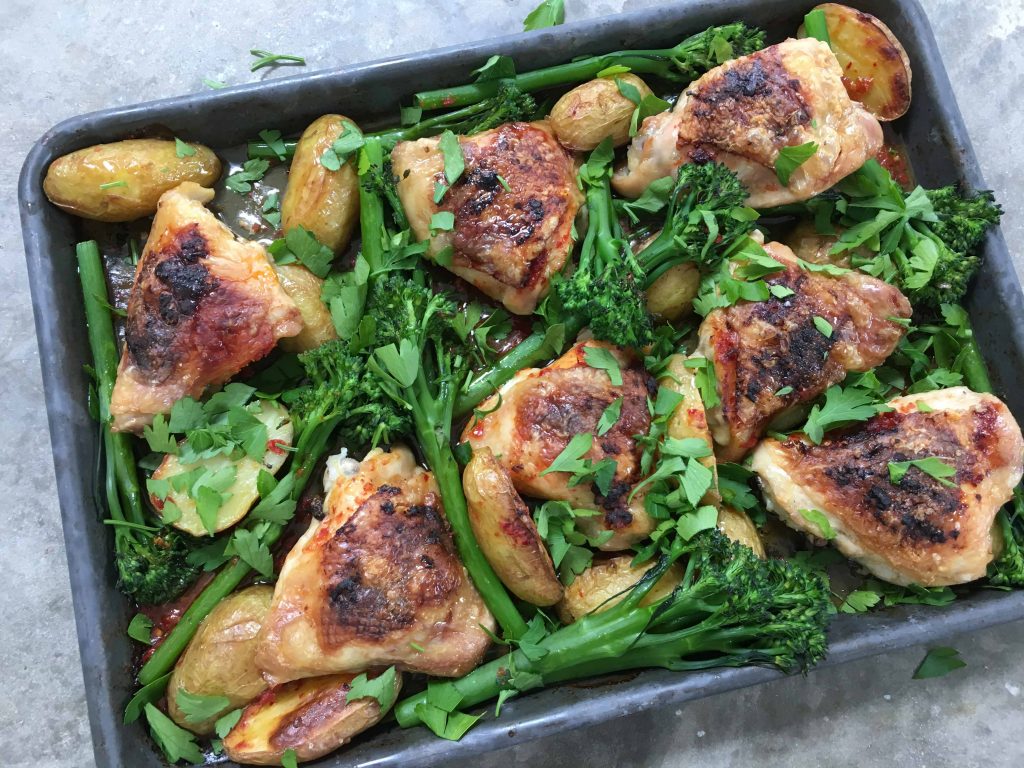
Chicken with Harissa, Potatoes and Broccolini

A few of you may recognise this as one of my earliest recipes on these pages.  So long ago in fact that it doesn’t even have a photograph.  Although I cook my recipes over and over again this is the first time I’ve duplicated one here.  The reason being I  felt it lacked fanfare originally and is such a reliable and delicious lunch or supper that I thought it deserved a shout out, as they say.  Also and somewhat inevitably, I have tinkered with it adding potatoes to the original to make it a complete one pan meal.

It is this sort of dish that I find an absolute Godsend on weekdays when I’m frazzled and need to think of (yet another) family supper that is quick, easy, undemanding, not too expensive and above all delicious – clean plates after all are what we want to see.  This ticks all those boxes, cooked in one pan which you can bring to the table, incorporates potatoes, meat and veg along with a super easy spice addition by way of the harissa. I refer you here to a comment I made about the original which still stands – “Crisp skinned chicken sliding off the bone in a spicy red jacket with crunchy greens to give verdant vigour!”

Chicken with Harissa and Broccolini

If you like things a little spicier feel free to add more harissa and if you want it a little saucier, add a glug of white wine with the final teaspoon of harissa.

1 tablespoon olive oil

8 chicken thighs, bone in and skin on

8 waxy potatoes, halved

5 teaspoons harissa paste

1 pack tenderstem broccolini

Chopped parsley (optional)

Preheat the oven to 190.  Put the potatoes and oil in a large baking pan and turn to coat.  Put half a teaspoon of harissa under the skin of each thigh and squidge a bit to spread.  Put the chicken in with the potatoes, season and roast 30 minutes.  Towards the end of this cooking time blanch the broccolini in boiling water for 1 minute and drain.  Remove the chicken from the oven, stir the last teaspoon of harissa into the cooking juices and then fit the broccoli in and around the chicken and potatoes (put some of the chicken on the potatoes if that helps).  Return to the oven for 10 minutes.  Season, sprinkle with parsley if you like and serve, this is enough for 2 adults and 2 children but you can multiply it at will.

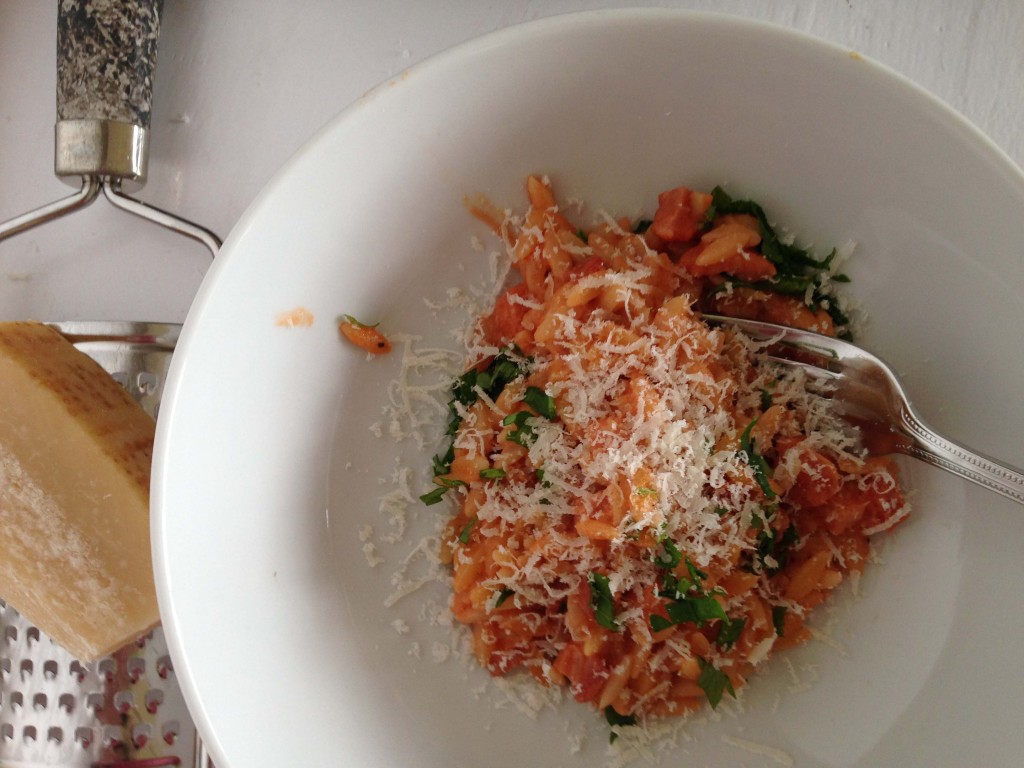
Orzo with Bacon, Tomato and Cream Sauce

Orzo with bacon and tomato

This is a winner.  A little girl (aged 3) recently came to stay and when it came to teatime she wasn’t in the mood for any nonsense.  I was fairly confident she would like this as my children adore it, even my son who is absolutely not the first to request pasta, ever.

When  the time came to serve though, I realised I had forgotten the vagaries of young children and must admit, felt a brief tremor of nerves.  Hurrah, it was a huge success and she polished off three helpings much to the panic of my daughter who was eyeing the reducing seconds in the pan with alarm.

So offer this with confidence and not only to children, I make no secret of loving it and am often to be caught sneaking a spoonful or two from the pan before it disappears.

Orzo with Bacon, Tomato and Cream Sauce

Orzo is a rice shaped pasta we have a particular fondness for but use any small shape you like. I keep those little rectangular packs of pancetta in the fridge and along with some small packs of passata in the larder this becomes an almost store cupboard supper.

125g orzo

1 teaspoon olive oil

100g pancetta, pack sizes vary and a little more won’t hurt if that is what you have

1 clove garlic, finely chopped

100g passata

2 tablespoons cream

A few sprigs of parsley, chopped

Parmesan

Cook the orzo according to the packet instructions, probably around 11 minutes.  Meanwhile put the pancetta into a large frying pan with a teaspoon of olive oil and cook until well coloured and crispy in places.  Add the garlic and cook for a minute before adding the passata, stir and cook for a few minutes before adding the cream.   Drain the pasta retaining a little of the cooking water.  Put the pasta into the sauce, stir until combined adding a little of the cooking water if you need it to loosen the sauce.  Grate over some parmesan, add the chopped parsley and serve with more parmesan to hand.  Serves two adults or three children.