A few of you may recognise this as one of my earliest recipes on these pages. So long ago in fact that it doesn’t even have a photograph. Although I cook my recipes over and over again this is the first time I’ve duplicated one here. The reason being I felt it lacked fanfare originally and is such a reliable and delicious lunch or supper that I thought it deserved a shout out, as they say. Also and somewhat inevitably, I have tinkered with it adding potatoes to the original to make it a complete one pan meal.
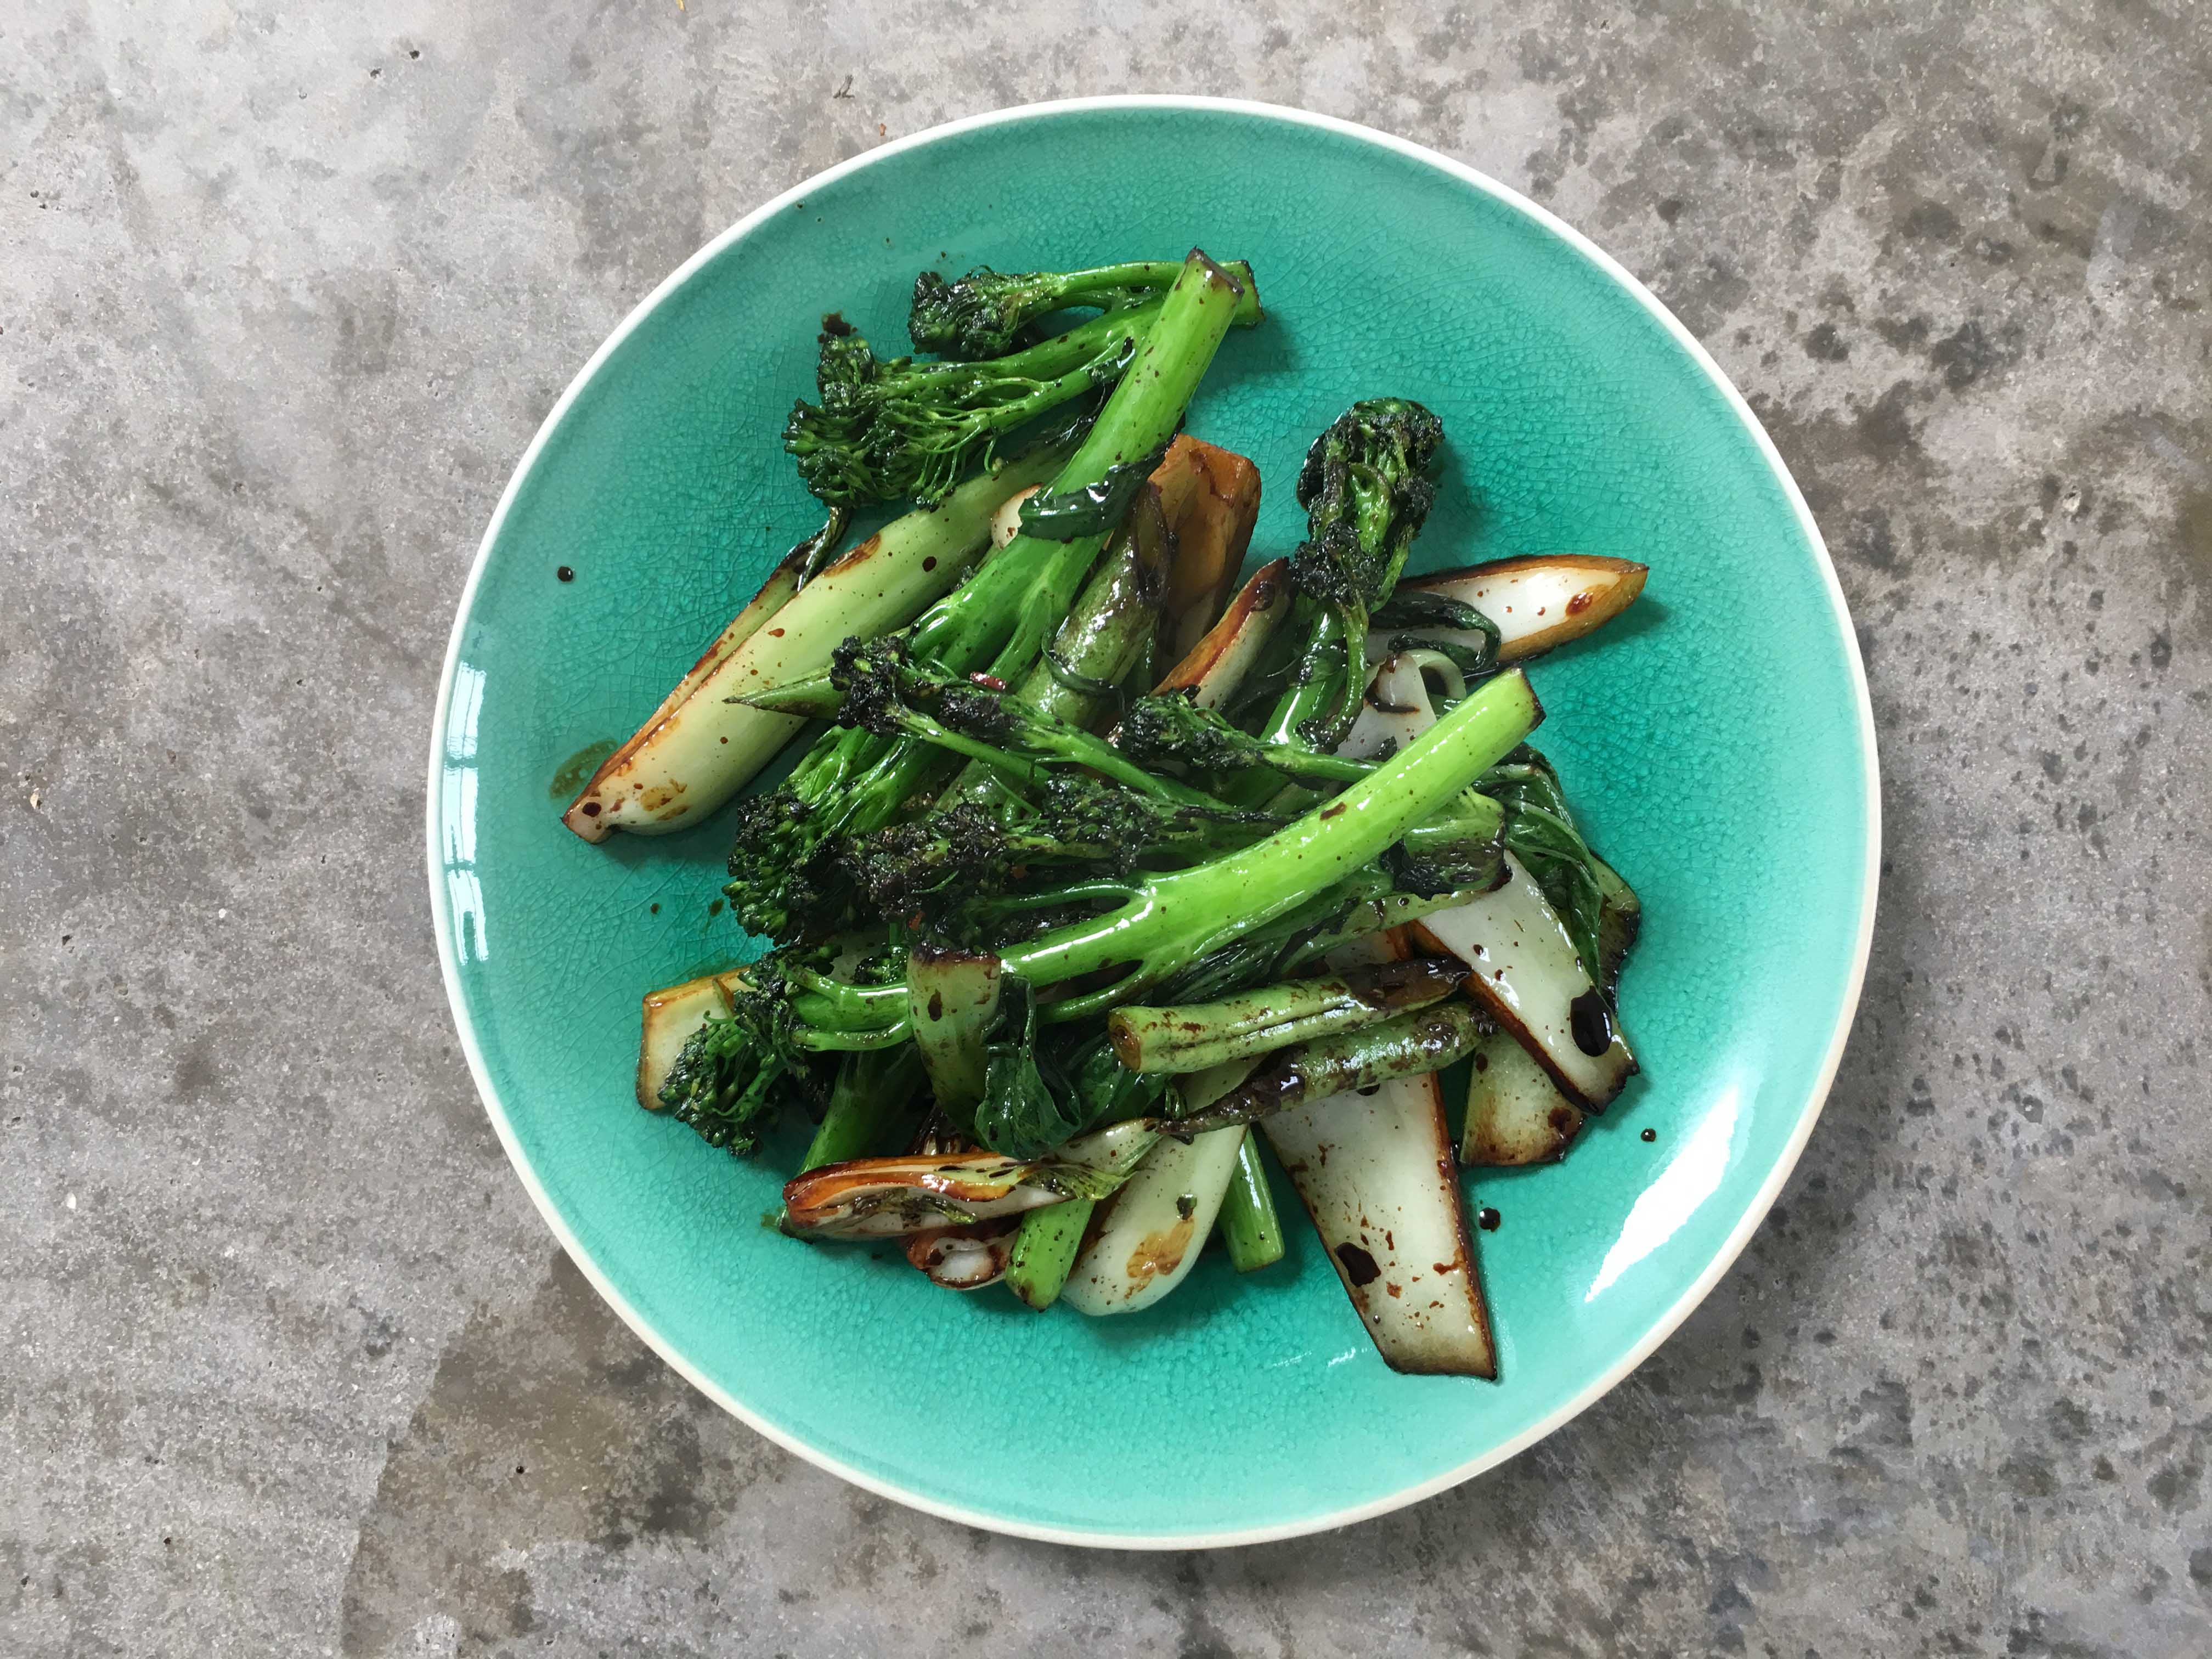
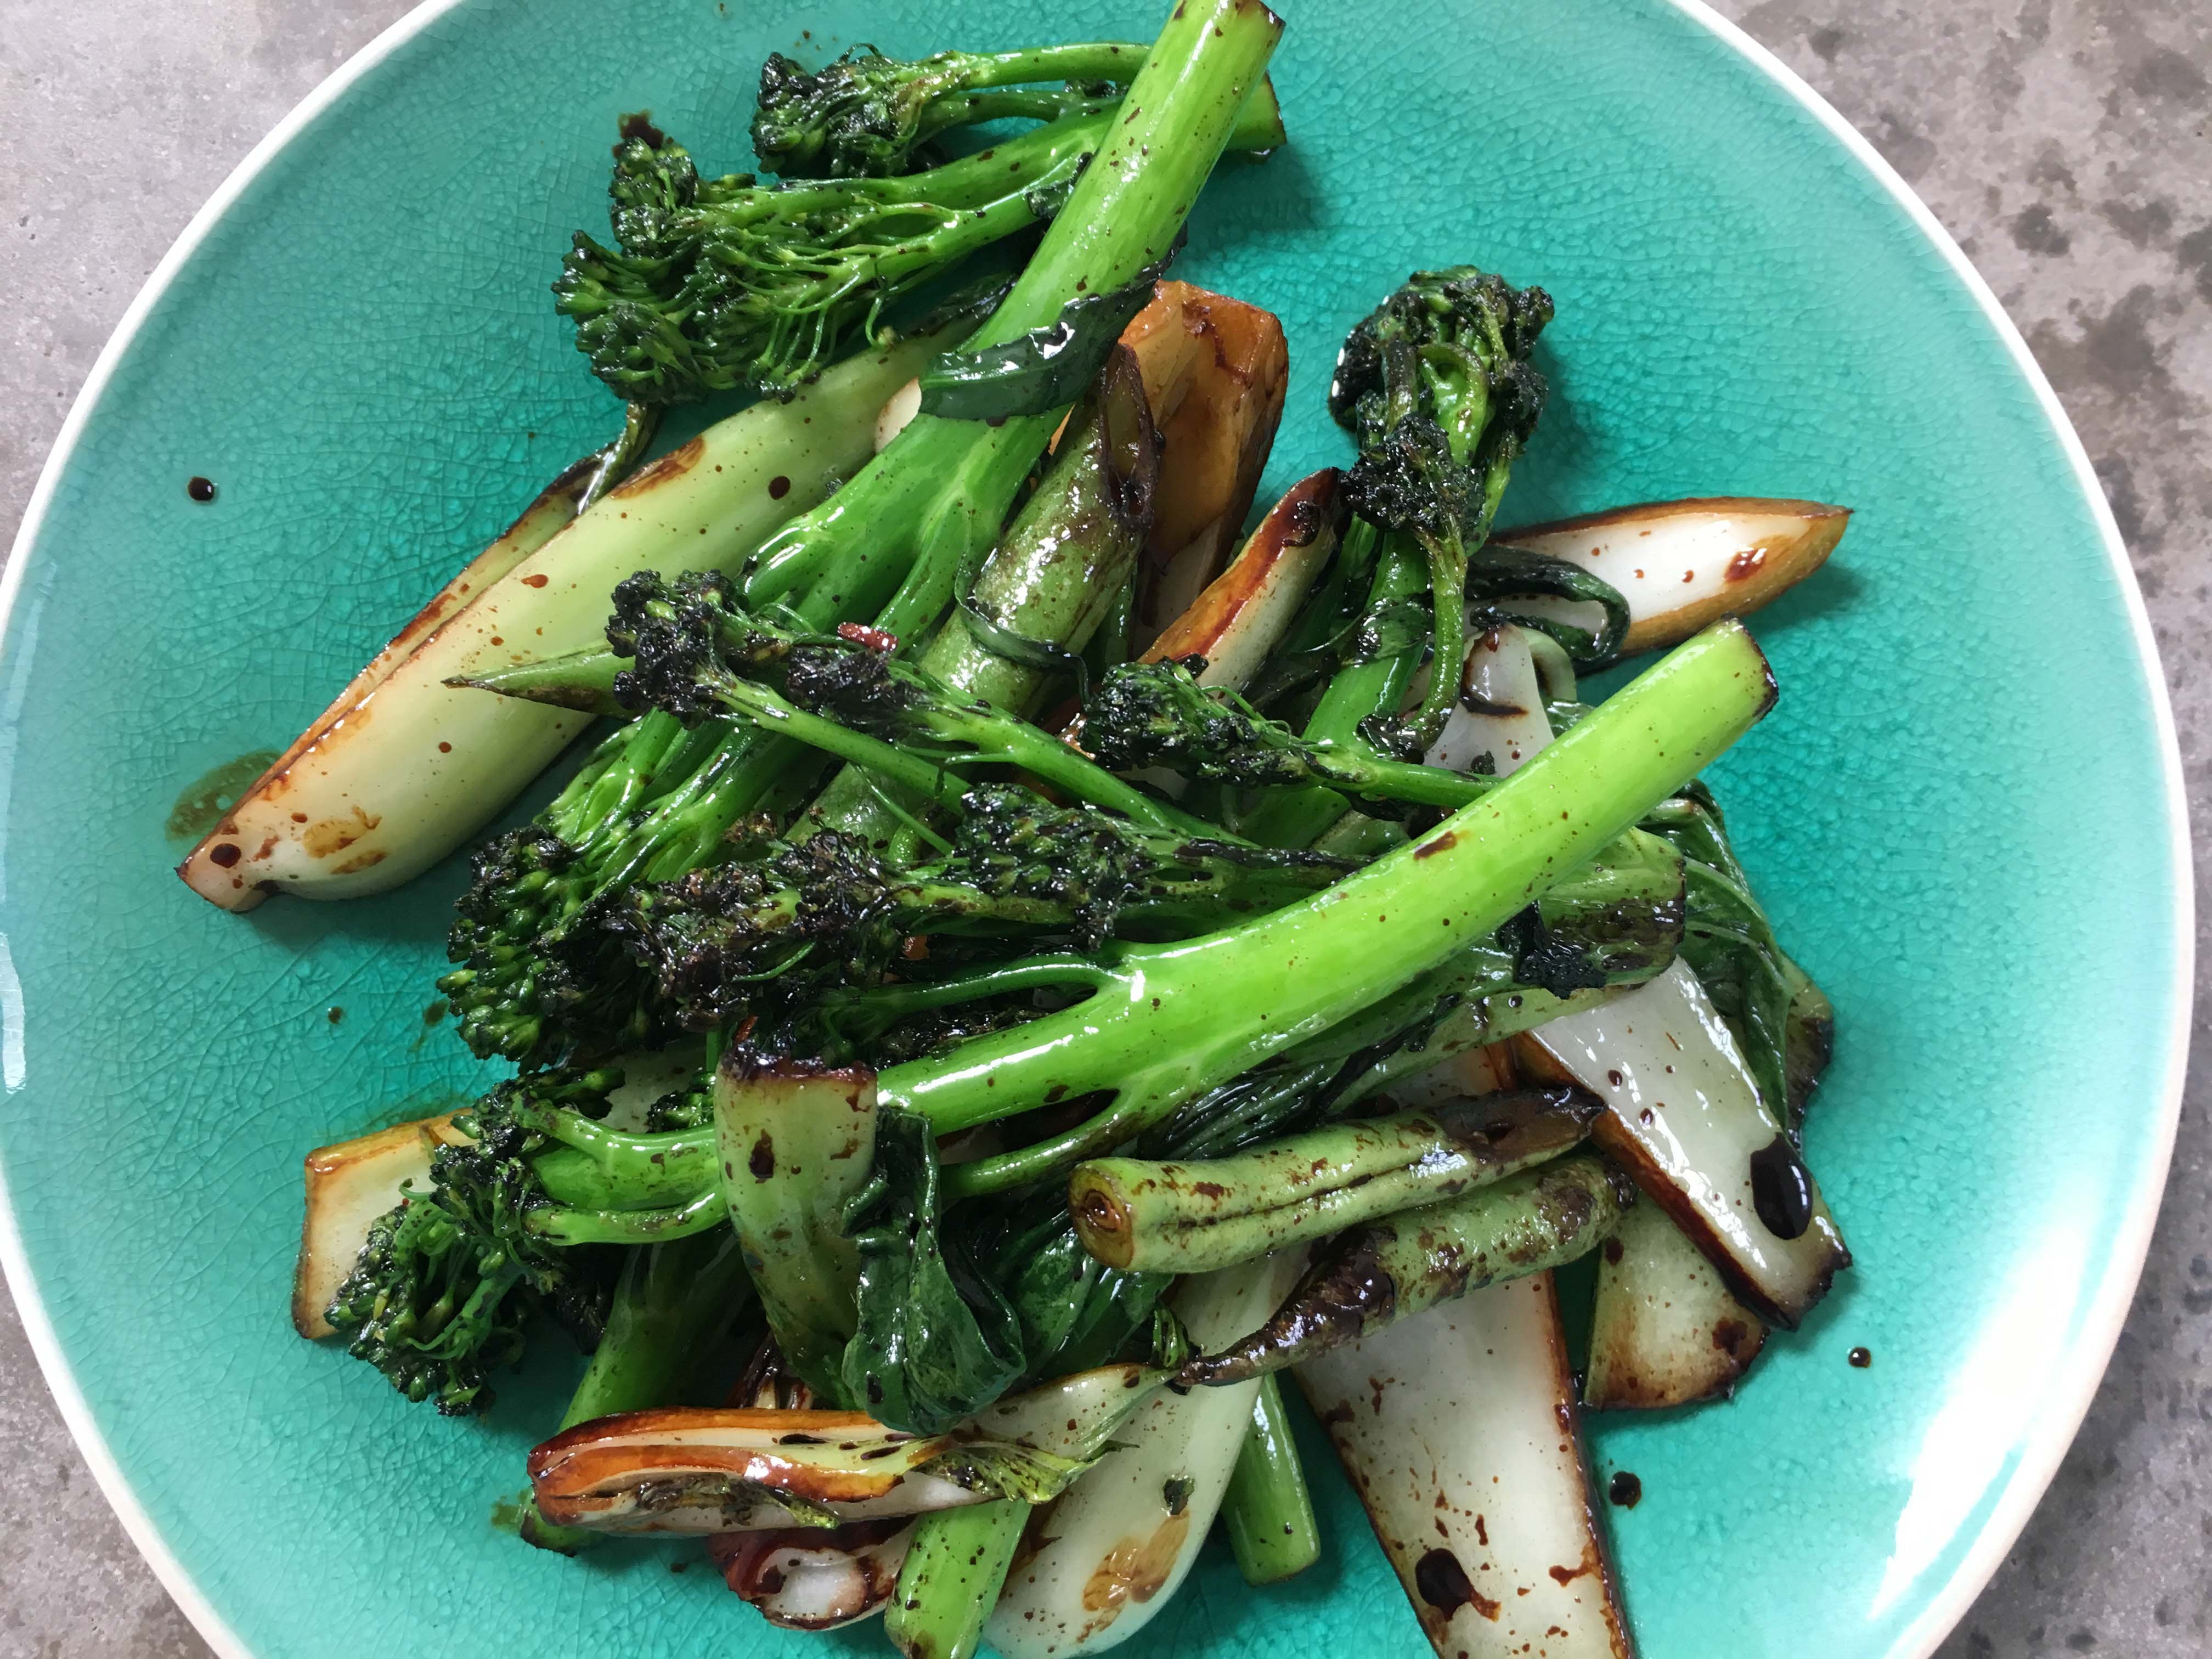
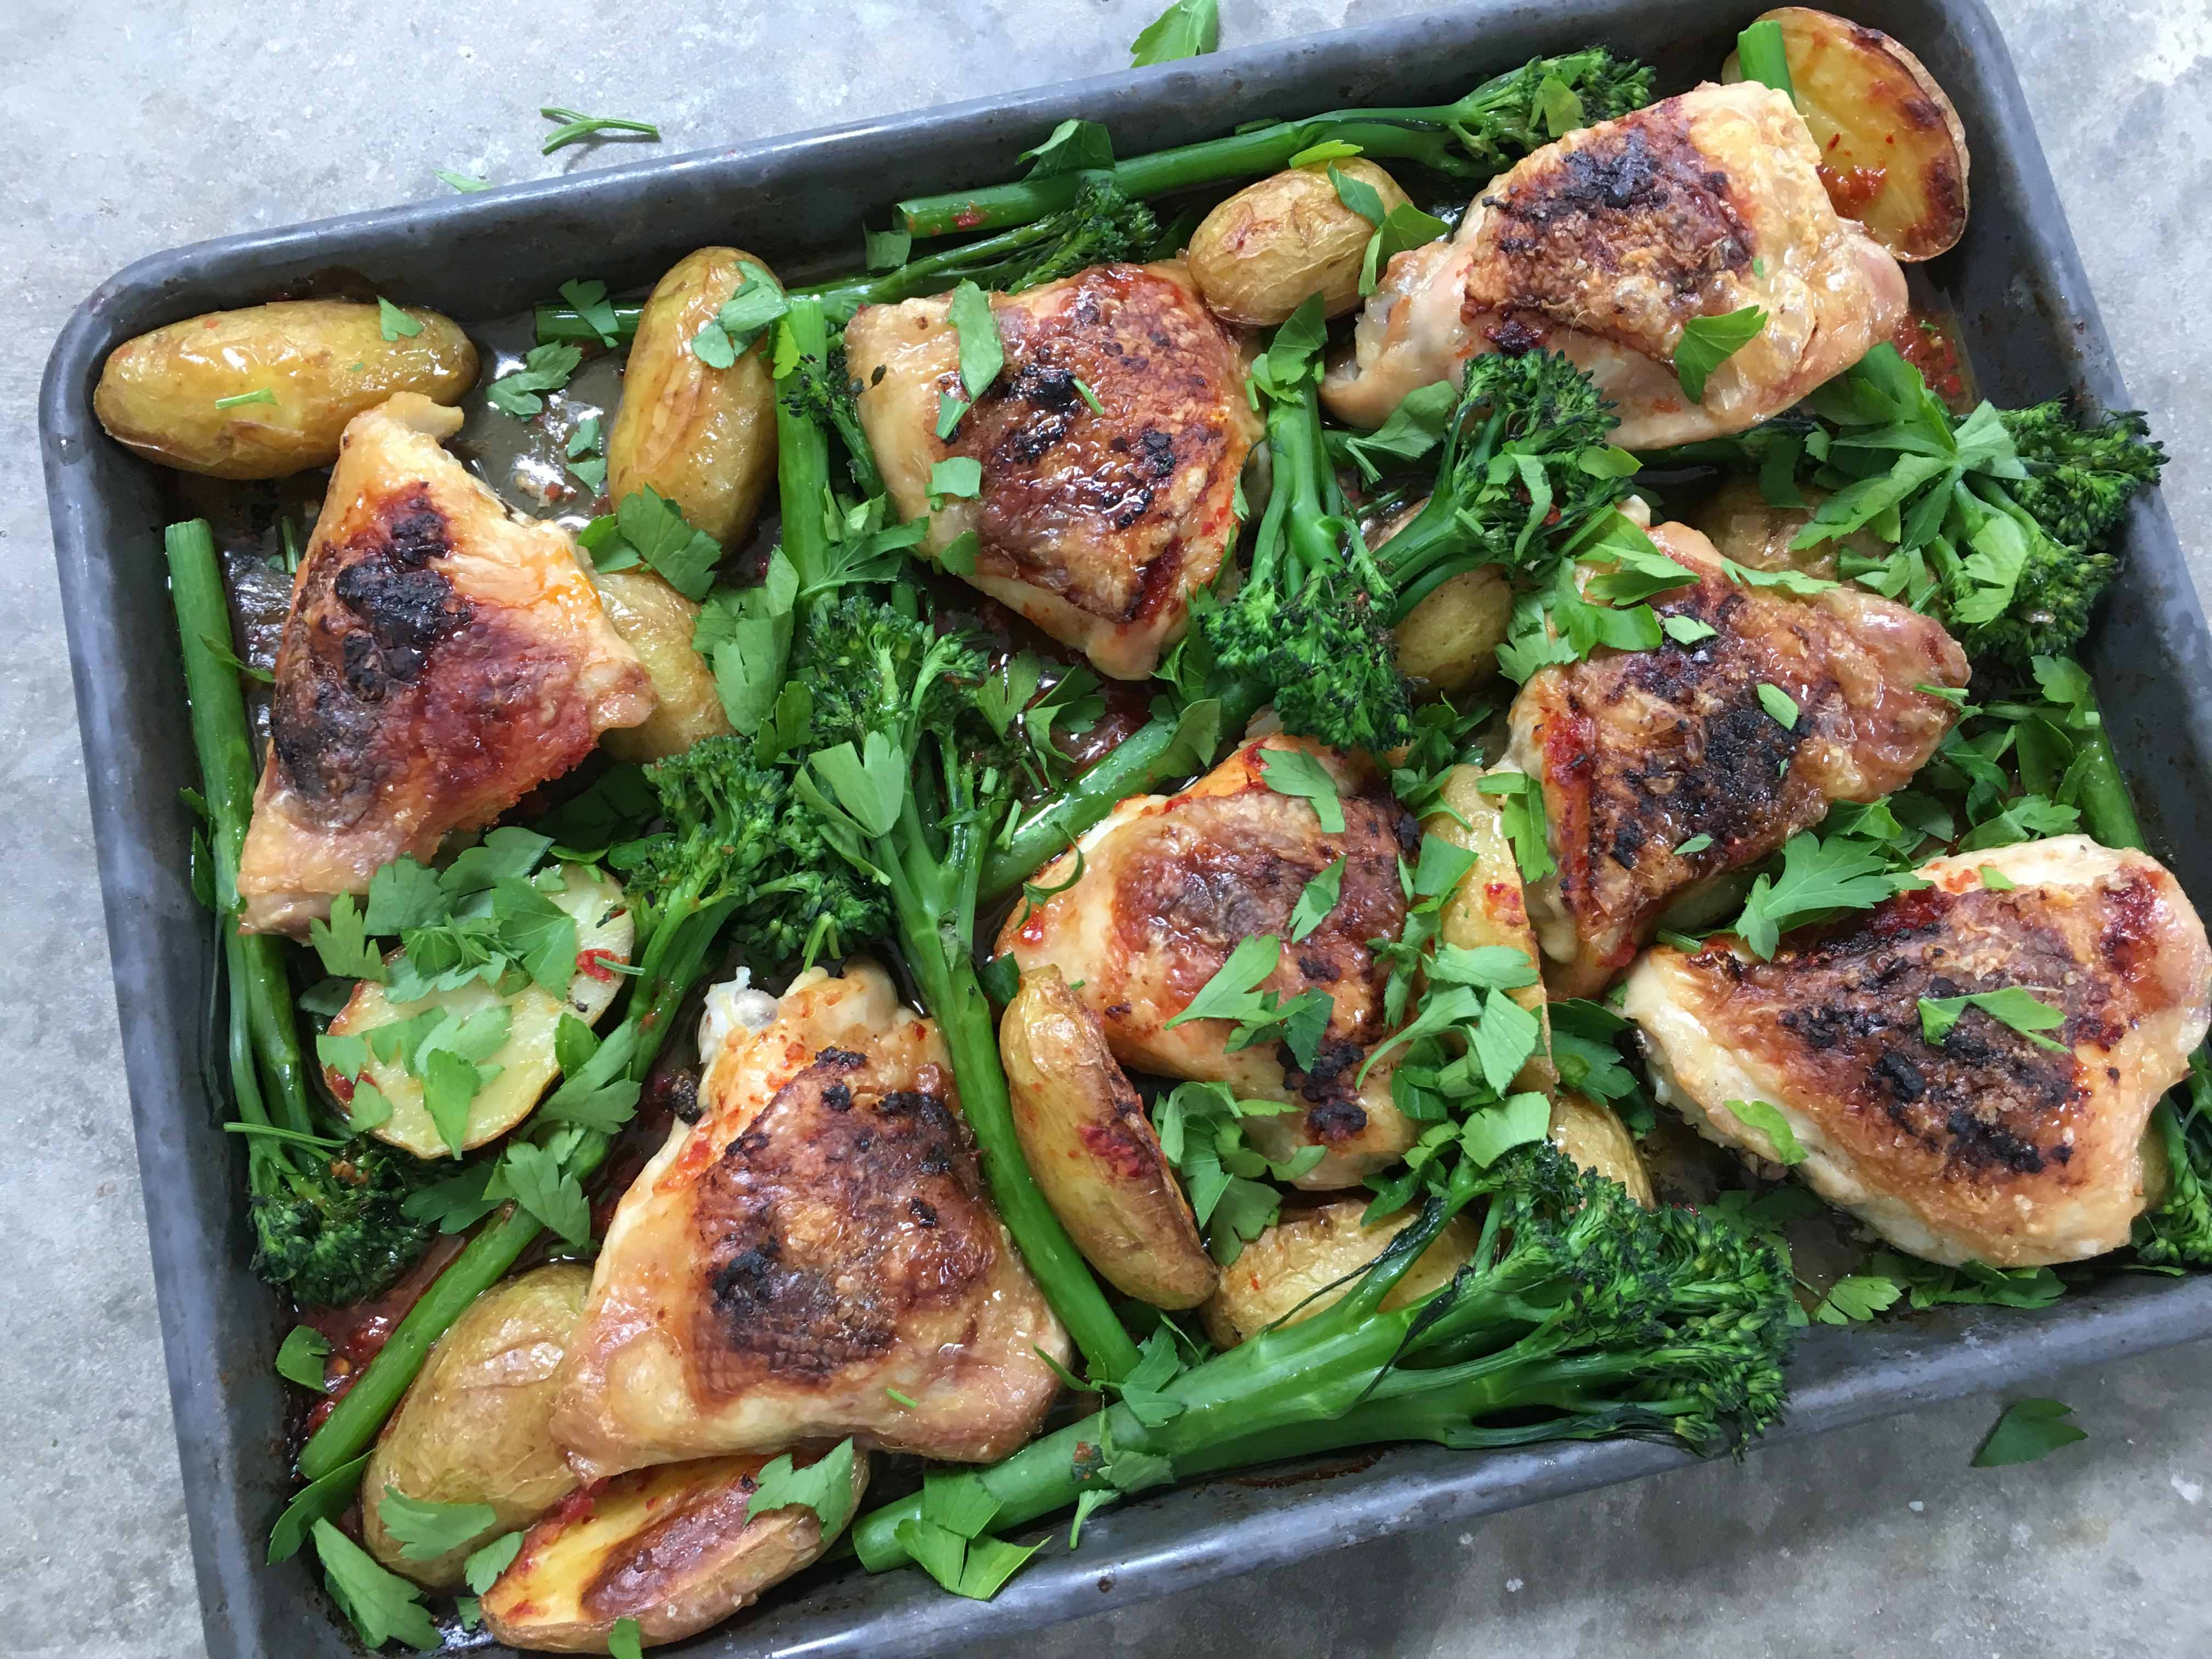
It is this sort of dish that I find an absolute Godsend on weekdays when I’m frazzled and need to think of (yet another) family supper that is quick, easy, undemanding, not too expensive and above all delicious – clean plates after all are what we want to see. This ticks all those boxes, cooked in one pan which you can bring to the table, incorporates potatoes, meat and veg along with a super easy spice addition by way of the harissa. I refer you here to a comment I made about the original which still stands – “Crisp skinned chicken sliding off the bone in a spicy red jacket with crunchy greens to give verdant vigour!”
Chicken with Harissa and Broccolini
If you like things a little spicier feel free to add more harissa and if you want it a little saucier, add a glug of white wine with the final teaspoon of harissa.
1 tablespoon olive oil
8 chicken thighs, bone in and skin on
8 waxy potatoes, halved
5 teaspoons harissa paste
1 pack tenderstem broccolini
Chopped parsley (optional)
Preheat the oven to 190. Put the potatoes and oil in a large baking pan and turn to coat. Put half a teaspoon of harissa under the skin of each thigh and squidge a bit to spread. Put the chicken in with the potatoes, season and roast 30 minutes. Towards the end of this cooking time blanch the broccolini in boiling water for 1 minute and drain. Remove the chicken from the oven, stir the last teaspoon of harissa into the cooking juices and then fit the broccoli in and around the chicken and potatoes (put some of the chicken on the potatoes if that helps). Return to the oven for 10 minutes. Season, sprinkle with parsley if you like and serve, this is enough for 2 adults and 2 children but you can multiply it at will.