Could this be the most useful recipe ever? These flatbreads certainly have the power to transform and are quite delicious. I am not a huge fan of those frisbee like flatbreads or tortillas available in most shops. Flimmy flammy in texture, always rather chewy and disappointing – definitely the single reason I never buy filled wraps. If you are lucky enough to live near a Middle Eastern shop you will probably be able to lay your hands on top notch authentic flatbreads which are an absolute treat. Failing that, make these – they are utterly delicious, soft and pliable, completely moreish – perfect to step in when you may need a pita, wrap or bread roll.
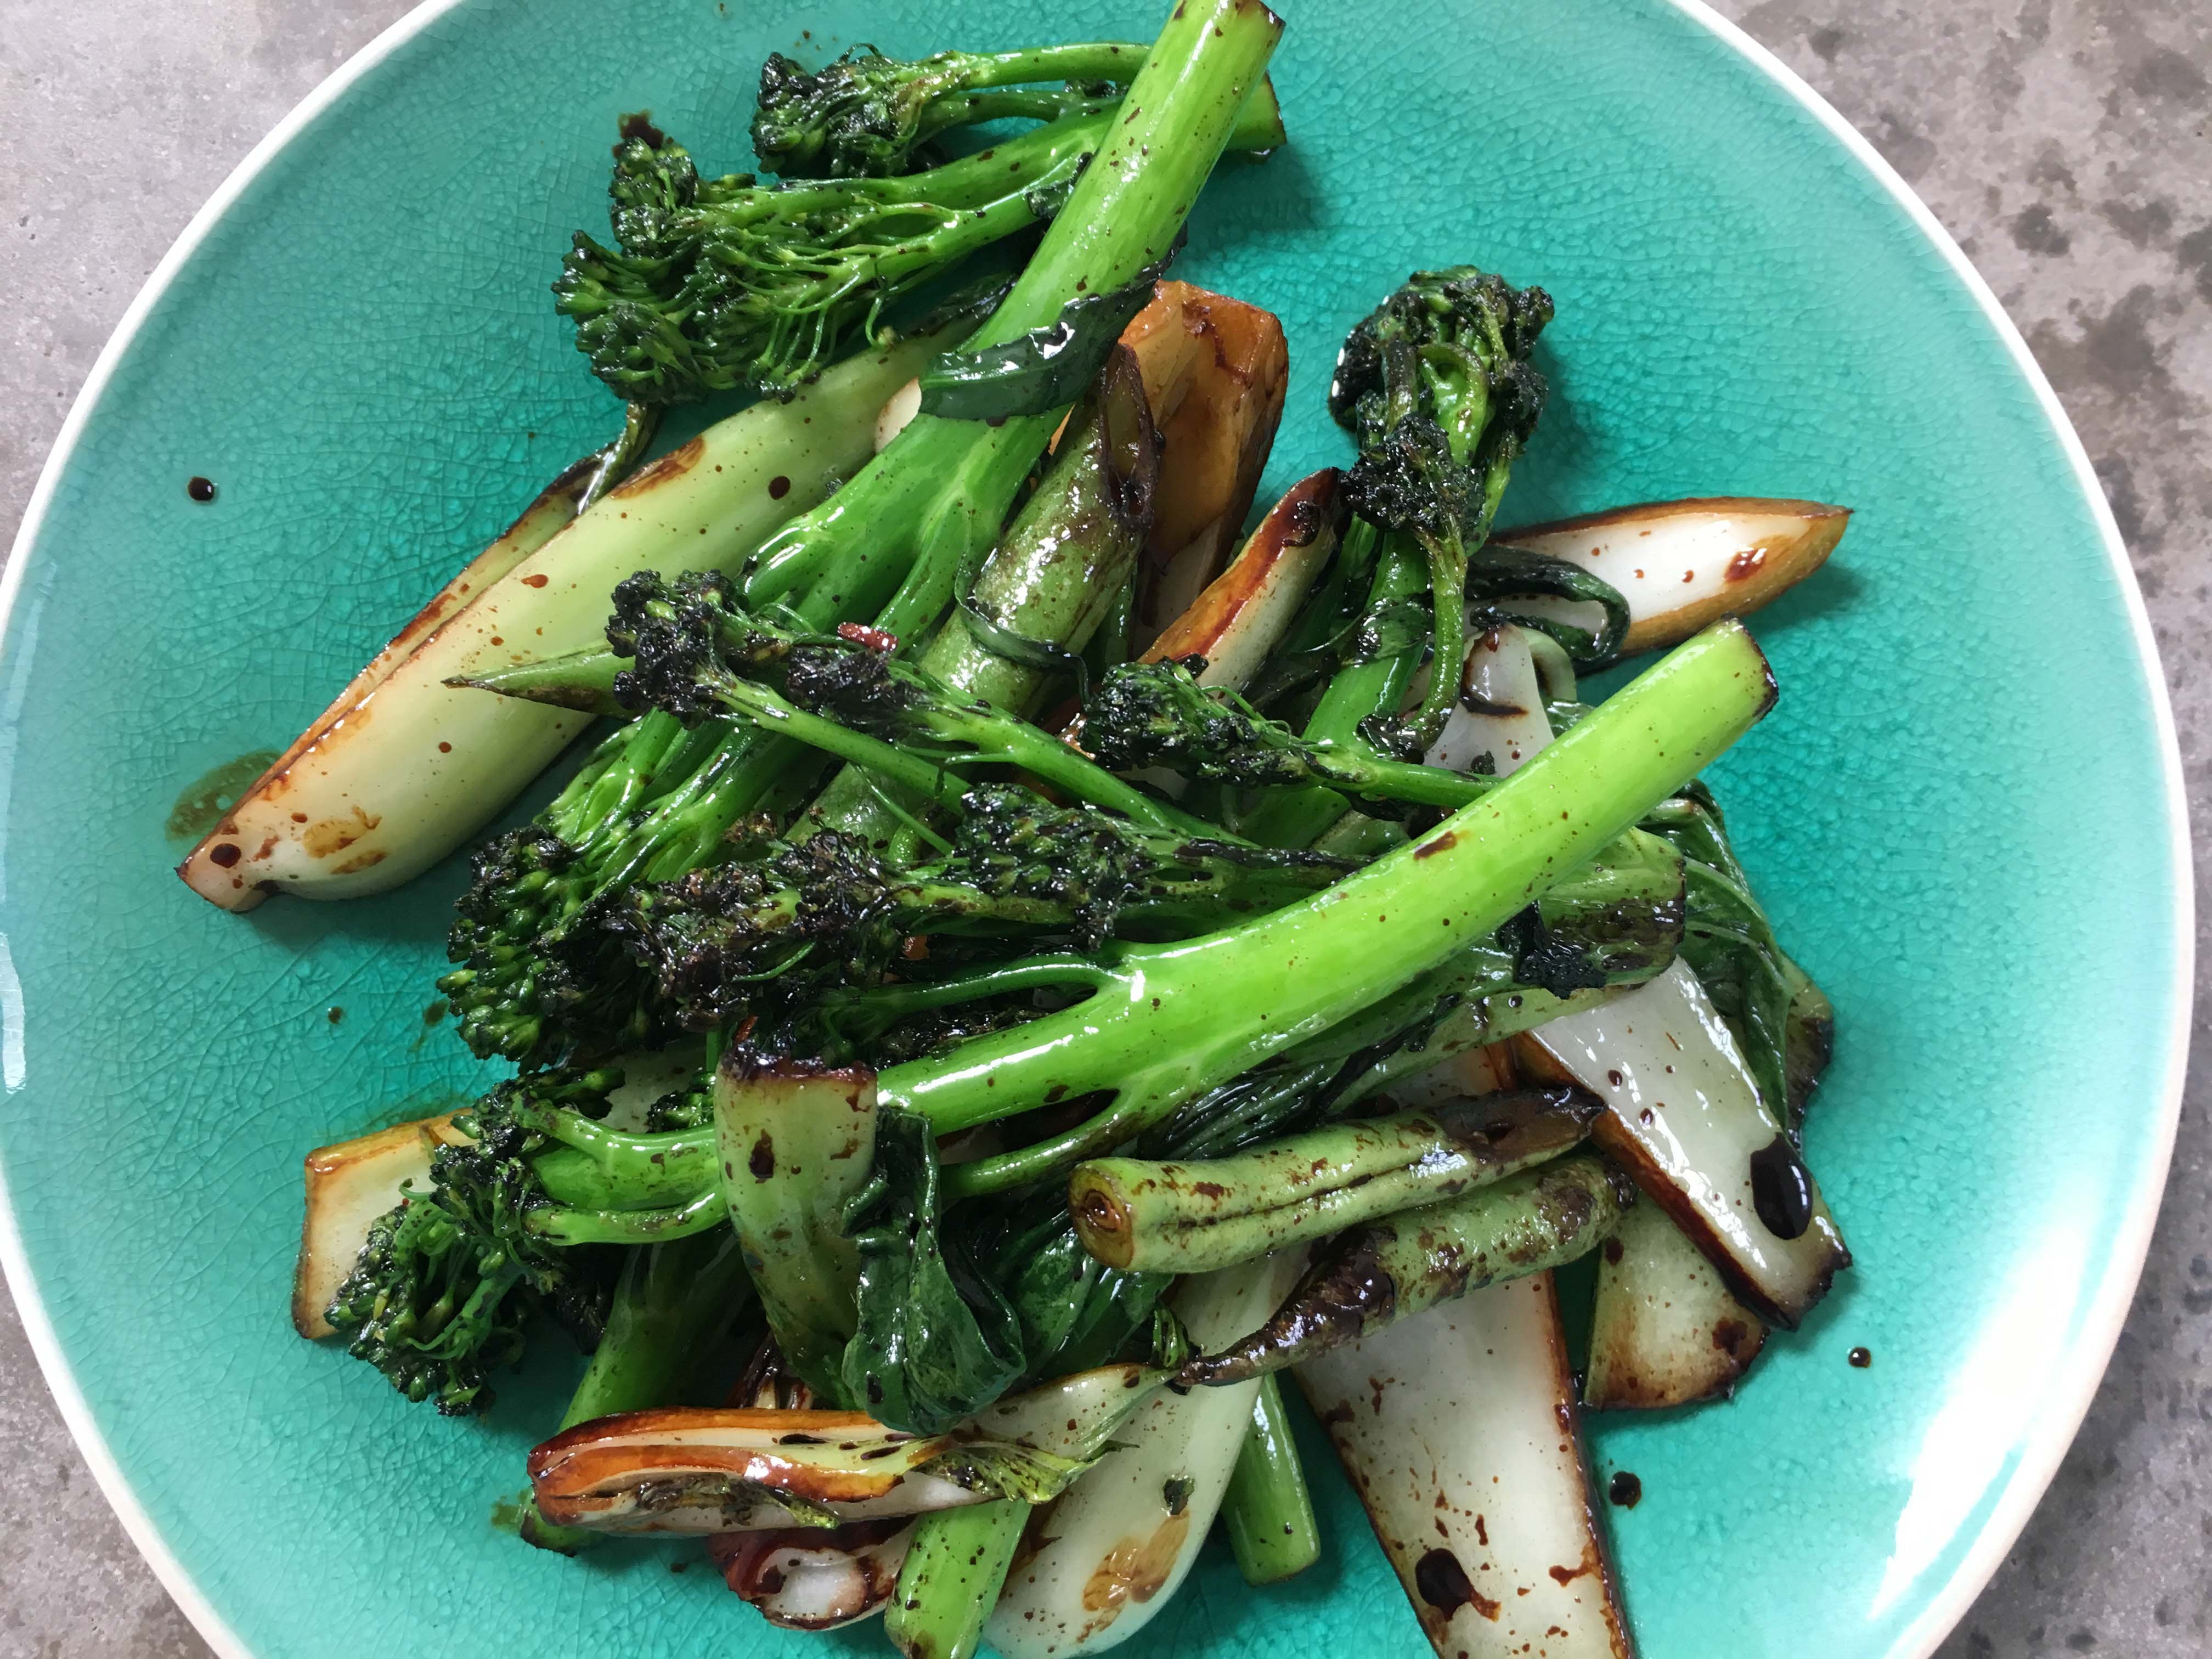
Fajitas in these flatbreads are sensational, try Camp Fajitas, (July 2016) or the Lamb Meatballs (October 2012). Wrap one around a sausage with slow cooked onions or Firecracker Red Cabbage (November 2013) for a Bonfire night treat. If I want to serve these alongside a curry, say the Prawn Curry (November 2012) I will add a scattering of nigella/black onion seeds when rolling out for that naan bread vibe. Use them to dip into hummus or any other dips, Cannellini Bean, Parsley and Lemon dip, (April 2015) or with leftover chilli to fashion an unconventional burrito. If serving them simply torn to go with a stew or dips then roll in whatever you like, finely chopped rosemary or thyme, a sprinkle of oregano, chilli flakes or cumin seeds…. Customise them at your will.
I have tried many, many different recipes for flatbreads and still love those made with a yeast risen dough but these are the ones to turn to in a hurry. I always have yogurt in the fridge and flour in the cupboard – these are super quick, just the mixing of a few ingredients, rolling out and cooking in a hot pan. Life changing.
Quick and Easy Flatbreads
As you can imagine these are at their best when just cooked – this shouldn’t be a problem as they are so good they often don’t make it to the table in our house. If you want to make ahead I recommend you mix the dough whenever it suits and then wrap in clingfilm until you are ready to cook the flatbreads. I often put the dough together in the morning when I have 5 spare minutes ready to whip up the flatbreads later in the day but it will happily sit in the fridge for day if that suits you better. I’ve used most kinds of yogurt and they all work, earlier this week I used a mix of both Greek and natural because I wanted to finish one pot before I opened the other and the flatbreads were perfect. You may need a drop more yogurt or a sprinkle more flour sometimes as flours can behave differently but 200/200 is usually right. I can’t recommend them highly enough!
200g self-raising flour
Large pinch of fine salt
1/2 teaspoon baking powder
1 tablespoon olive oil, plus a little extra for brushing the flatbreads for cooking
200g yogurt, any kind will do, I’ve used both Greek and regular natural yogurt or even a mix (see introduction).
Sea salt (optional)
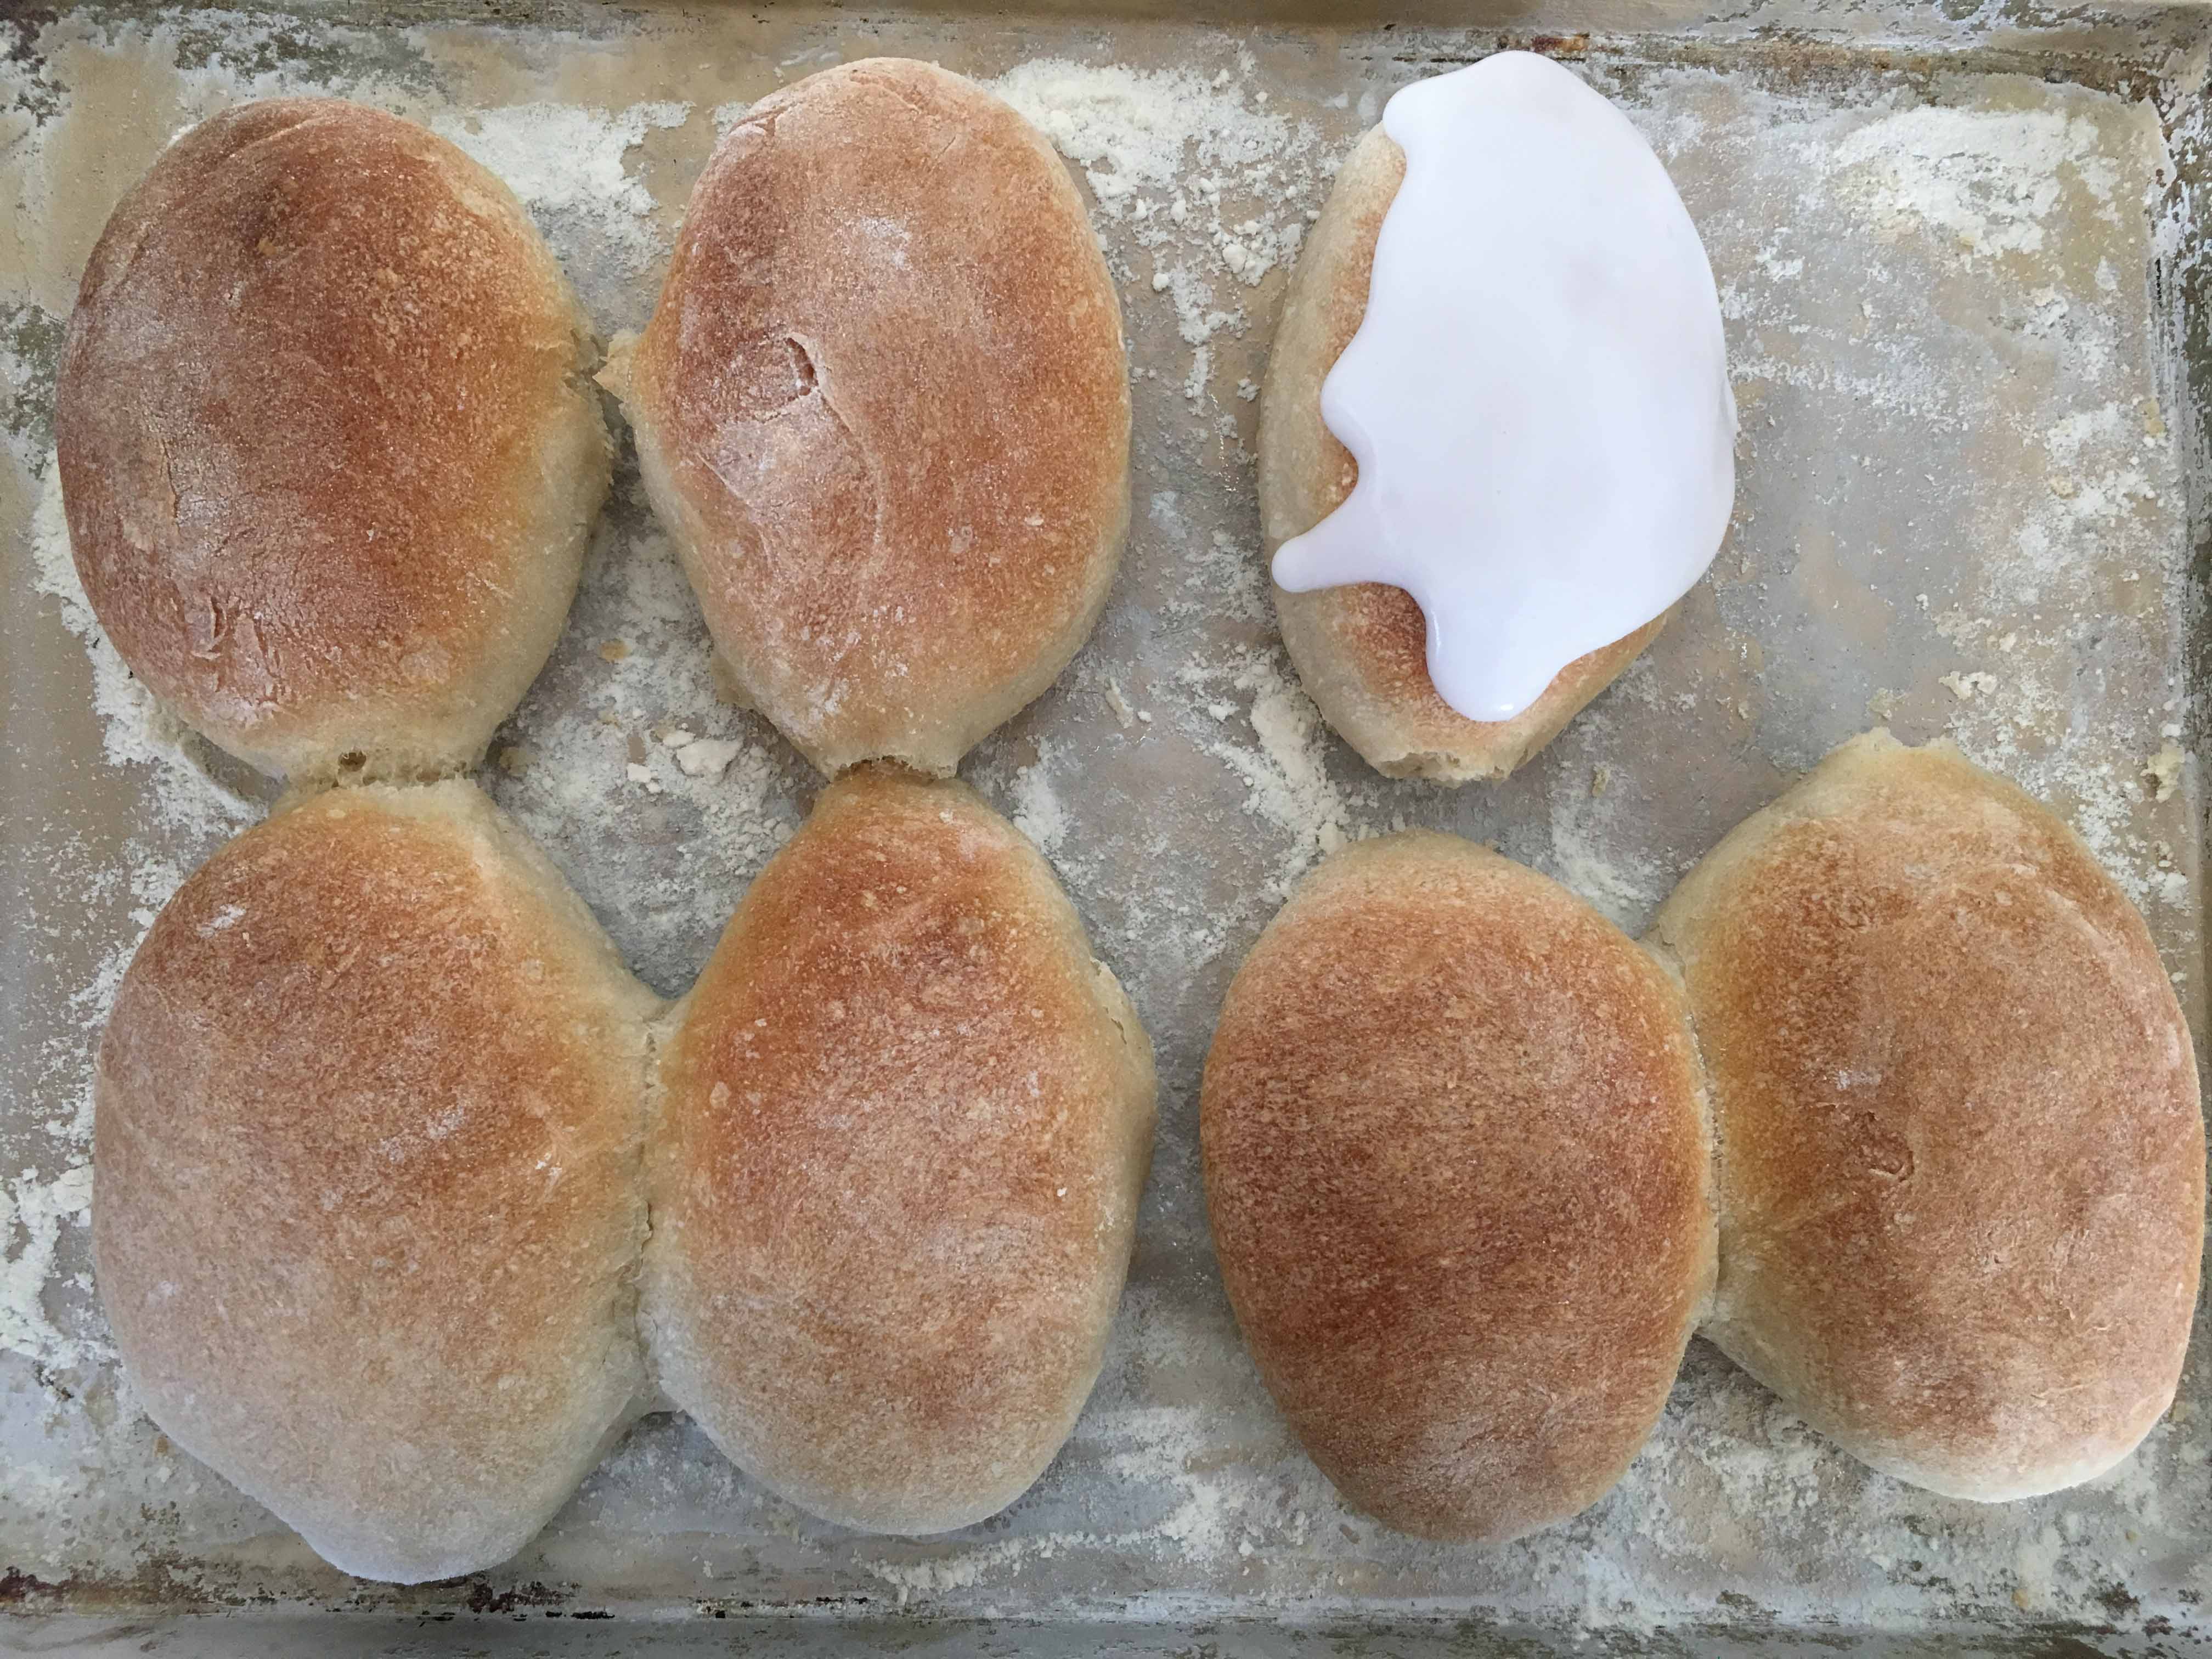
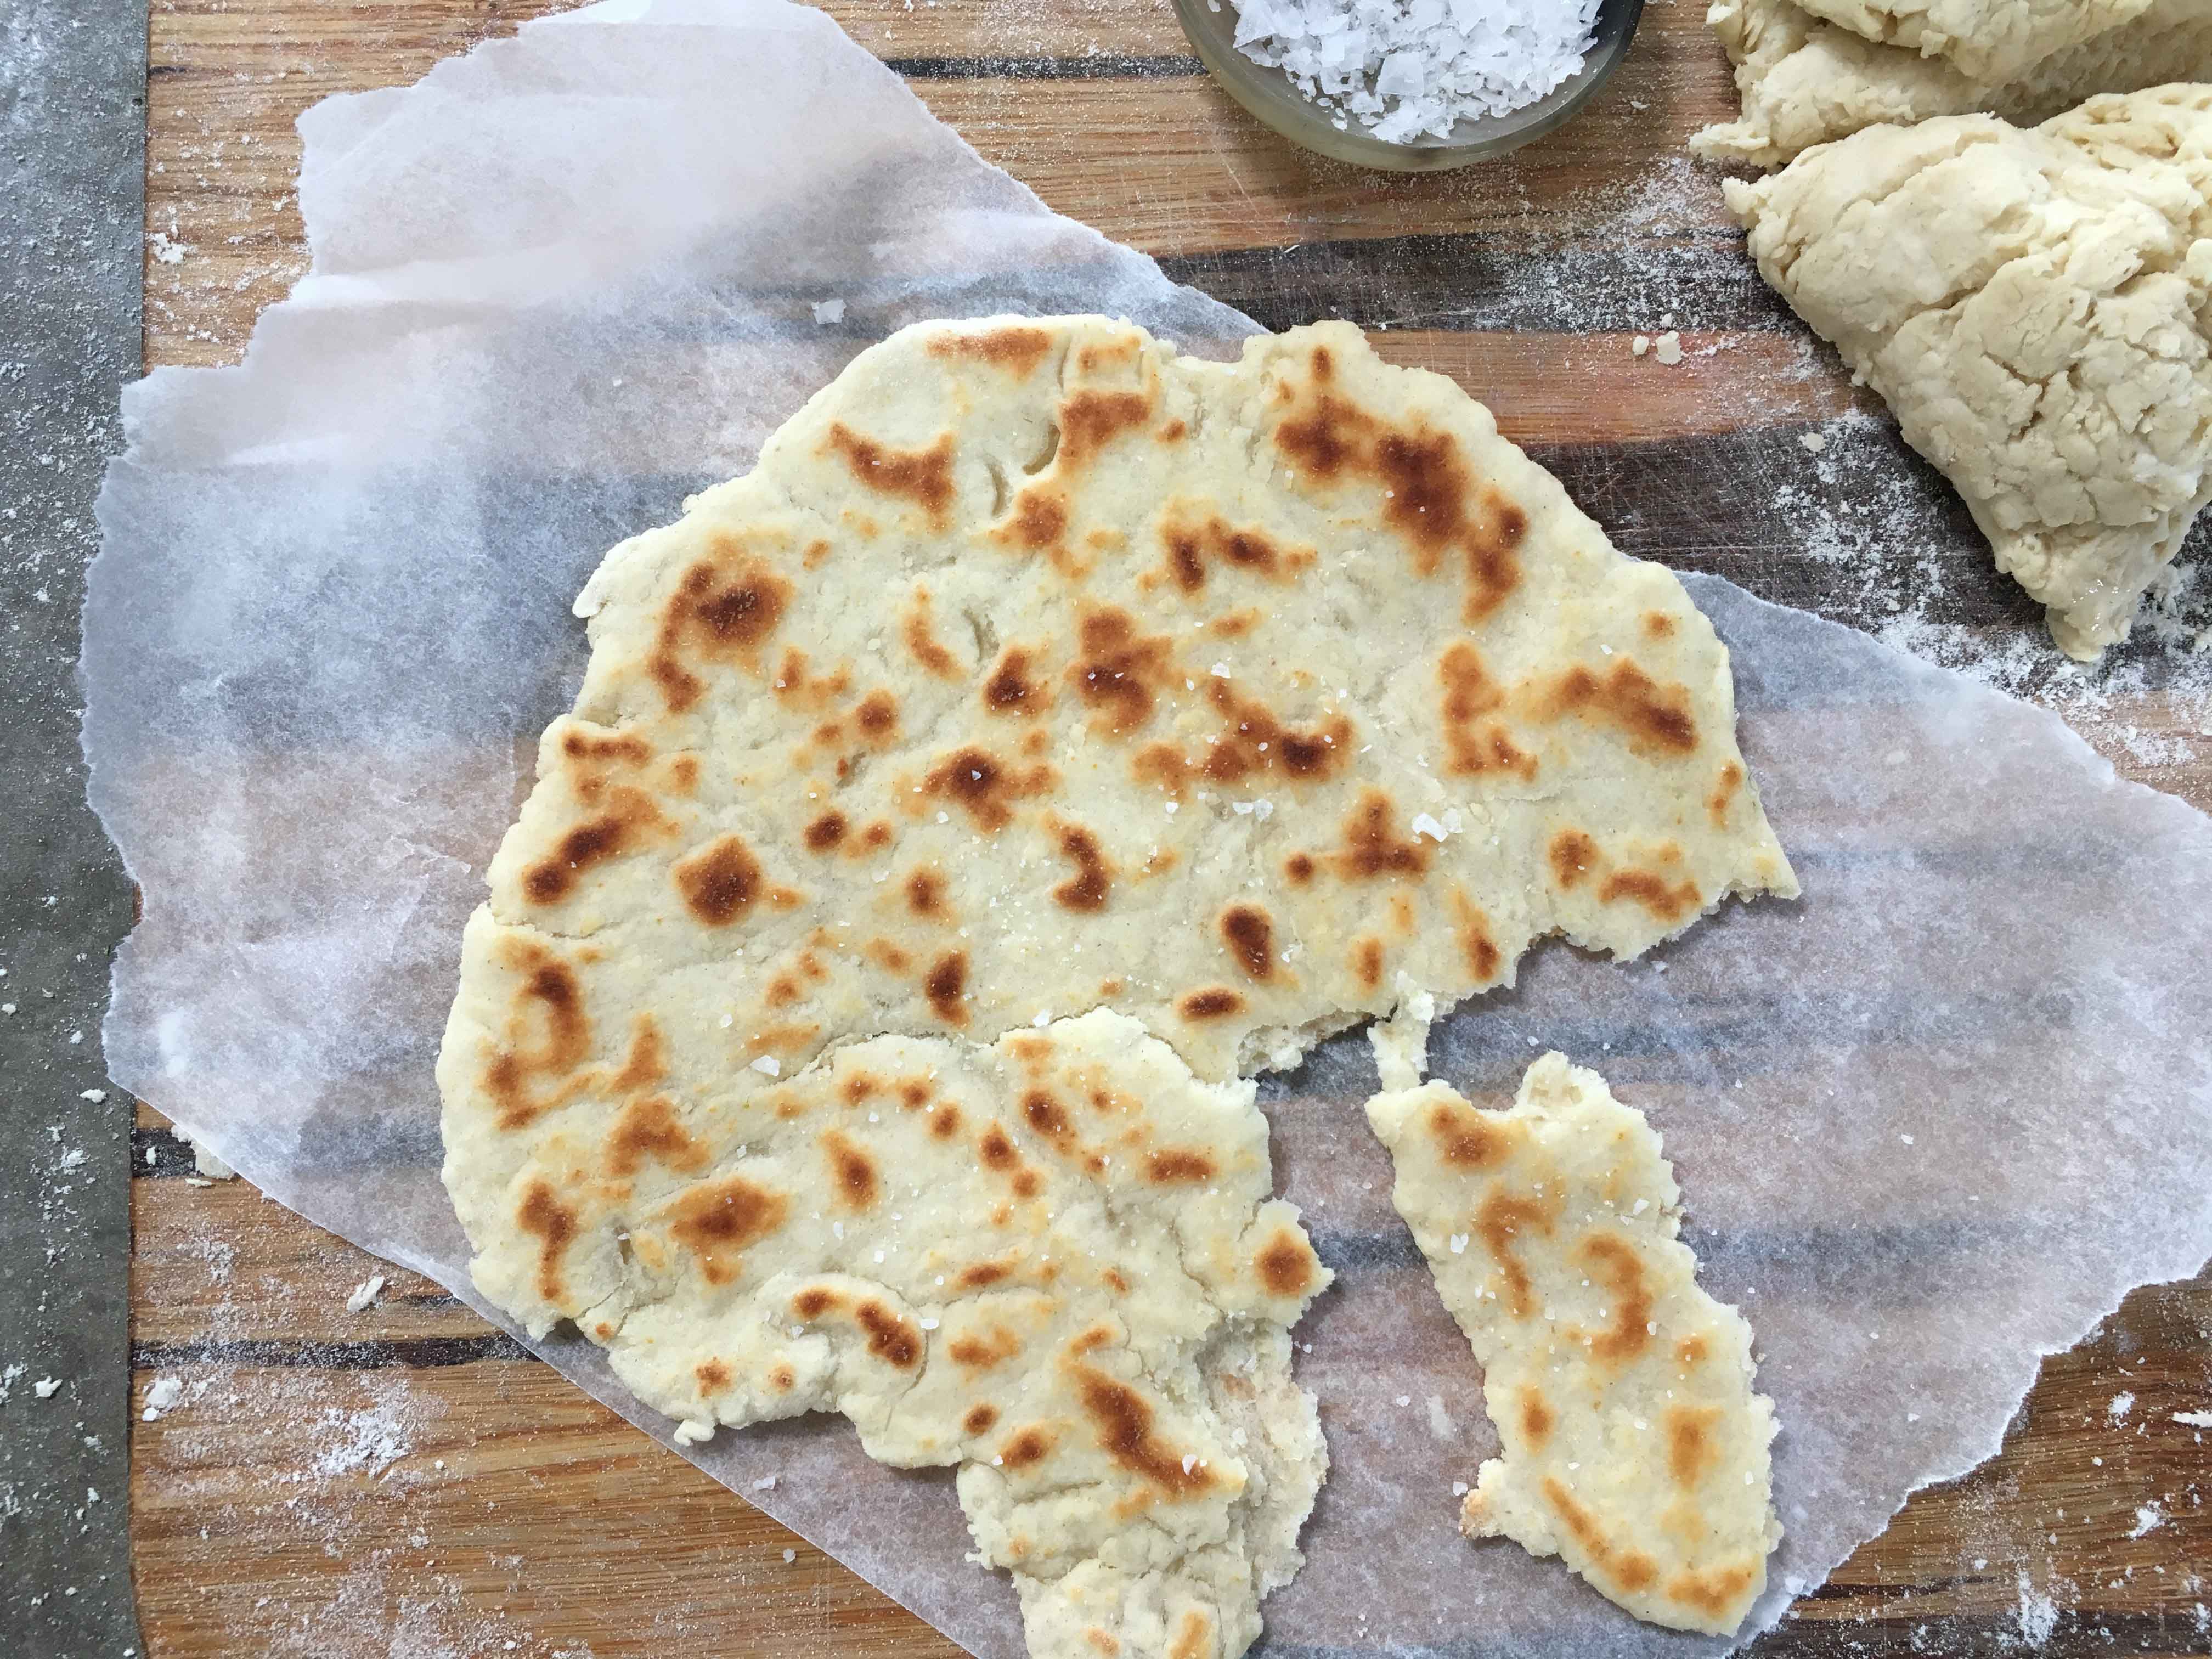
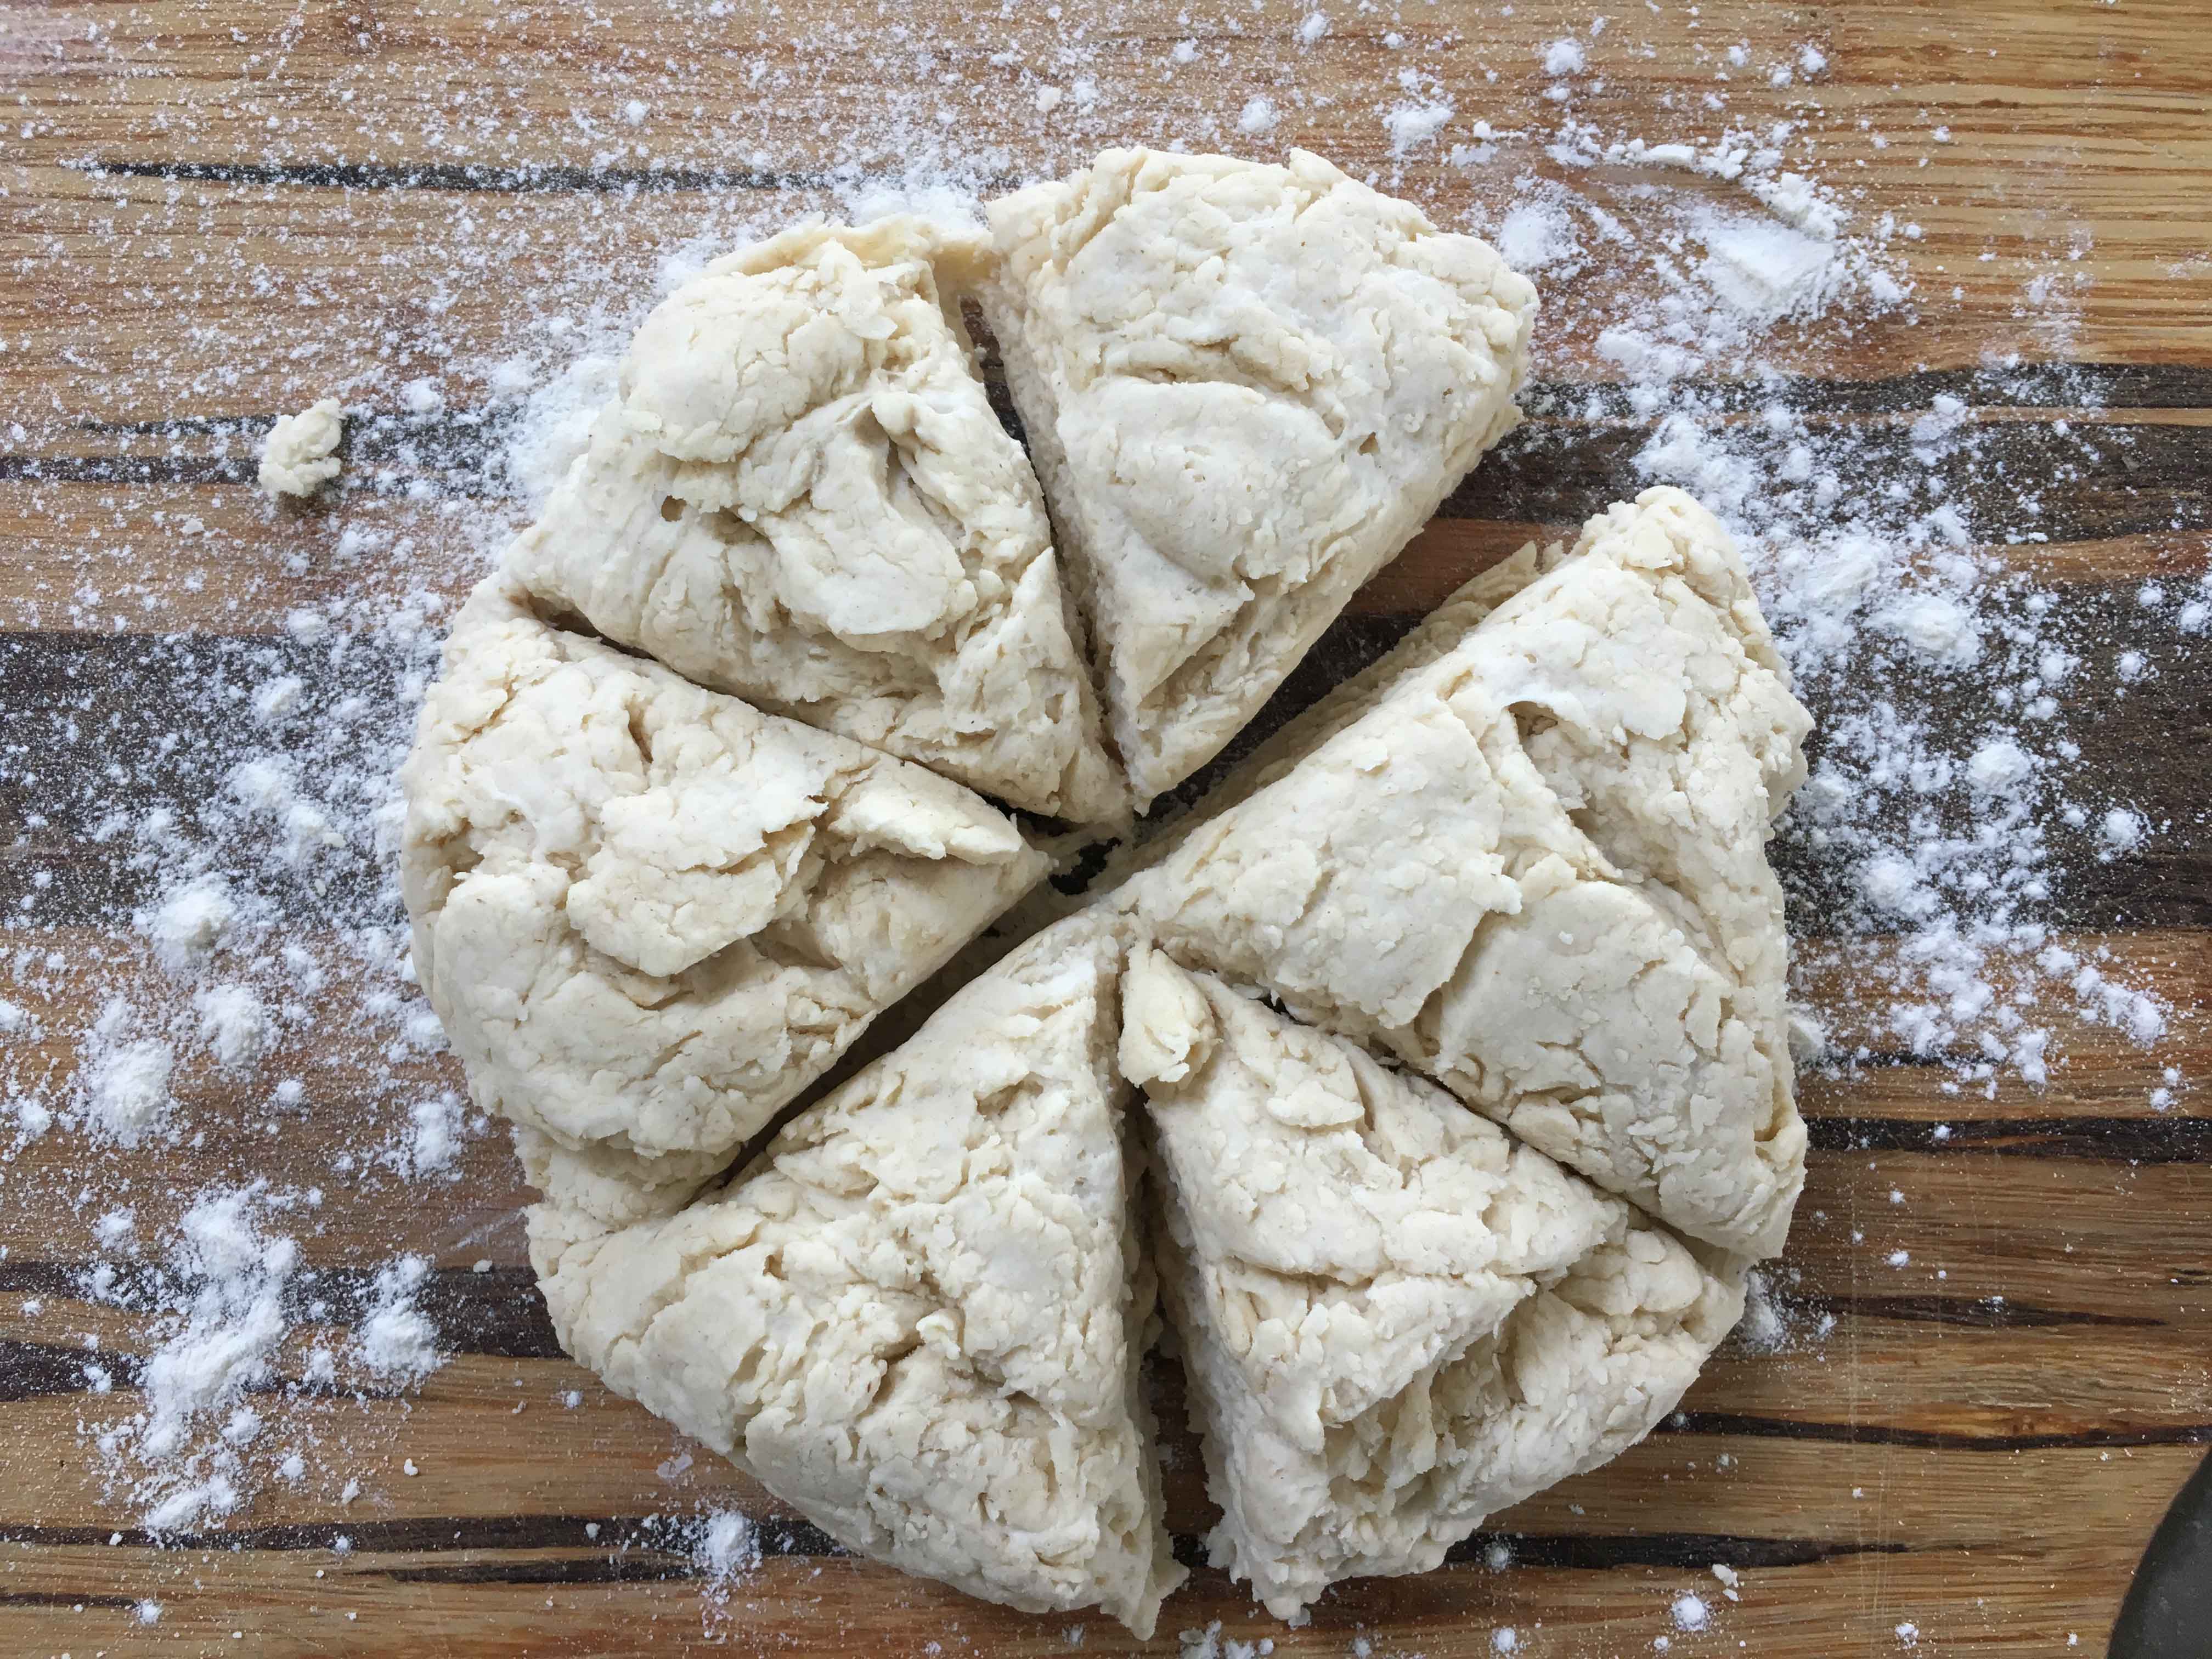
Mix the flour, salt, baking powder, oil and yogurt to a dough. Form into a ball, flatten and divide into 6 (or 4 if you want larger flatbreads). Roll these out on a floured surface until the size of a side plate (now is the time to add any flavourings such as nigella seeds – see introduction). Heat a frying pan over a medium heat, brush one side of the flatbread and put it oiled side down in the pan, cook for a few minutes until turning golden then brush the uppermost side with oil and turn to cook that side. This whole process with take a matter of minutes. Repeat with the remaining dough. Sprinkle with a little salt when warm but I warn you this makes them irresistable…. Makes 6.