Plum Galette

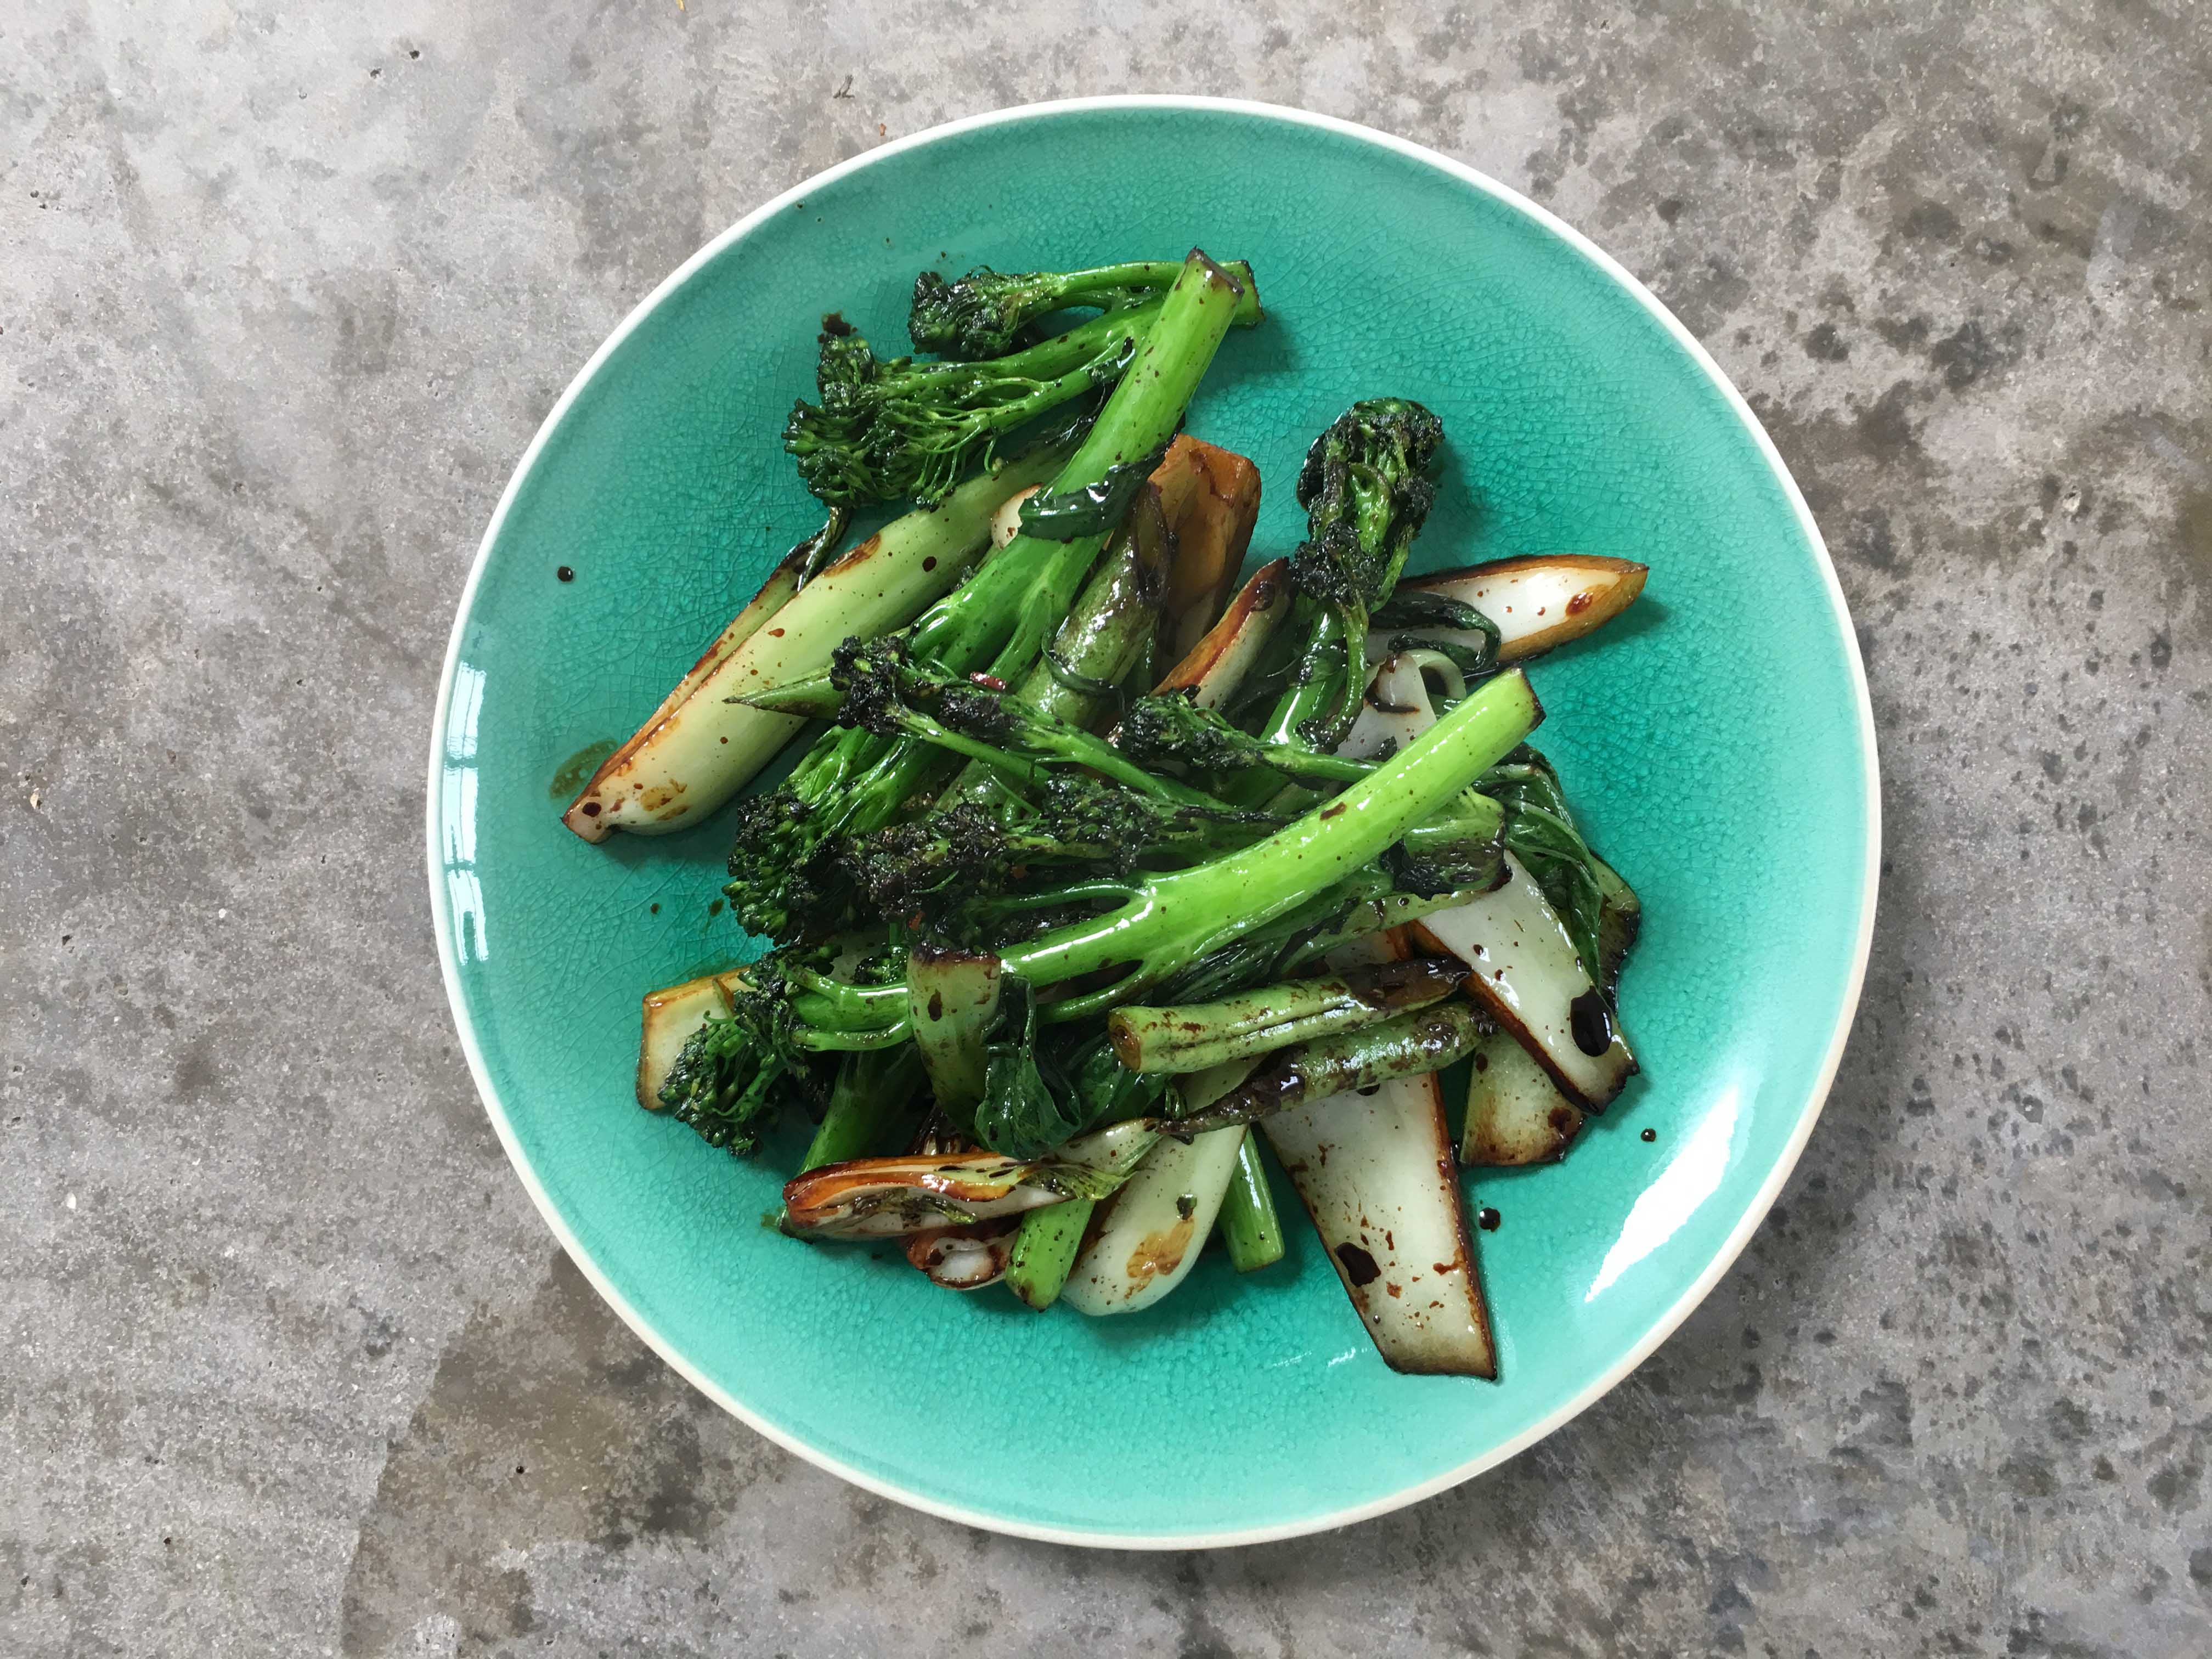
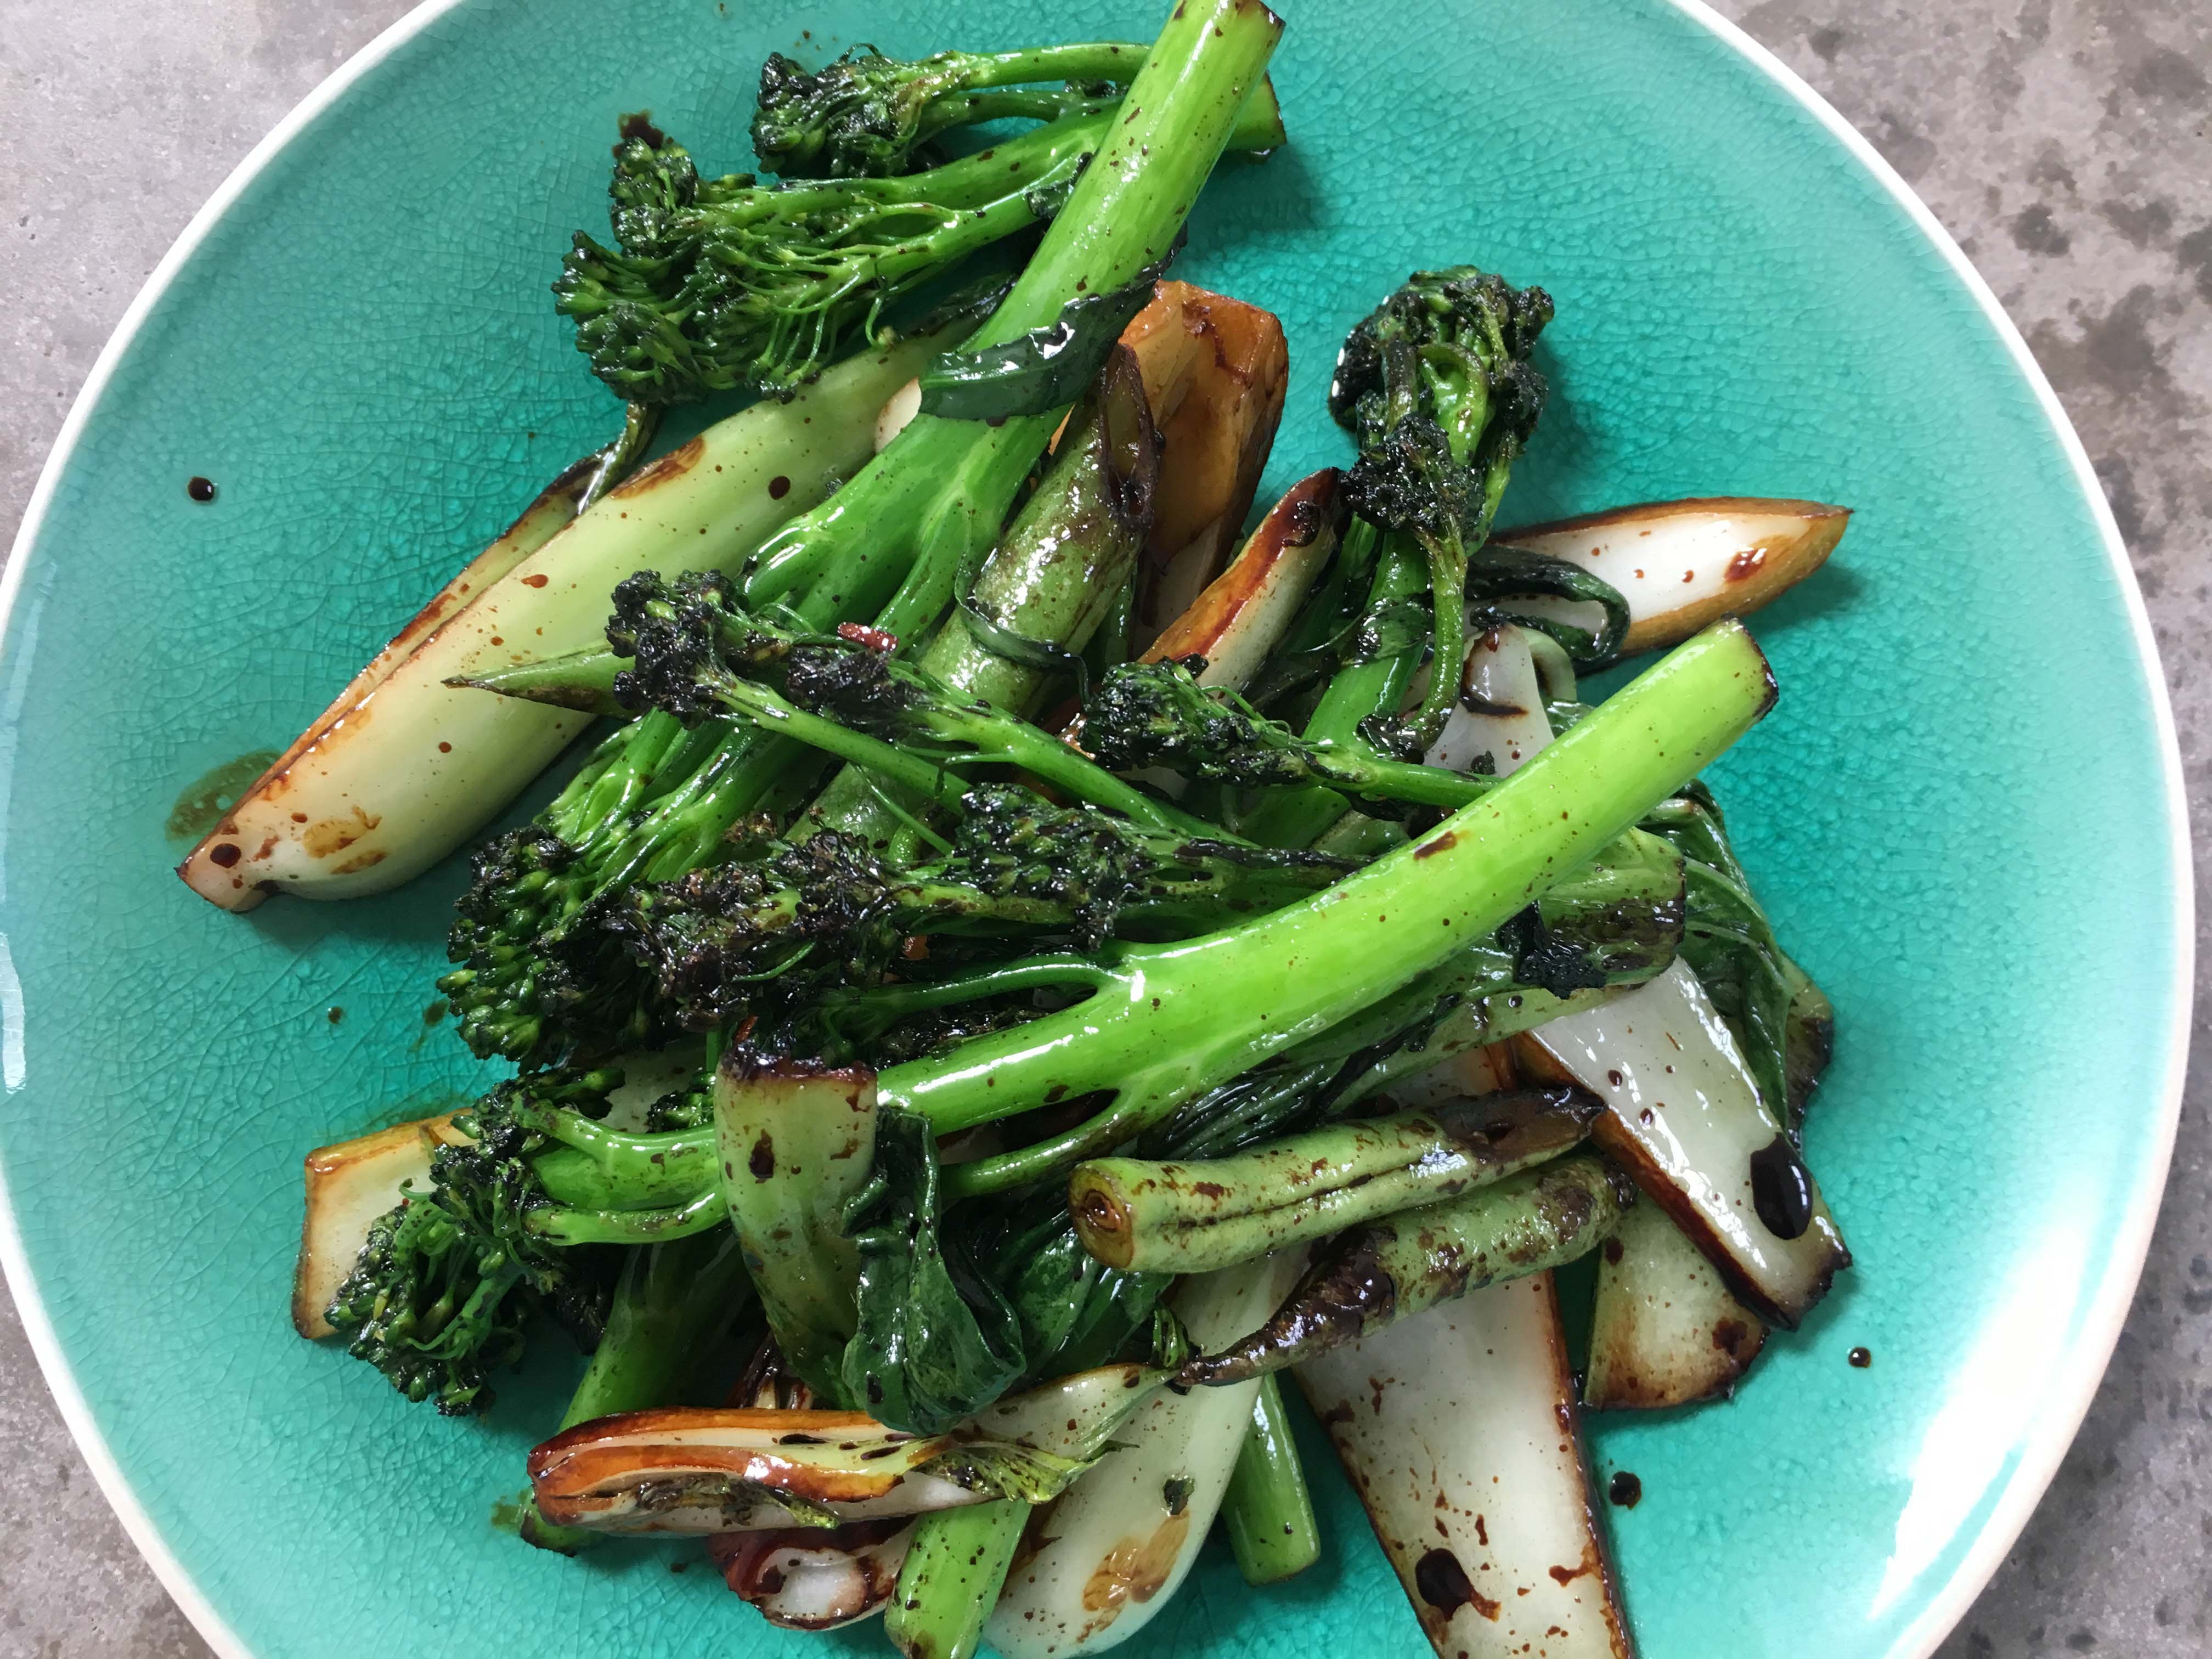
There is a definite nip in the air this morning and I feel we are now fully enveloped in Autumn and the treats it brings.  There is bonfire night to look forward to which always reminds me of those when I was a child.  Nibbling enthusiastically on a toffee apple but shamefully becoming bored once past the sugar and faced with the apple.  Hot dogs which inevitably leaked ketchup onto my woolly gloves and the glowing face that comes from a huge bonfire.

It is then a speedy tumble towards Christmas but I don’t want to become distracted by this end of the year fiesta and rather enjoy now.  Frosty mornings which lead to sunny but cold days, leaves changing colour then falling and the sparse bleakness of the garden.  On the flip side there is sloe gin to be made and stashed away, fires to be lit and all those culinary delights that were cast aside somewhere around early April.  Stews, hearty gratins and bakes, crumbles and cobblers filled with all manner of orchard fruits.  Rib sticking food to keep out the cold and to enjoy around the table with family and friends as the daylight fades.

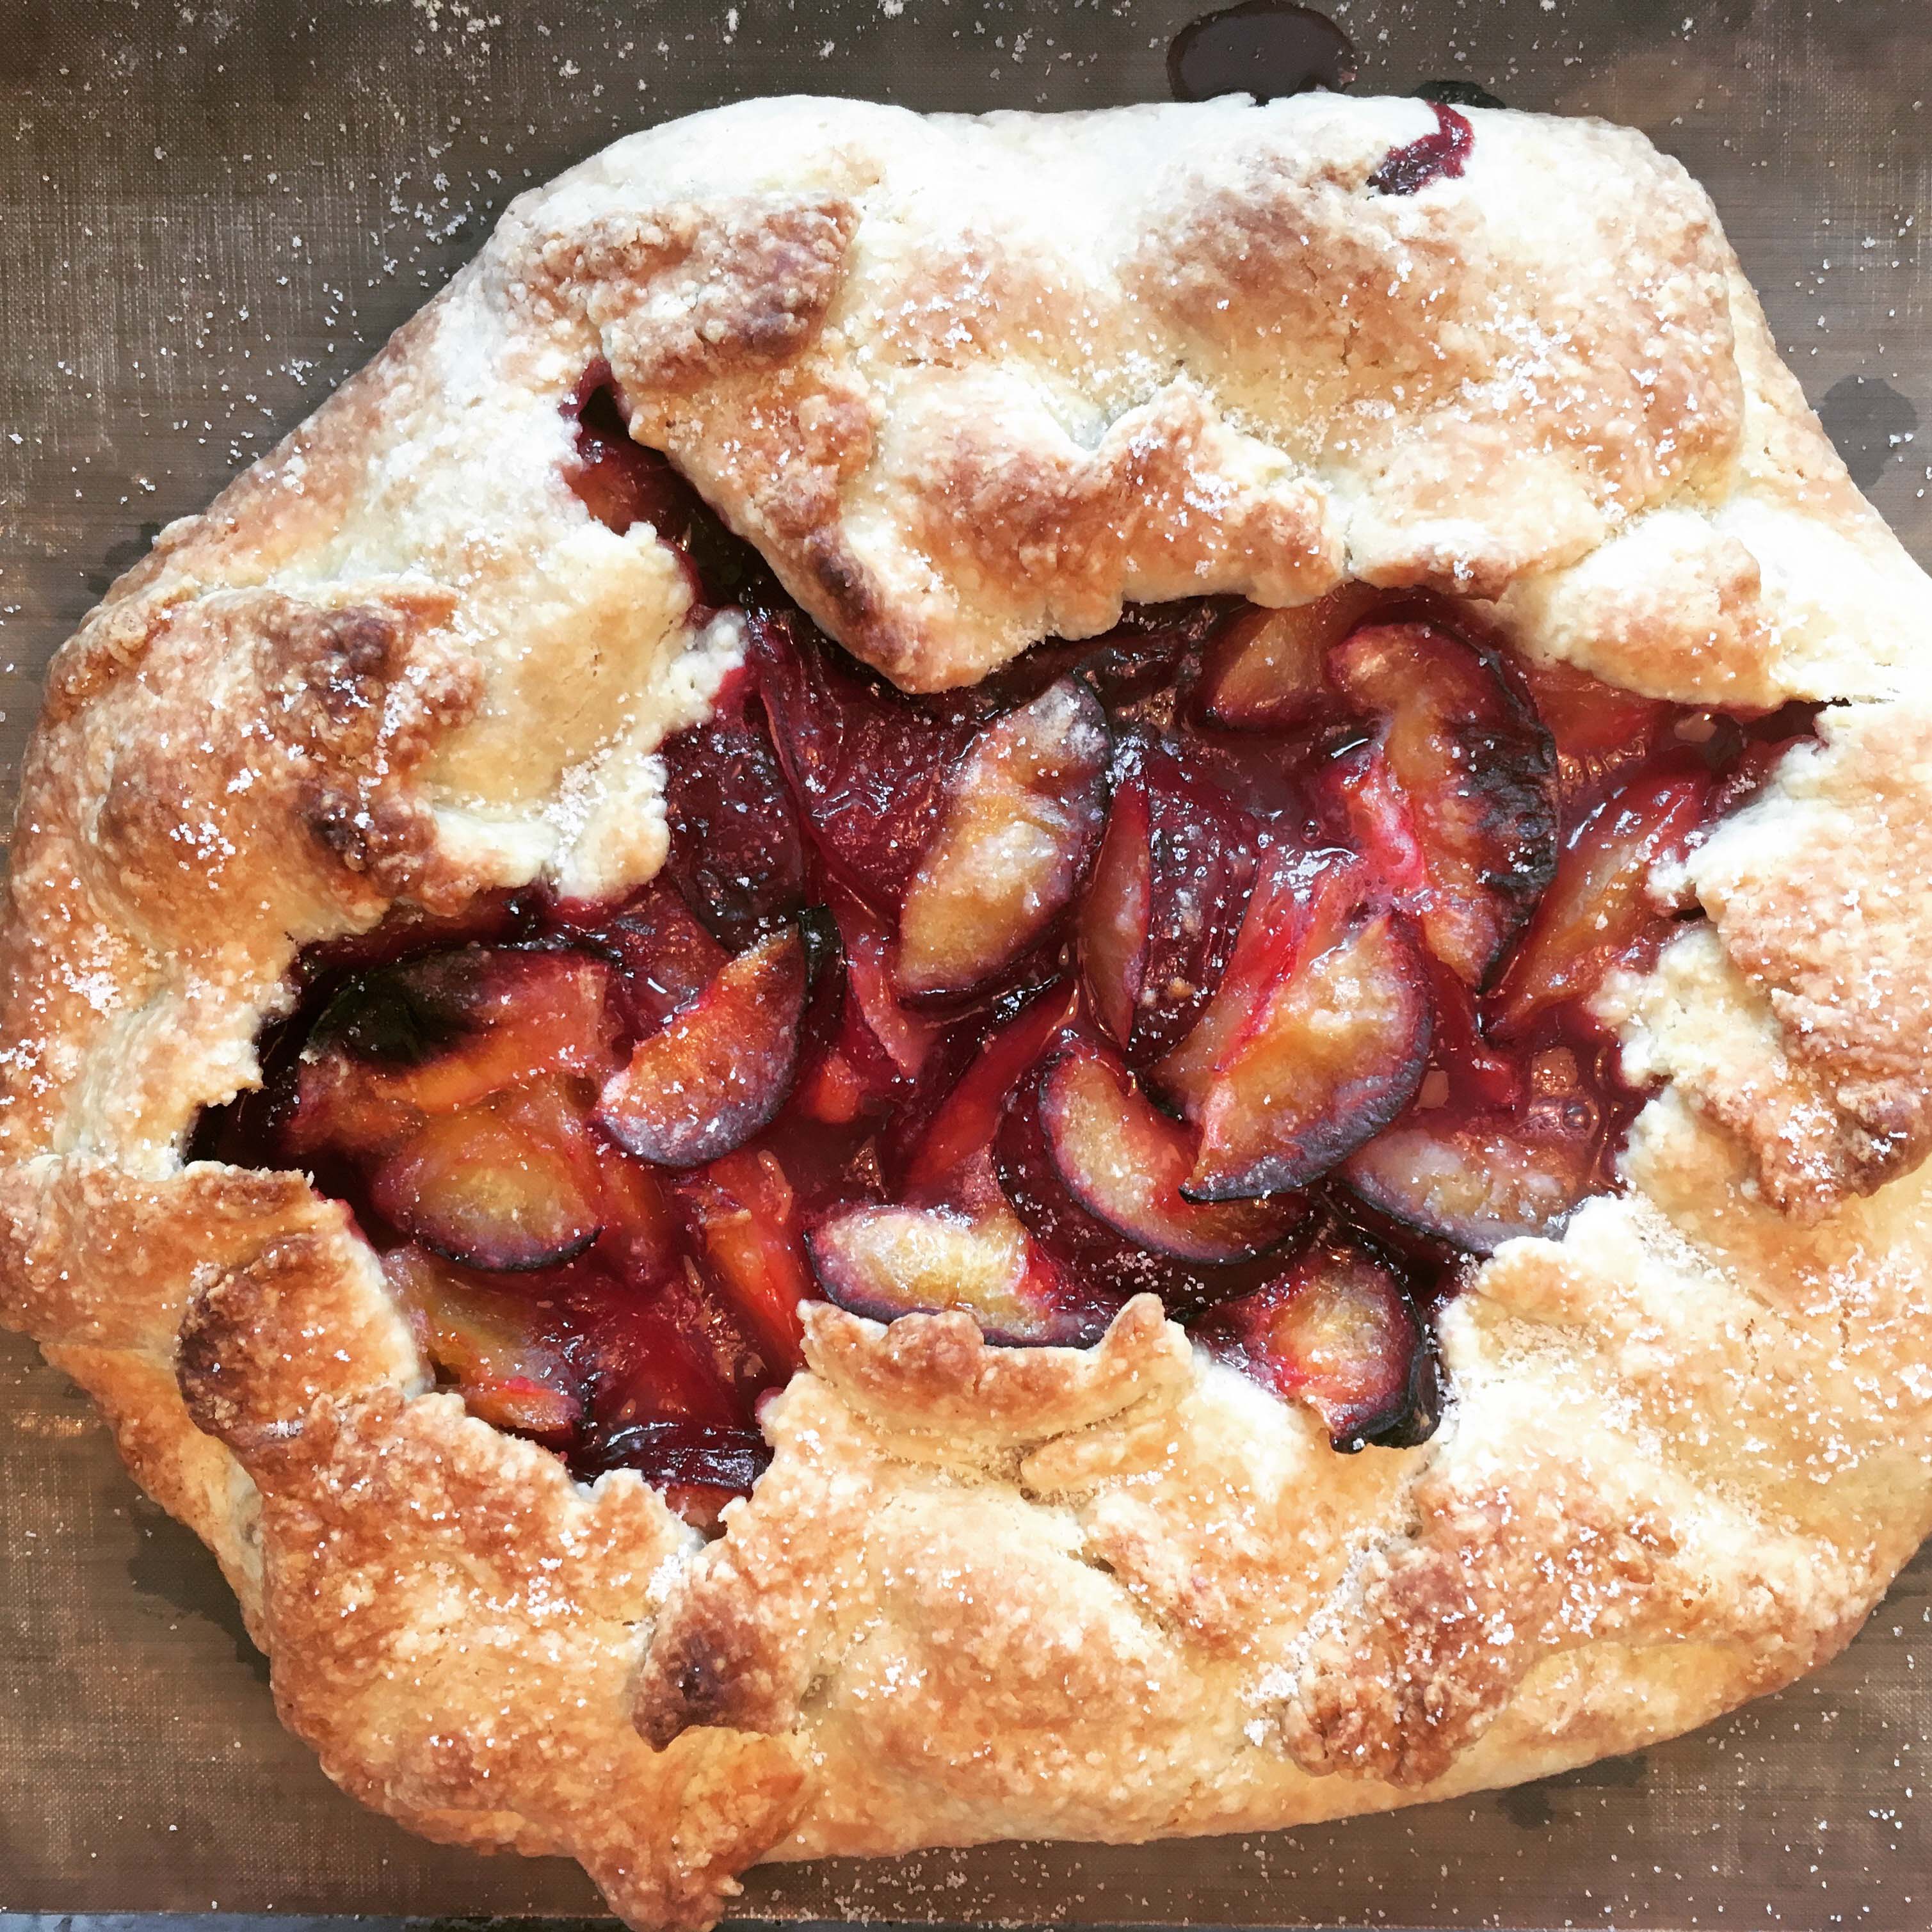
My previous recipe for a galette was a nectarine and cherry one (August 2013) and it seemed long overdue to offer a more autumnal version, this fits the bill perfectly.  Unlike that summer version which suggested using bought pastry for speed (summer holidays and all) this time I make the pastry but you should do whichever works for you (I won’t judge).  I have used plums here because I can’t resist their juicy tartness, the perfect foil to crisp sweet pastry but you can just as easily use a few crispy apples (eaters not cookers here) perhaps adding a little cinnamon along with the lemon juice.  We have enjoyed this two or three times over the last week or so, my children love it with ice cream, I prefer it with cold pouring cream but can’t help thinking a really good vanilla custard would probably bring the house down.

Plum Galette

The amount below is just right for the four of us, a generous quarter each but then none left winking at me from the counter begging me to finish it (for which I am grateful).  The one in the photograph is simply this amount doubled and it happily served seven.  You only need a teaspoon of beaten egg for the glaze so take it from another egg that is being cracked for another purpose if possible otherwise use milk.

100g plain flour plus a heaped teaspoon extra

60g cold butter, cubed or grated

A good pinch of fine salt

60g caster sugar, divided in two

30ml cold water

6 plums stoned and each cut into sixths

Squeeze of lemon juice

A teaspoon or so of beaten egg (see introduction)

A dessertspoon of demerara or caster sugar

Preheat the oven to 190.  Put the flour and butter into a medium size bowl and rub together with your fingers.  There isn’t really enough to justify getting a food processor out. When it looks like breadcrumbs add the salt and 30g of sugar followed by the water, bring it together into a ball, wrap in clingfilm and leave somewhere cool for half an hour.  Mix the plums with the teaspoon of flour, remaining 30g of sugar and a squeeze of lemon juice.   Roll out the flour to a rough 30cm circle and place on a parchment lined baking sheet, tumble the plums onto the pastry leaving a good gap and turn this pastry edge over the plums.  Brush with your glaze, egg or milk and sprinkle with the dessertspoon of sugar.  Bake for 25-30 minutes until golden brown on top and crisp underneath.


Greens with garlic and soy

Greens with garlic and soy

I have a feeling these greens could be magic.  My daughter really doesn’t like broccoli, in fact she has an aversion to most green veggies, however not only will she happily help herself to these without encouragement (bribery) but will have seconds.  Unbelievable.  I’ve mentioned before that its one of my life’s works to find a way my children will enjoy all, or most, vegetables and this is one of those successes.   I imagine the garlic and soy sauce go a long way towards making these so ridiculously delicious.  Whatever it is, I maximise the advantage and these are served regularly at my table alongside all manner of stir fries or anything with an Asian note.

Quick, healthy, cheap, delicious – what is not to like about this dish.  I am happy to tuck into these for a lone lunch and indeed ate, or rather greedily scoffed, the greens you see in the picture for lunch today.   A side of rice would have worked well to soak up the delicious sauce but I didn’t even get round to that.   We had something like this at Wagamama and loved the simplicity and crunch so couldn’t wait to have a go making it myself.  I suspect the original may have some additional ingredients but I couldn’t suss them and regardless love the pared down ingredients in the recipe below as much as the flavour.  You could add a pinch of chilli flakes if you want or a squirt of Sriracha to the greens but honestly, they don’t need it.

Greens with Garlic and Soy

Use any crunchy greens that catch your eye.  I always use broccolini and pak choi as that was what I had first had.  This time I’ve added the last of the green beans from the garden and you could use regular broccoli if that is what you have.   Going completely off piste, carrots work well in this application although they take longer to lose their raw crunch so bear this in mind before you add the garlic and soy.  Just thought you should know.

1 tablespoon oil

1 head of pak choi cut into sixths lengthwise

A handful of broccolini (around 8 stalks)

A handful of green beans, topped, tailed and halved

1 clove garlic, finely sliced

1 teaspoon sugar

1 tablespoon soy sauce or tamari if you prefer

Heat the oil in a wok or large frying pan.  Add the vegetables and stir fry for 4-5 minutes until just losing their rawness and gaining a little colour.  Put in the garlic and stir quickly so it doesn’t burn followed by the sugar and soy sauce.  Cook for a further minute stirring all the time and then serve.  This is enough for 2 with rice for lunch or 4 as a side.

Greens with garlic and soy 3


Orzo with Bacon, Tomato and Cream Sauce

Orzo with bacon and tomato

This is a winner.  A little girl (aged 3) recently came to stay and when it came to teatime she wasn’t in the mood for any nonsense.  I was fairly confident she would like this as my children adore it, even my son who is absolutely not the first to request pasta, ever.

When  the time came to serve though, I realised I had forgotten the vagaries of young children and must admit, felt a brief tremor of nerves.  Hurrah, it was a huge success and she polished off three helpings much to the panic of my daughter who was eyeing the reducing seconds in the pan with alarm.

So offer this with confidence and not only to children, I make no secret of loving it and am often to be caught sneaking a spoonful or two from the pan before it disappears.

Orzo with Bacon, Tomato and Cream Sauce

Orzo is a rice shaped pasta we have a particular fondness for but use any small shape you like. I keep those little rectangular packs of pancetta in the fridge and along with some small packs of passata in the larder this becomes an almost store cupboard supper.

125g orzo

1 teaspoon olive oil

100g pancetta, pack sizes vary and a little more won’t hurt if that is what you have

1 clove garlic, finely chopped

100g passata

2 tablespoons cream

A few sprigs of parsley, chopped

Parmesan

Cook the orzo according to the packet instructions, probably around 11 minutes.  Meanwhile put the pancetta into a large frying pan with a teaspoon of olive oil and cook until well coloured and crispy in places.  Add the garlic and cook for a minute before adding the passata, stir and cook for a few minutes before adding the cream.   Drain the pasta retaining a little of the cooking water.  Put the pasta into the sauce, stir until combined adding a little of the cooking water if you need it to loosen the sauce.  Grate over some parmesan, add the chopped parsley and serve with more parmesan to hand.  Serves two adults or three children.