Lemon and Lime Ice Cream

Lemon and Lime Ice Cream

When I was about seven or eight I went to visit family on Martha’s Vineyard.  There were many memorable things about that holiday, the amazing round house my cousins slept in, the garden which led straight onto the beach, the horseshoe crabs, fresh limes.  One of the clearest however is of our daily visit to Edgartown to have an ice cream.  The same place everyday and for me the same flavour, pistachio.  Isn’t that crazy that an ice cream (or many) nearly 40 years ago should still be such a vivid picture in my mind.

More prosaically I can still remember my first Cornetto, the exoticism of it and the chance that I would disappear from our Yorkshire garden and reappear in a Venetian gondola. Those were the days when you bought tubs of plain vanilla or perhaps for a treat, Neopolitan.  No salted caramel or Phish food graced the shelves in those days.

Ice cream then is a treat and never more so than when you make it yourself.  The flavours are all the clearer when the fruit goes from punnet to freezer in a matter of minutes.  Better than this you know exactly what has gone into your mix – as children we were convinced ice cream was made from whale blubber, not a tempting thought although it never stopped us scoffing it.   By the way, were you ever told that the ice cream van only plays music when it has run out of ice creams and ice lollies….?

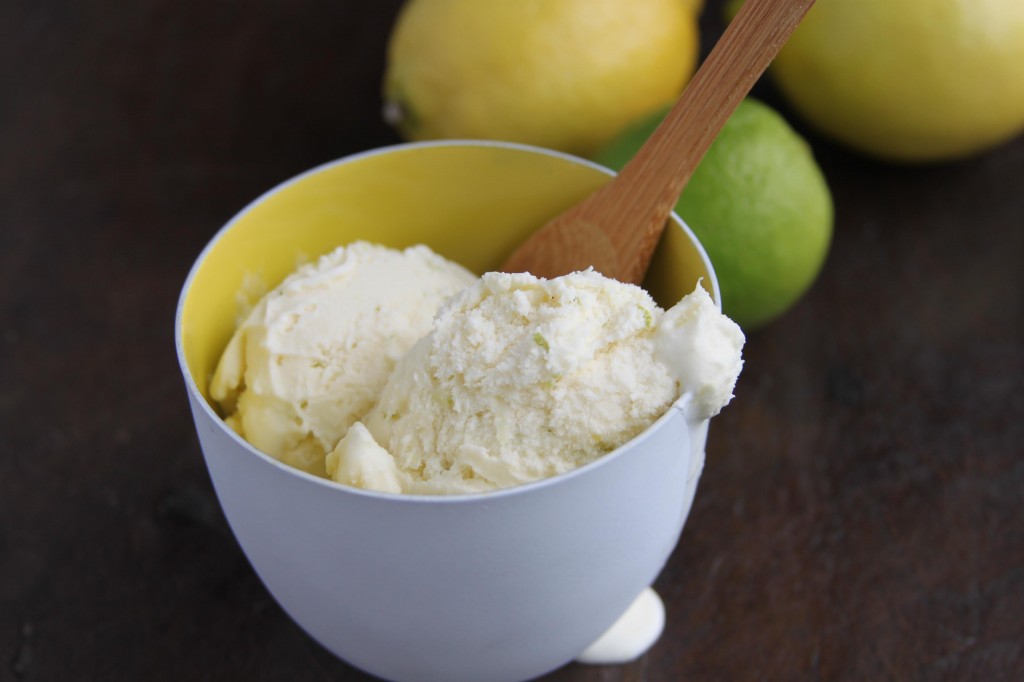
This is a fabulously zingy and tangy ice cream, super fresh from the citrus and without the need of a custard.  It is made, I promise you, in hardly and time and is very easy.  My daughter made the ice cream in the photographs and it is delicious, well done Minty.

Lemon and Lime Ice Cream

1 large lemon

2 limes

120g caster sugar

400ml whipping cream

Put the zest and juice from the lemon and both limes in a bowl add the sugar and stir until the sugar is dissolved.  Pour the cream into this mixture and put the bowl into the fridge until cold.  When fully chilled pour into an ice cream machine and churn until thick and frozen, transfer to a plastic box with a lid and put into the freezer to firm up a little more. Take it out of the freezer 15 minutes before you want to eat it.  Serves 4.

If you don’t have an ice cream machine, put the chilled mixture into the plastic box and freeze.  Every couple of hours remove from the freezer, mix thoroughly then freeze again until smooth and frozen.

Chorizo and Potatoes

Chorizo and Potatoes 3

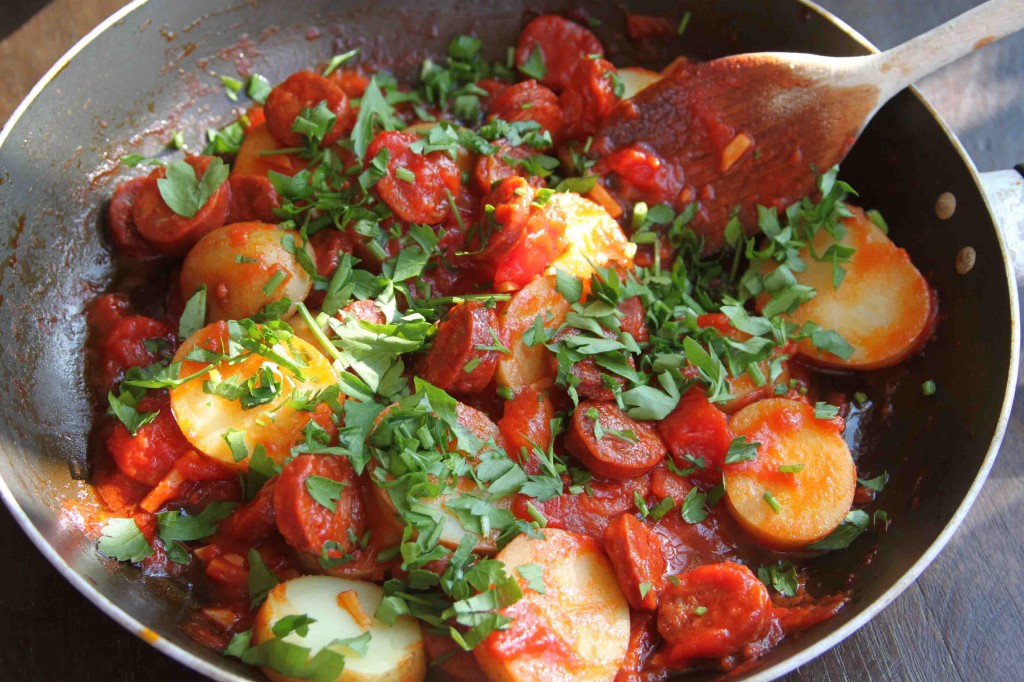
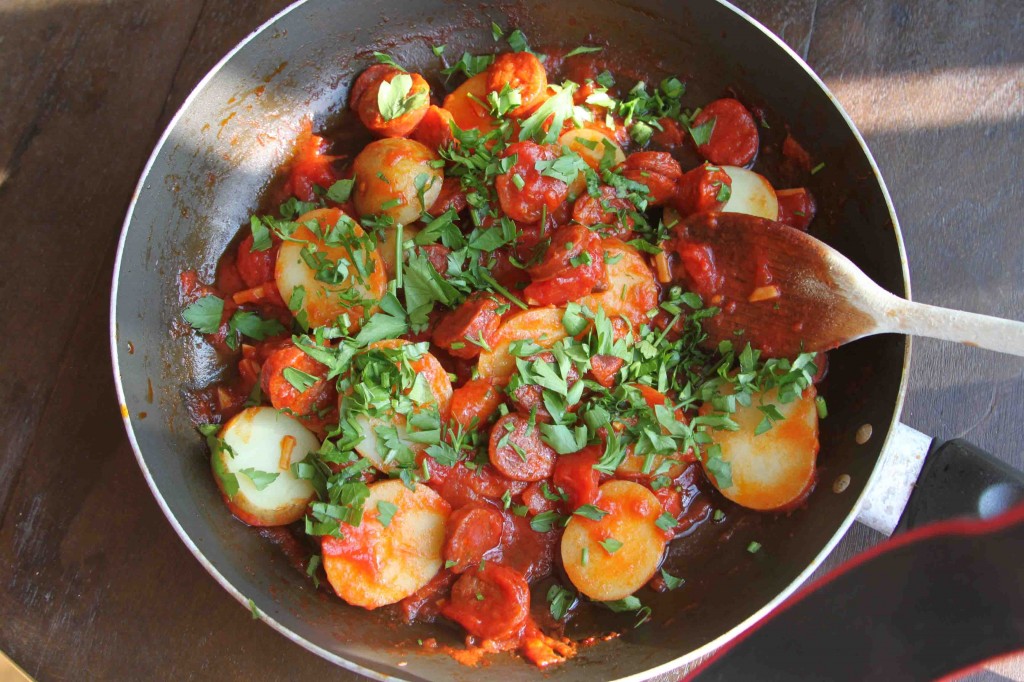
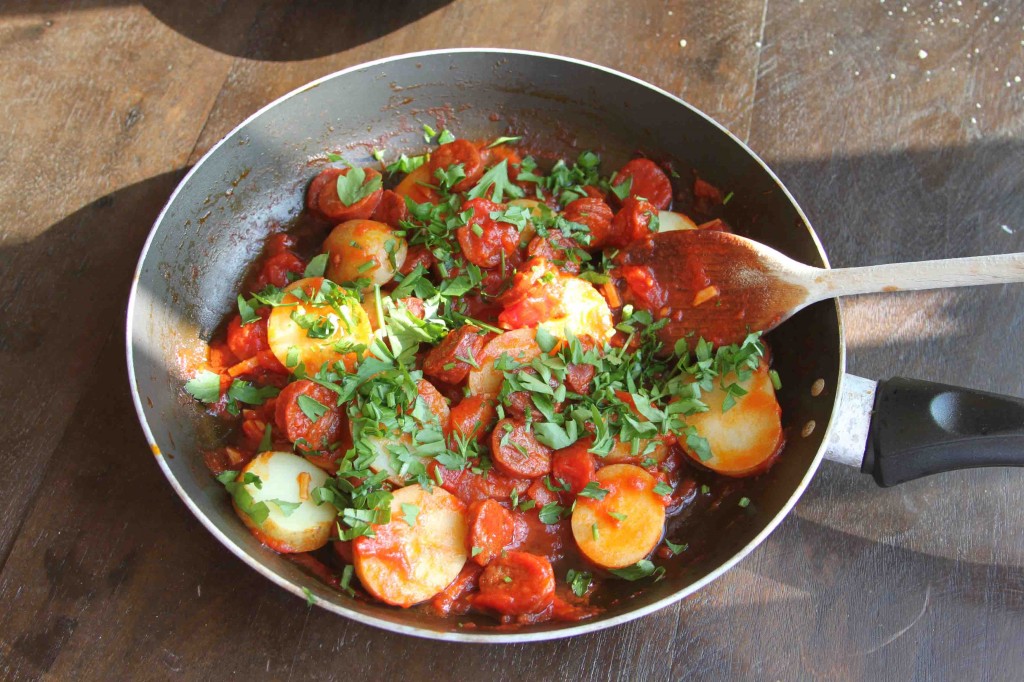
Is there anything that doesn’t taste better with a bit of chorizo in it?  I love that rich, spicy flavour and the way it imparts its sunny personality into other ingredients.   Chorizo has great shelf life and is fantastic to have in the fridge for those inevitable moments when you have empty beaks to feed and the cupboard is bare.

This is one of my children’s favourites, unbelievably quick and only uses 5 ingredients.  If you don’t have any potatoes, make Chorizo and Beans (365 things to eat, June 2013) or for a more summery feel, Chorizo, Tomatoes and Green Beans (September 2013).

Chorizo and Potatoes


Chorizo with Potatoes

I use the Goikoa Spanish chorizo which I buy in Waitrose, it comes in a 260g horseshoe but any other cooking chorizo would be fine too.

1 teaspoon olive oil

1/2 ‘horseshoe’ Chorizo

1 clove garlic, finely chopped

4 medium new/waxy potoates

Small tin chopped tomatoes, approx 227g

Small handful parsley, chopped

Heat the oil in a pan over a low heat, slice the chorizo and add it to the pan.  Meanwhile slice the potatoes and cook until tender then drain.  When the chorizo is beginning to colour on both sides, add the garlic and cook for a minute followed by the tomatoes.  Let this simmer for 3-4 minutes then put the drained potatoes into the pan, turn them so they are coated with the tomato sauce, finally sprinkle over the parsley.  This serves 2 but is easily doubled, just use the whole horseshoe of chorizo and a normal 400g tin of tomatoes.

Chorizo and Potatoes 2


Frozen Raspberry Daiquiri

Frozen Raspberry Daiquiri 4

A glass of wine versus a cocktail.  It’s a bit like having a wardrobe full of clothes but still wearing your jeans every day.  A familiar favourite to fall back on and in all honesty a bit easier than bunging various things together and hoping you like the look/taste.  You get what I mean.

Cocktails invite mixed opinions, for some they are the American Bar at the Savoy, the height of sophistication.  For others they are Stringfellows…  The thing is though, I rather like the occasional cocktail and have been known to press a glassful into friends’ hands as they walk in the door.  The Negroni had mixed reviews, the Passion Fruit Fizz had us practically scrapping over the last drop and the Sloe Vespa has always gone down a treat.

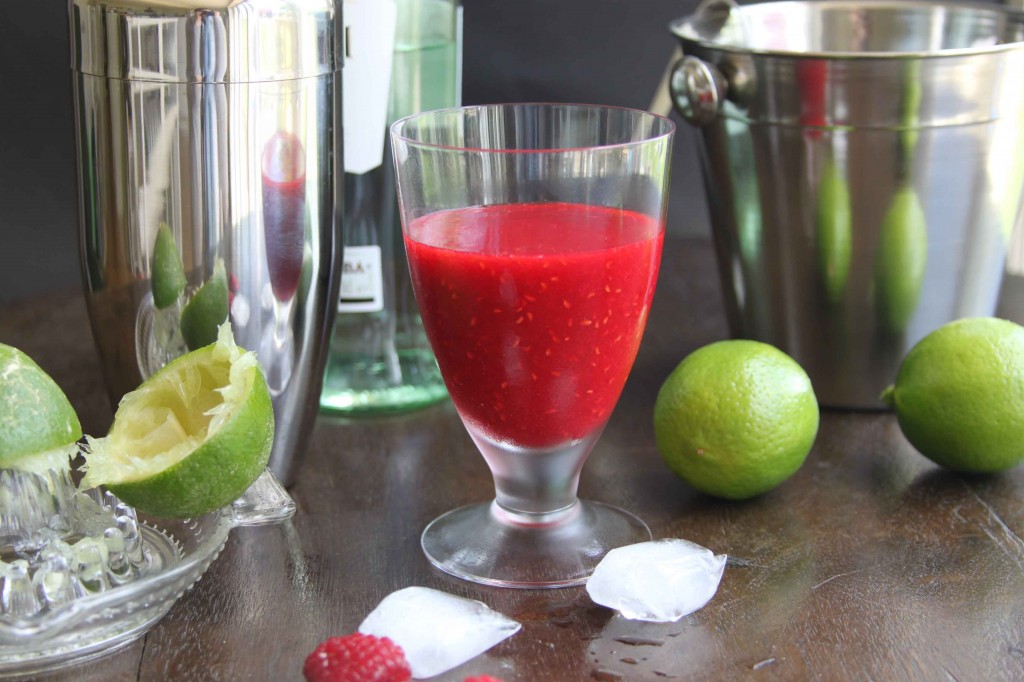
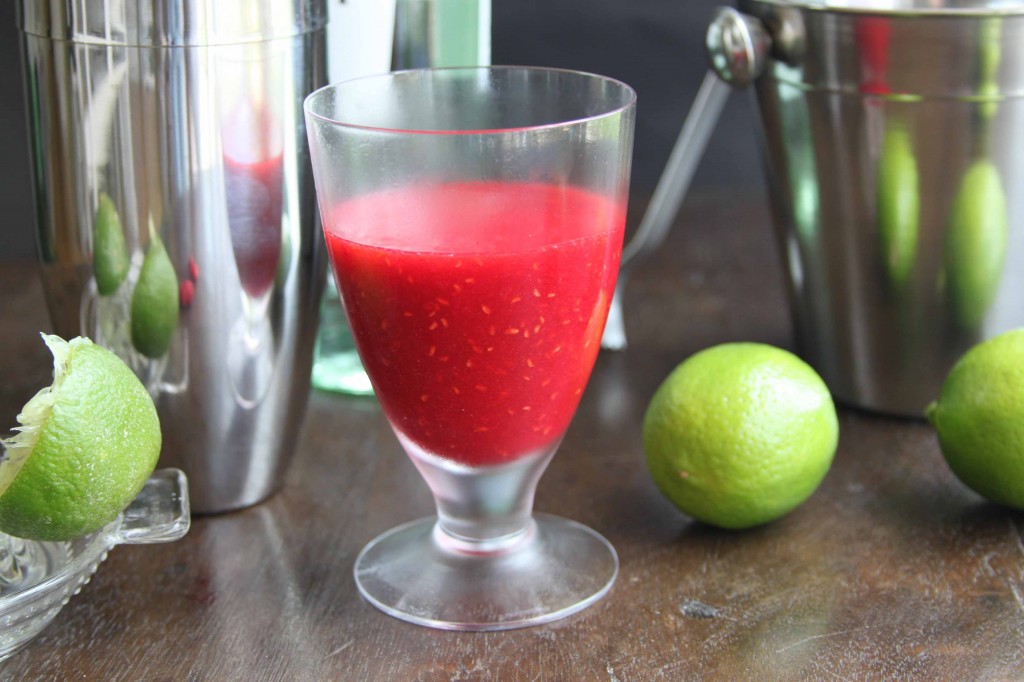
This then is a homemade slush puppie really.  Fabulously bright pink, heady with raspberries and with a sharpness from the lime.  Oh and did I mention there is a drop of rum in there too.  These are so delicious that their frozen state is almost essential in order to stop you gulping them down too fast.  Could there be a better start to dinner?

Parental disclaimer – I realise my recipes are meant to be family friendly and for every day but I think it might have been a mother/child moment that got me thinking about a cocktail in the first place…

Frozen Raspberry Daiquiri 2

Frozen Raspberry Daiquiri

This recipe is a guideline and you may like yours with a little more or less of lime or sugar syrup.  Really the best way is to make one for yourself, customise it and enjoy.  Then make some more.  Sugar syrup is simply equal quantities of caster sugar and water simmered until the sugar is fully dissolved.

100g frozen raspberries (about 1 cup if you use cup measures)

2 tablespoons (30ml) white rum

1 tablespoon (15ml) sugar syrup

60ml lime juice (about 1 lime)

Put all the ingredients into a jug and whizz with a hand held blender or for greater quantities you could use a liquidiser.  Makes 1 glorious pink cocktail.


Wild Garlic Focaccia

Wild Garlic Focaccia

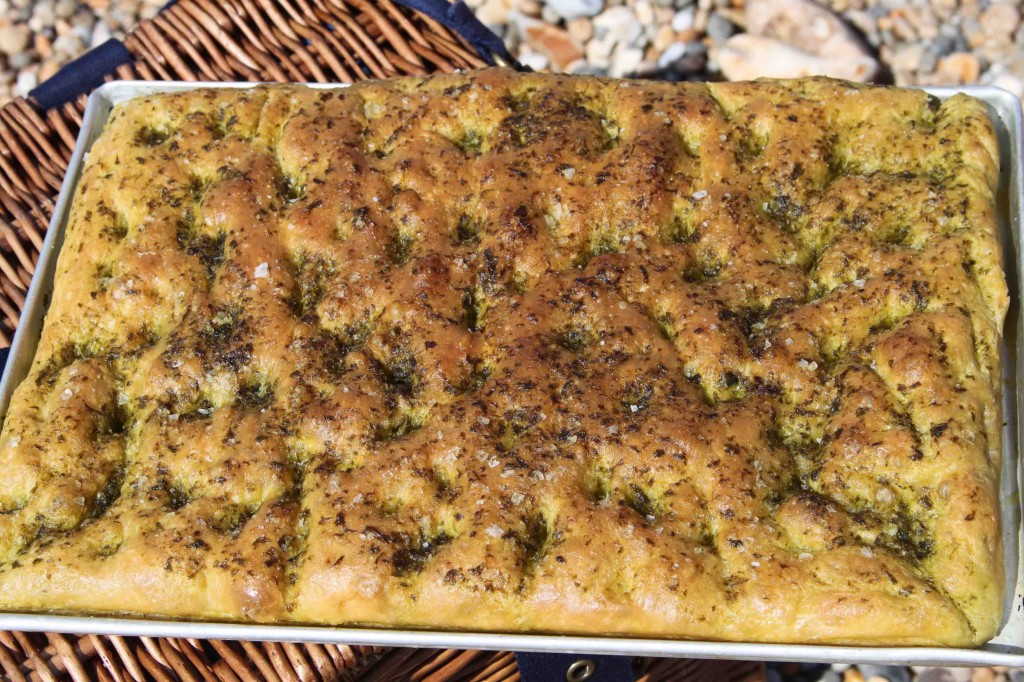
It is that time of year again and the familiar whiff of wild garlic is in the air.  This feels like the beginning of a slew of seasonal goodies and I look forward to it every Spring.  As soon as I picked a bunch of wild garlic yesterday I knew I wanted to make a focaccia with it and whizzing the leaves into the oil seemed the best way to get the herbaceous notes into the bread.  I made the dough yesterday evening and let it rise overnight so I only had to knock it back and put it in the tin for a final rise this morning – couldn’t have been easier.  You could of course make it all in one day but this suited me better for brunch on the beach with friends.

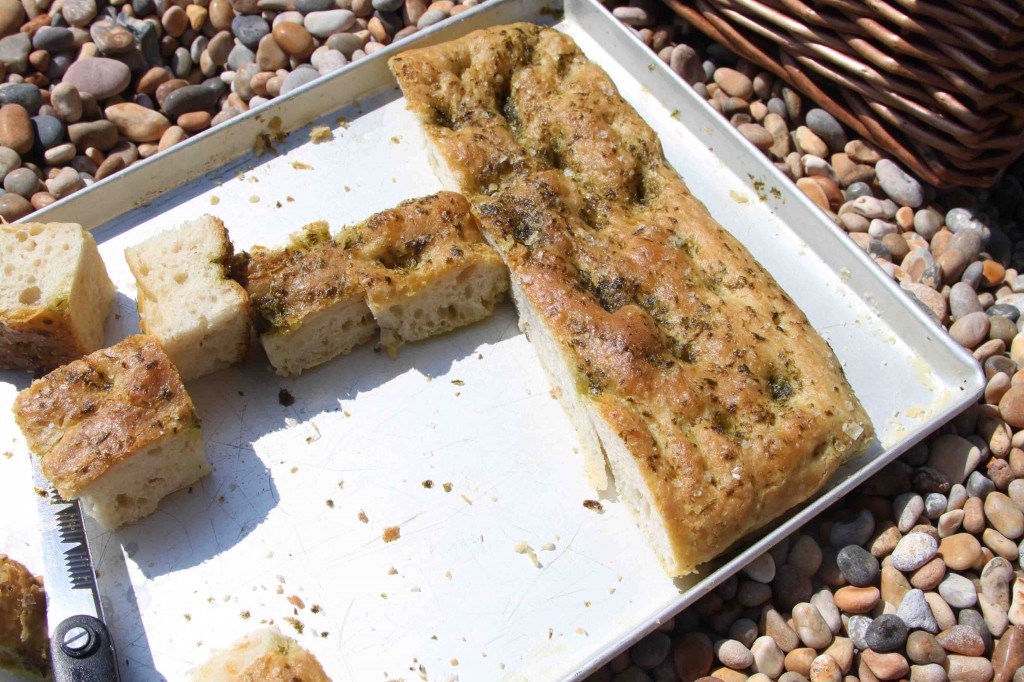
This makes a fabulous, squidgy loaf perfect for lunch or with a picnic as we had it today.  I took it from the oven to the car and it was still warm when we ate it.  Dip into oil and balsamic or use it to make a stella sandwich, stuffed with whichever goodies you like.  We had ours cut into little squares which the children loved, a sort of herby garlic bread.  My husband had his cut in half horizontally with a fried egg cooked on the fire on the beach, perfect.

For other ways to use your wild garlic check out the pesto (May 2013) which I wrote about last year or how about strewing some chopped leaves over a salami topped pizza….

Wild Garlic Focaccia 3

Wild Garlic Focaccia

450g strong bread flour

7g yeast

7g table salt

250-300 ml luke warm water

50ml olive oil

Small bunch wild garlic, about 6-8 leaves

75ml olive oil

Sea salt

Mix the flour with the yeast, salt, water (start with 250 you might not need the full 300ml)  and 50ml of oil and knead for 5 minutes.  Leave in a warm place for 1-2 hours until doubled in size or put in the fridge overnight.  Preheat the oven to 190, knock the air out of the dough and then press it into a shallow tin approximately 24x34cm.  Cover loosely and leave to rise for 30 minutes.  Meanwhile whizz the garlic and 75ml of oil with a hand blender, or similar, until you get a fabulous green oil.

Press your fingers into the dough to make dimples and then pour the oil over to fill the little holes and cover the entire surface.  Sprinkle generously with sea salt and bake for 25-35 minutes until golden.  Check the bottom is brown, you can always give it another 5 minutes directly on the rack if necessary.