I didn’t have a sweet tooth before I had children. During my working years I could happily keep a packet of chocolate buttons in my desk drawer for weeks only tucking into one or two per day. Now I am pretty much Olympic standard when it comes to polishing off a bar of chocolate. I give up chocolate each year for Lent but even then have a couple of caveats. The first is that I am giving it up solely in the form of confectionary – should someone present me with a chocolate pudding, I would, in the name of courtesy, not dream of turning in down. Equally when I am judging – for those unaware, I am a food judge – I am required to taste everything put in front of me.
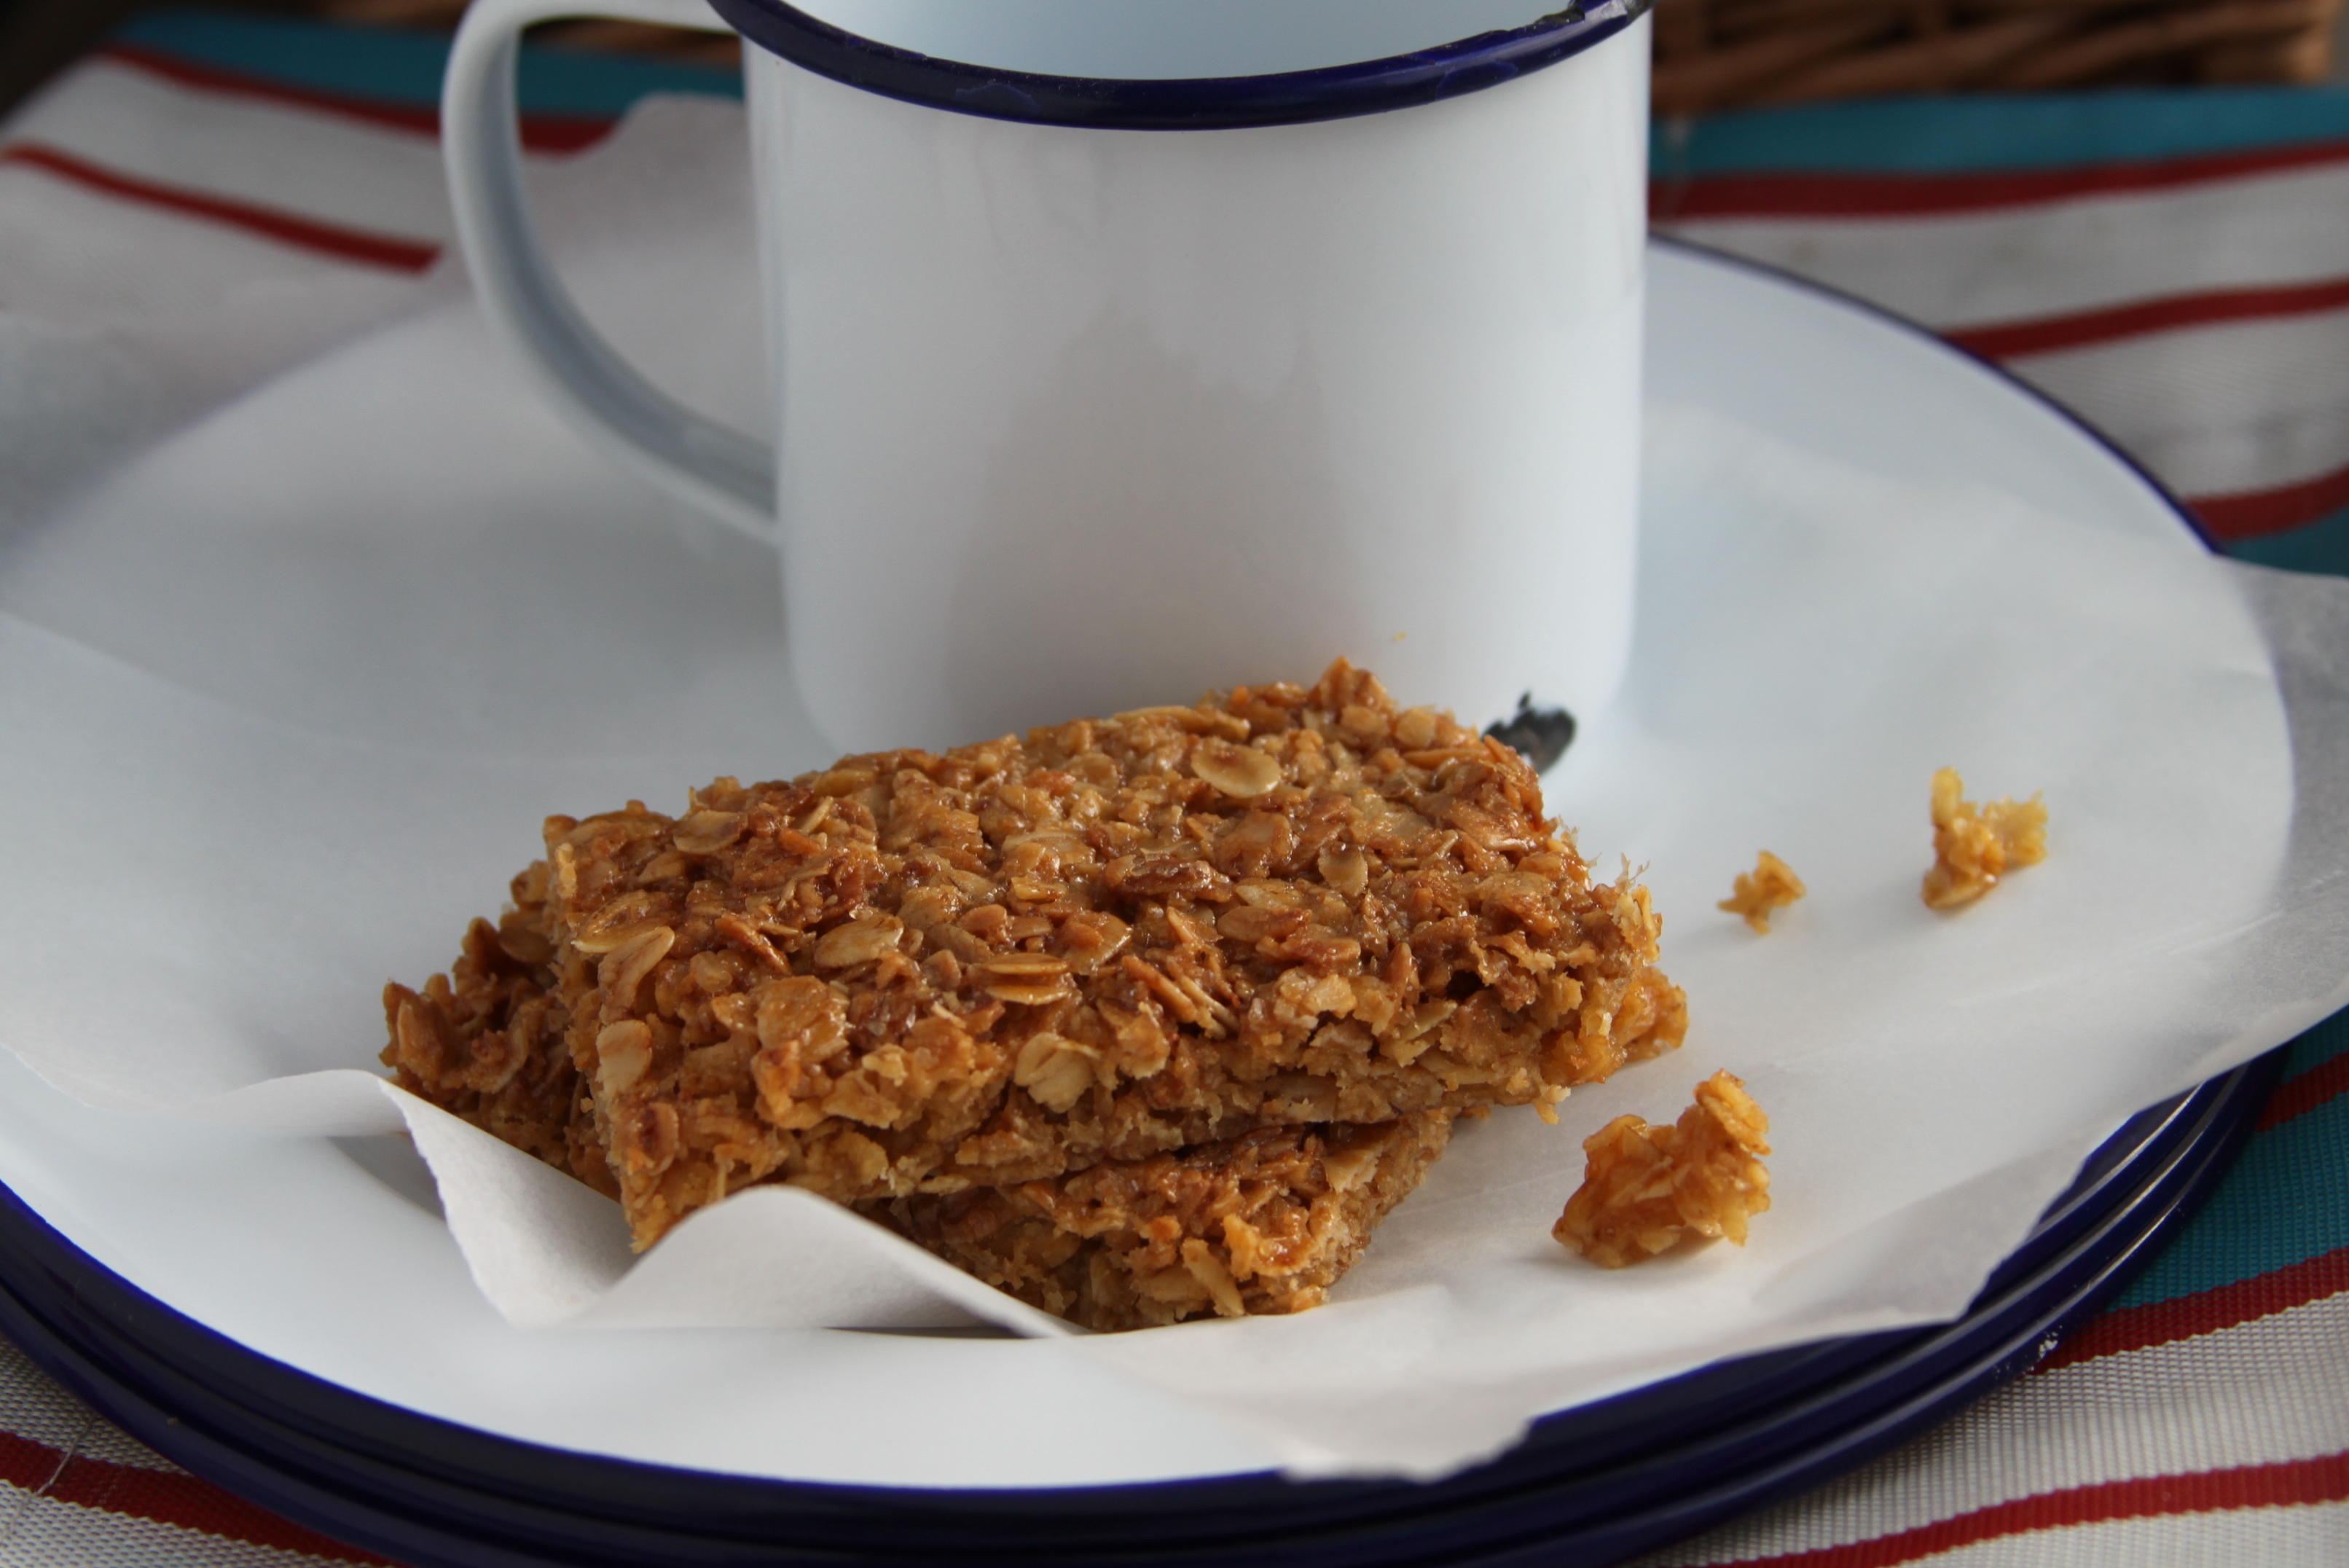
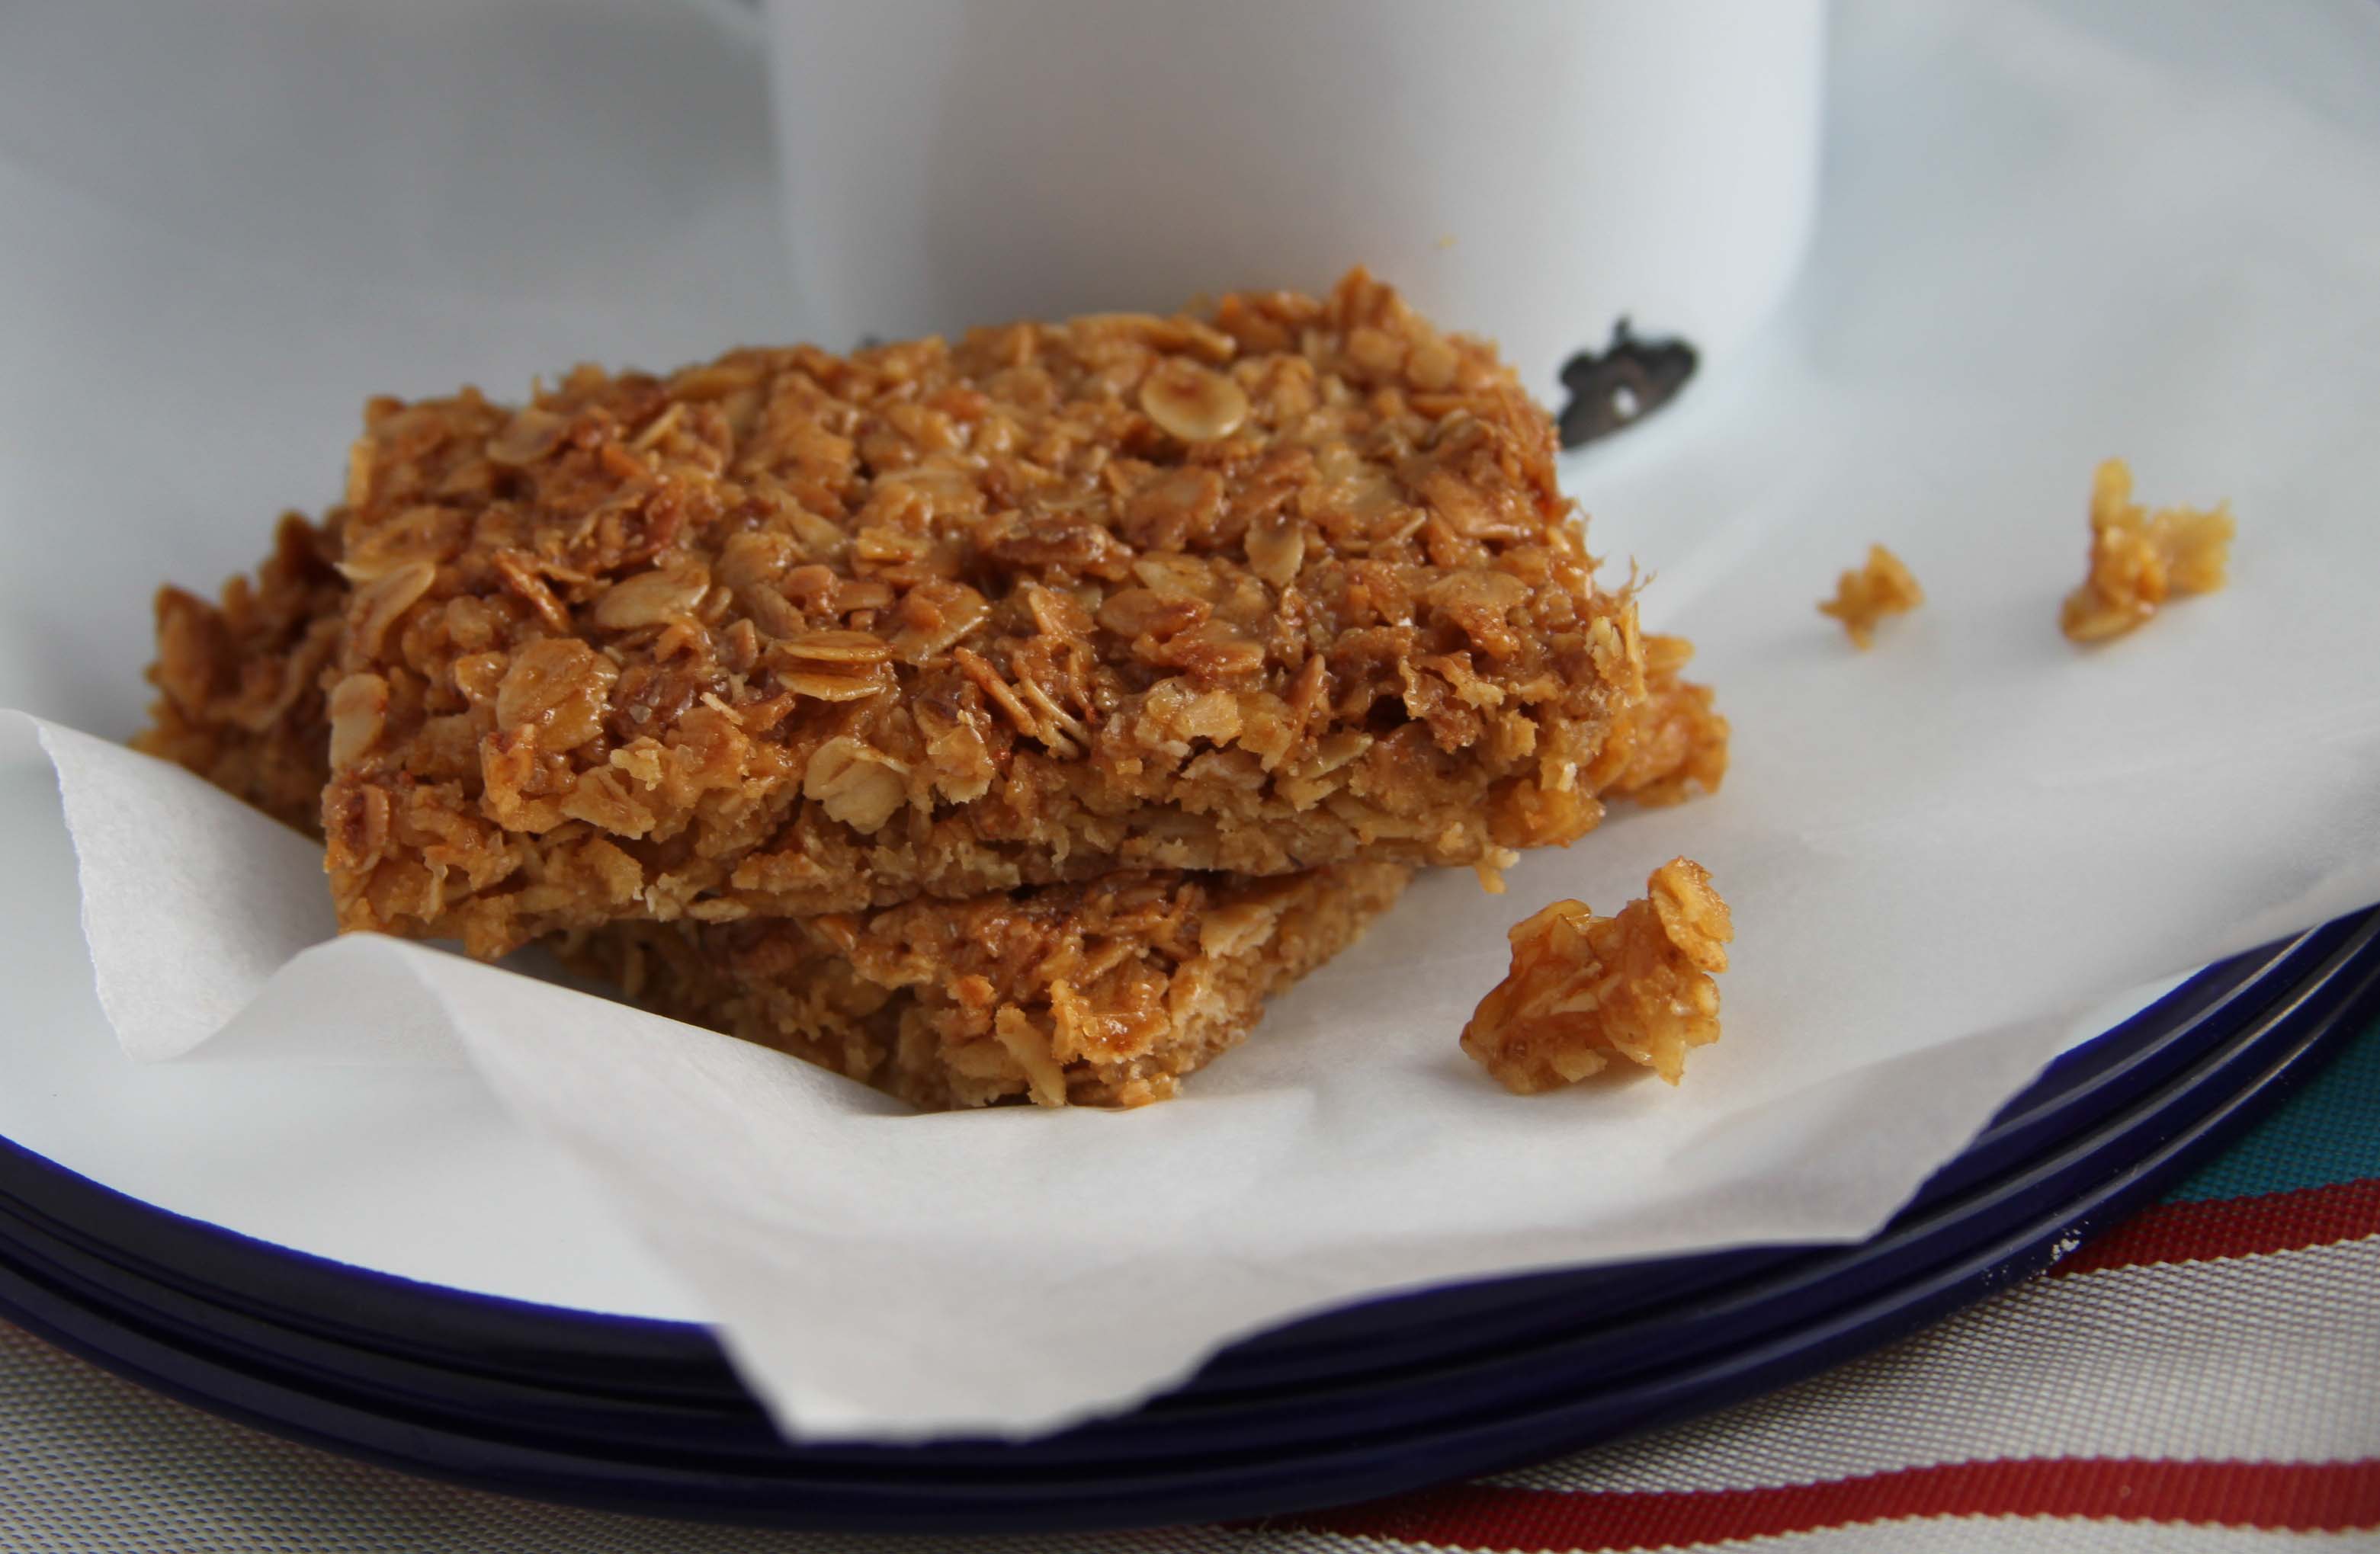
So this abstinence for what always feels like a very long 40 days means I am regularly to be found scrabbling around my cupboards looking for something sweet after lunch or supper. Thus I have arrived at these kind-of-flapjacks. Actually they are more of granola / muesli / fruit and seed bar but those sound new fangled and anything containing oats which is baked and cut into bars feels like a flapjack to me. I have tried many permutations trying to reduce sugar in any form and have ended up here.
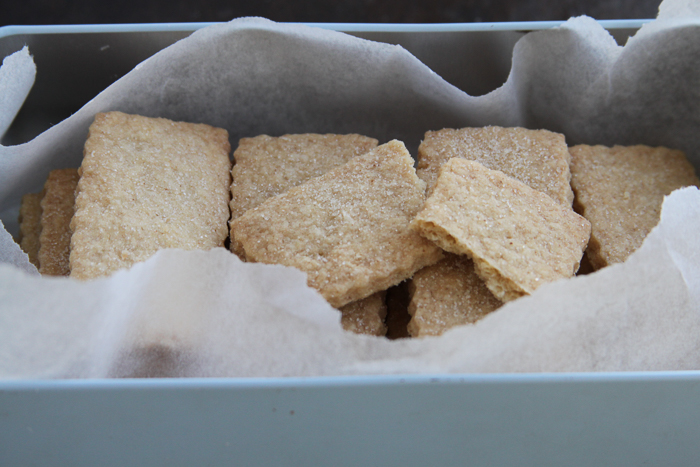
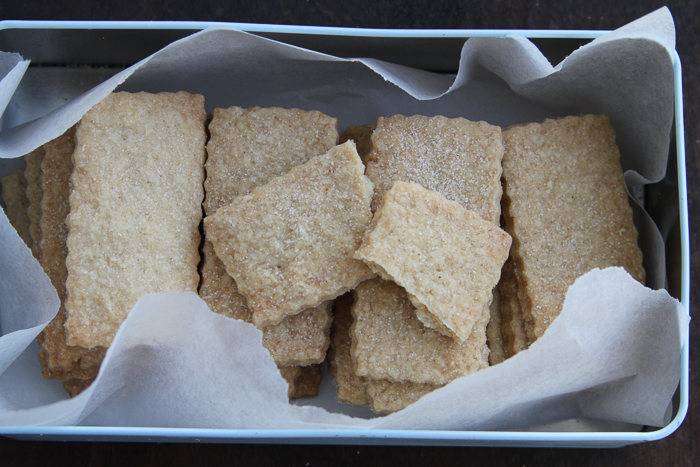
These are miles away from the delicious, but slump inducing, traditional flapjacks (for which there is a recipe here October 2013). The version below is packed with good stuff, oats, seeds and dried fruit along with a banana – some sugar and honey yes but I have tinkered with this recipe reducing the sugar each time so once you divide it up, well, it isn’t so bad and these are a treat after all. Perfect for a packed lunch or a picnic and useful to have in a tin for when you find yourself turning out a cupboard searching for chocolate.
As with most of my recipes there is room for manoeuvre and you can use the dried fruits you have in the cupboard, same with the seeds. You can even use a handful of nuts in place of some of the seeds, just keep the weights in line with those I suggest below. Finally, its worth mentioning that these are by no means just for Lent, tuck into them any day of the year you want.
Fruit and seed flapjacks
75g butter
80g soft brown sugar
60g honey
200g oats
150g dried fruit, I use dried cranberries, sultanas and chopped apricots
150g seeds, I use sunflower seeds, pumpkin seeds and sesame seeds
I ripe banana, mashed
Preheat the oven to 160C and line a 20cm square tin. Melt the butter in a pan with the sugar, honey and a pinch of salt. Put the oats, dried fruit and seeds in a bowl and mix. Add the melted butter and sugar to the bowl, mix well then add the mashed banana and mix again. Put into the prepared pan, press down lightly, level the top and bake for 30 – 40 minutes until just bronzed on top. Leave to cool and then cut into squares or bars.