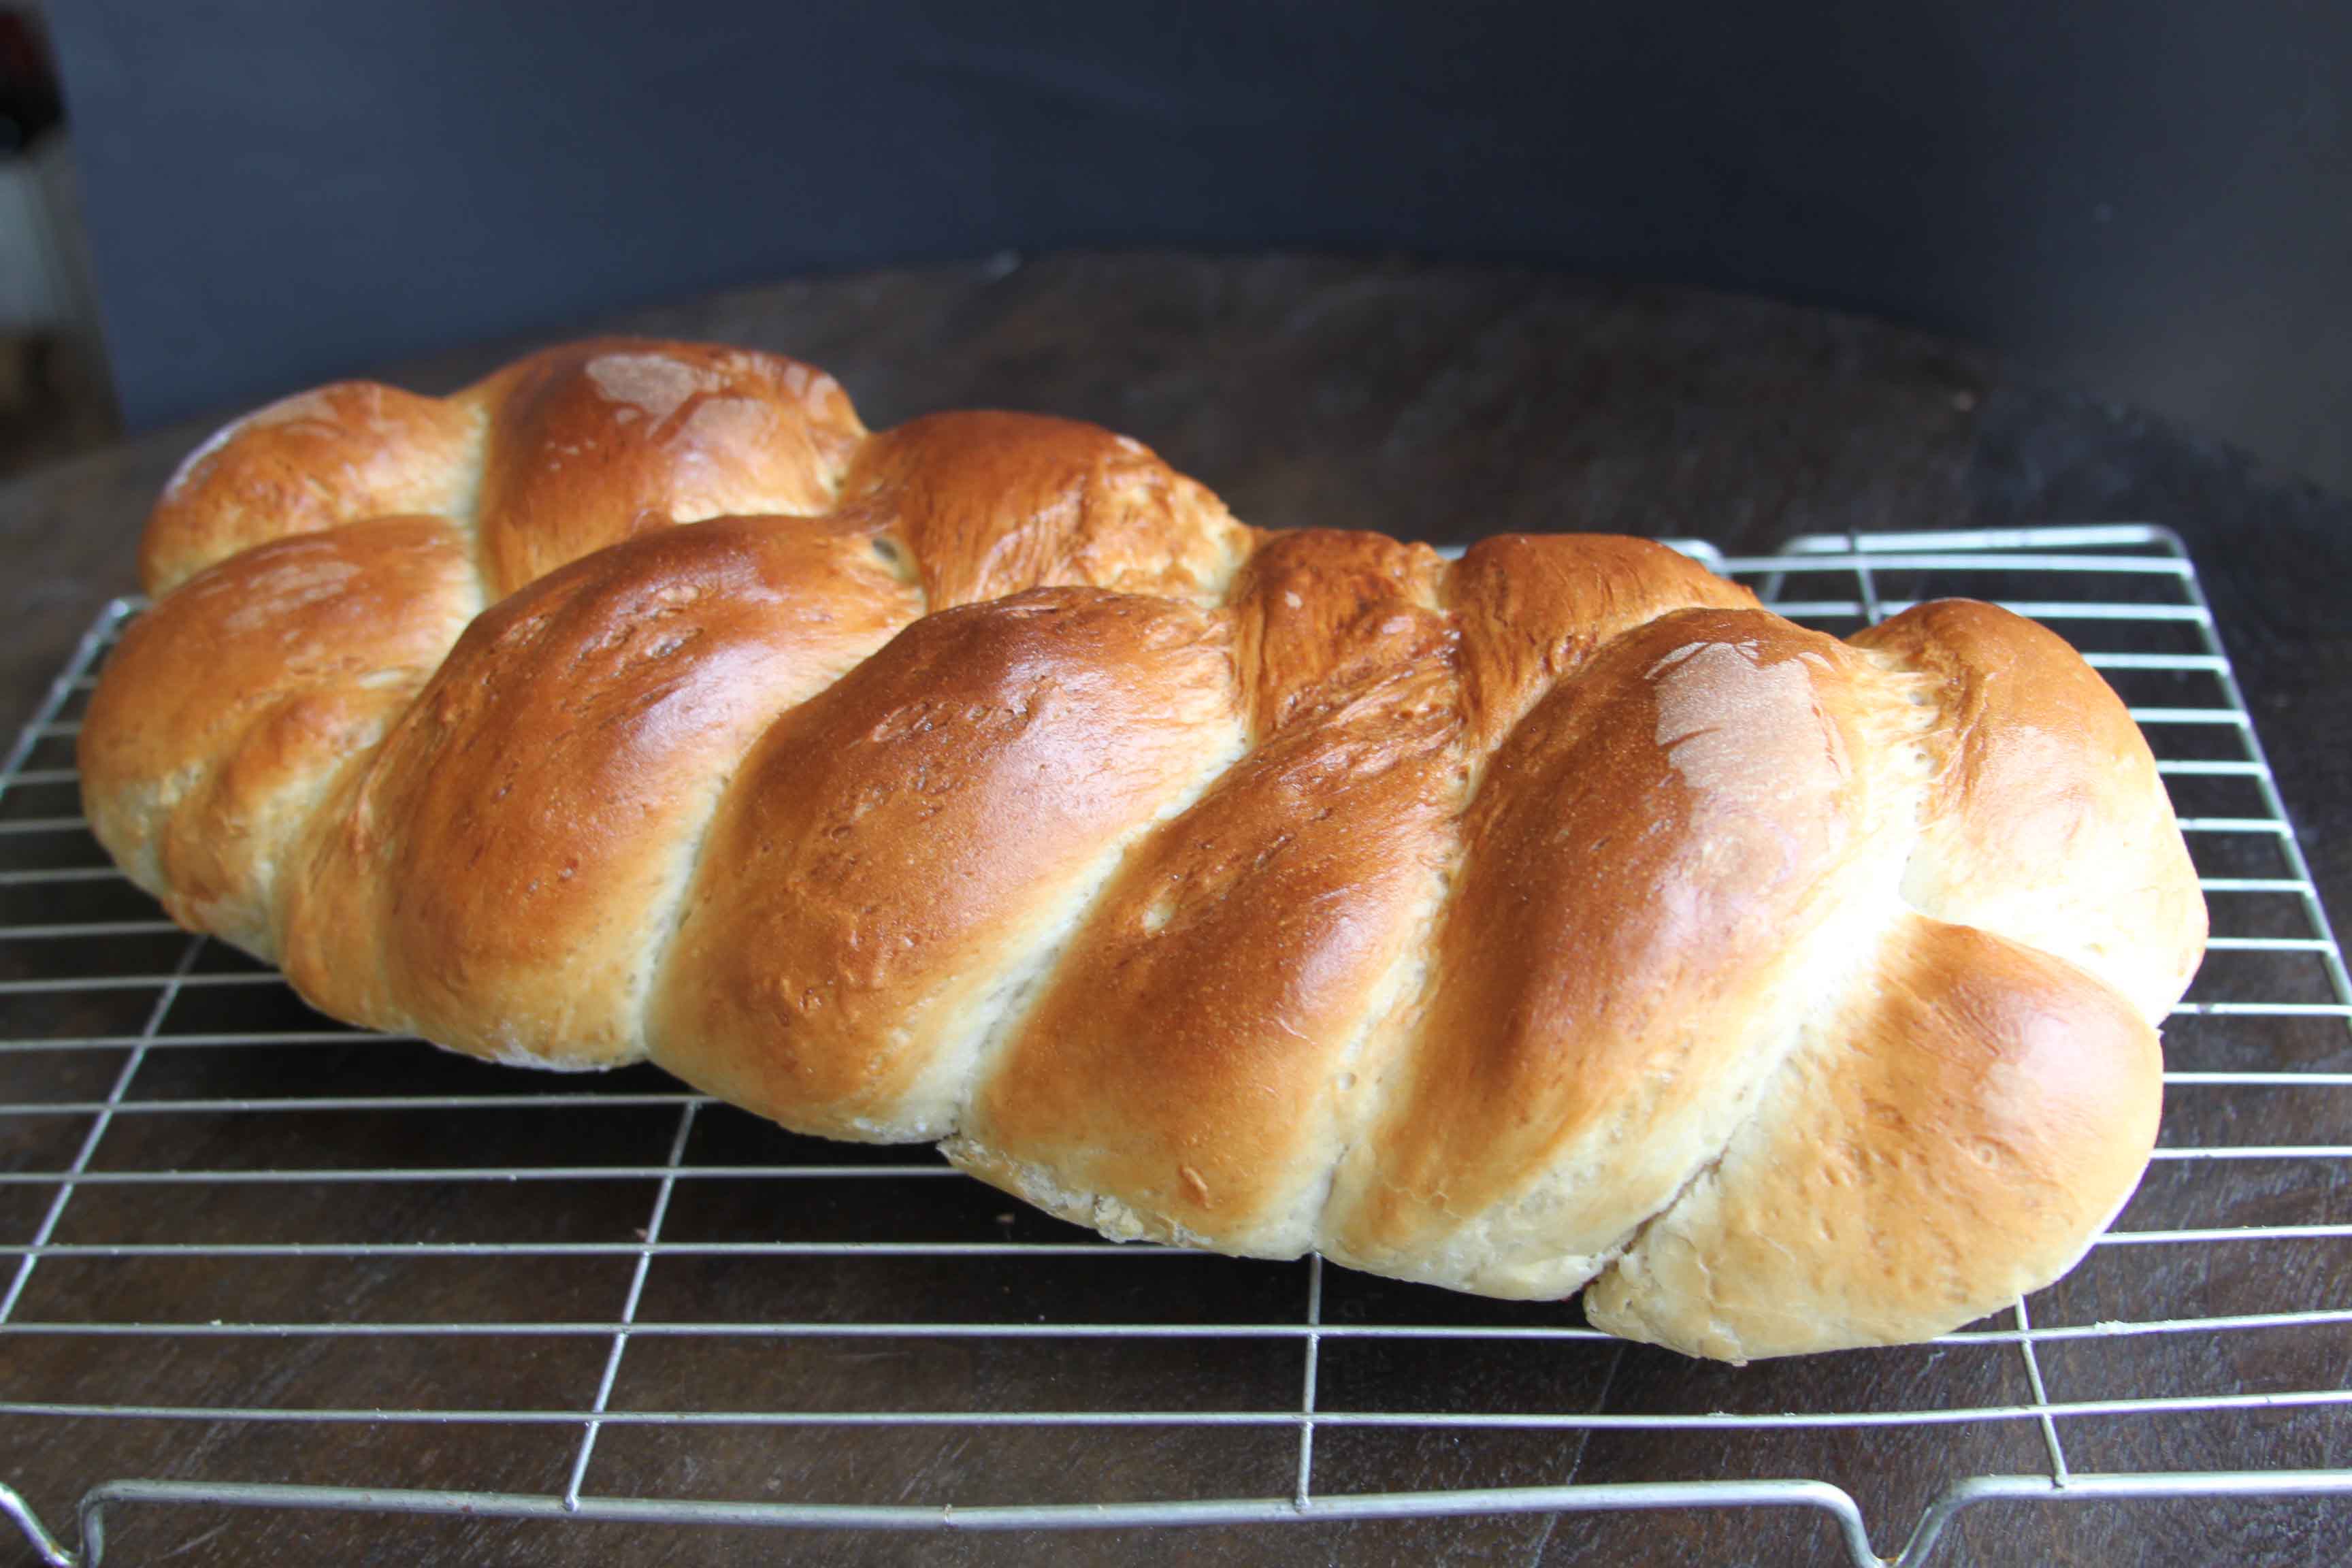
You will know I have been making bread for ages but usually bake my regular loaf in a tin or direct on the baking sheet. My sourdough I cook in an enamel pan with a lid because Elaine from FoodbodSourdough, whose method I use, suggests this and as her method is the absolute business I see no reason to deviate. Recently though I have started baking my regular white bread in a pan and I love it.
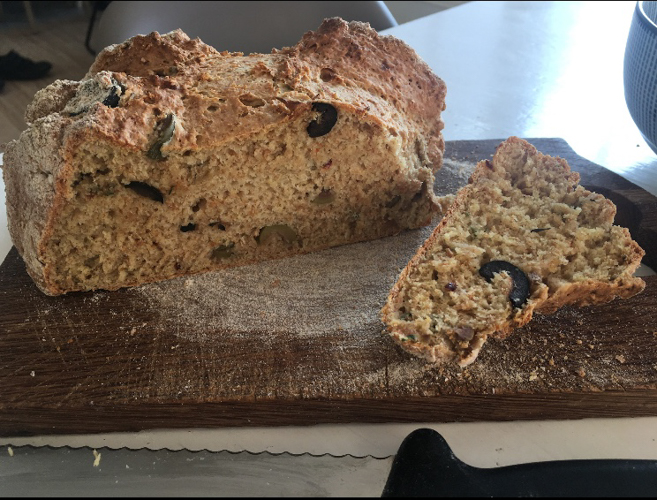
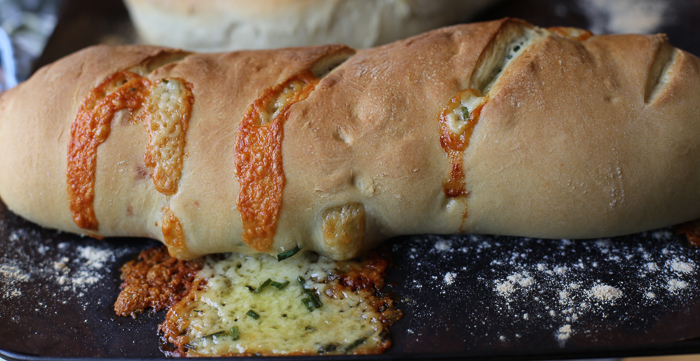
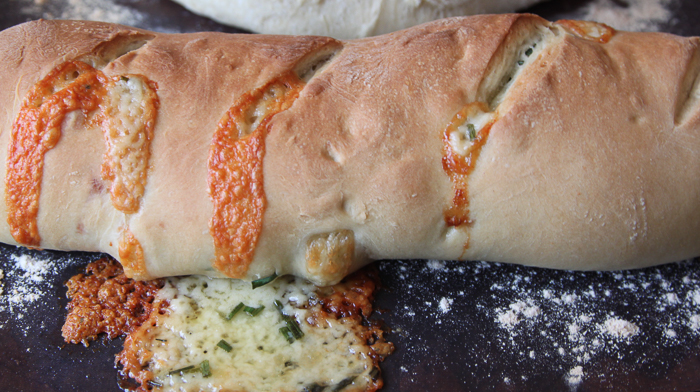
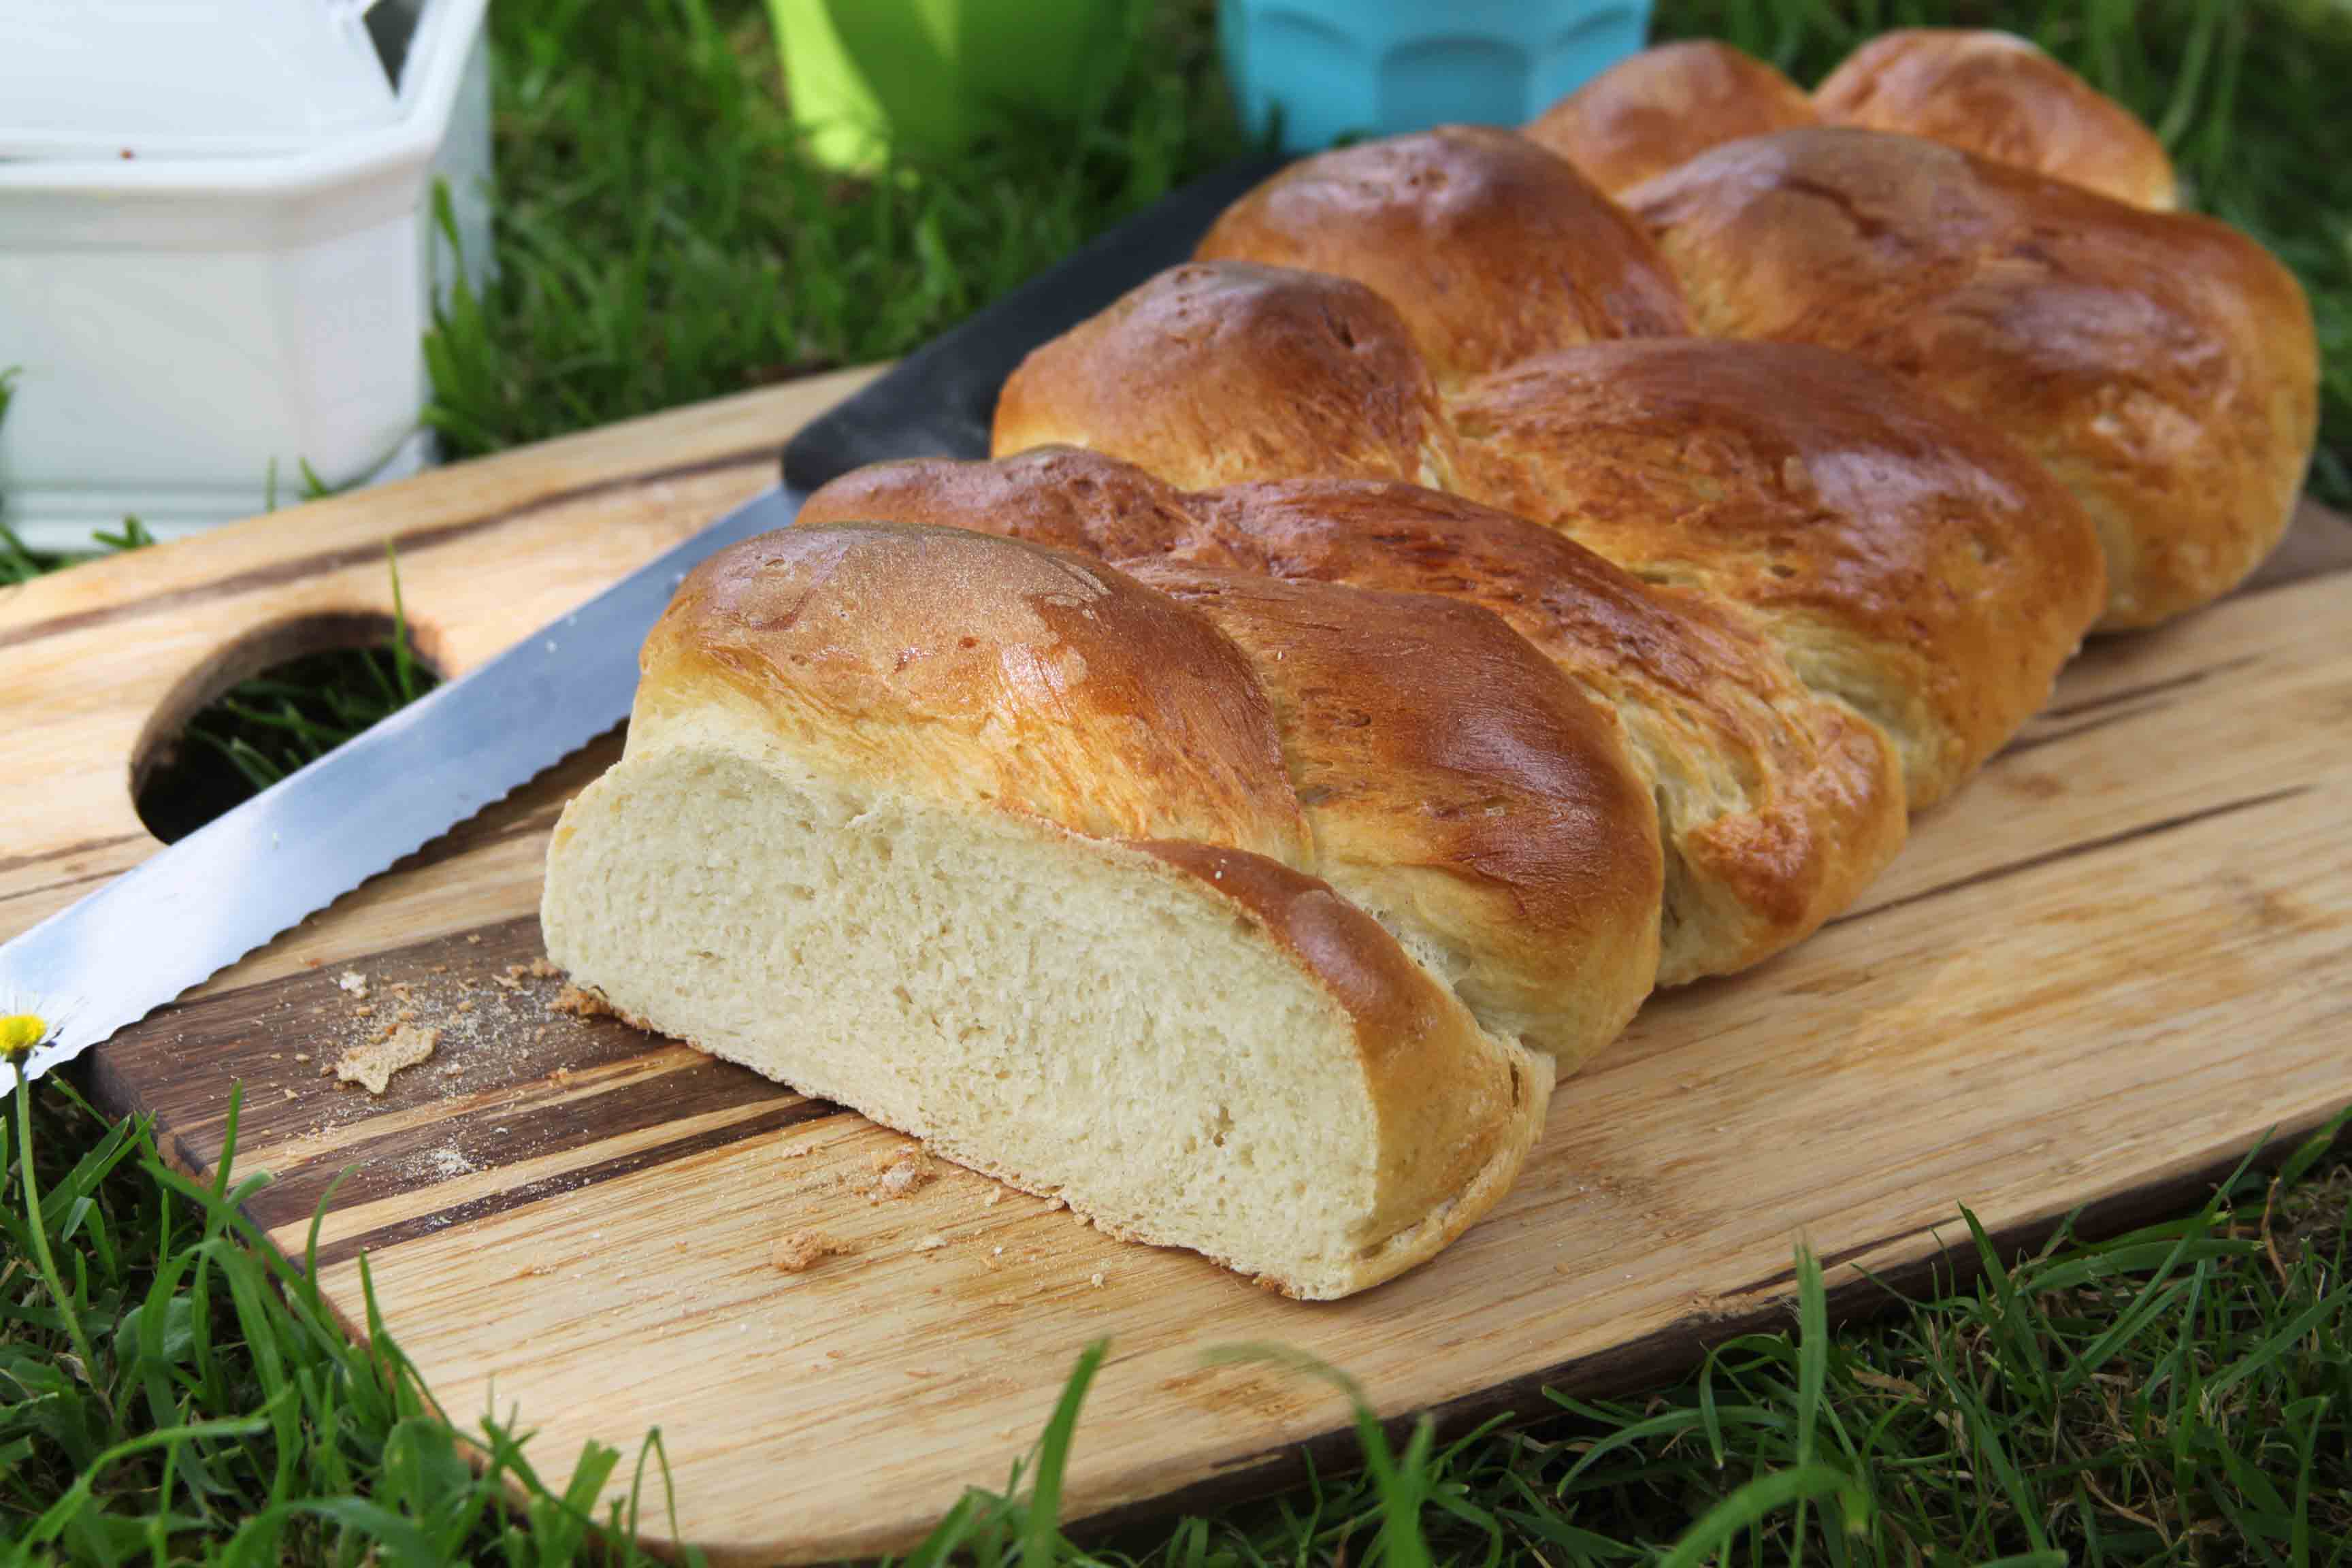
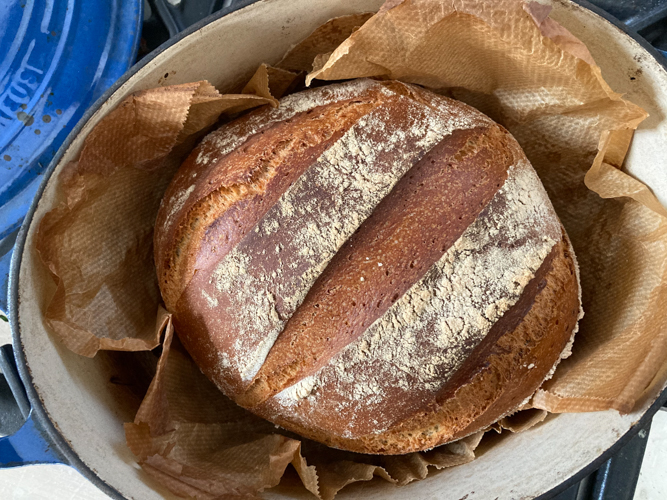
As you all see from the picture, the loaf develops such a fabulous, all round crust and looks incredible. Couldn’t be easier, just heat the pot as you heat the oven and when both are ready, using oven gloves and extreme caution, put your dough in the pan. I use a Le Creuset because that is what I have, sometimes they are called a Dutch Oven, and you can also use an earthenware pot with a lid or said enamel pan. Bear in mind the oven has to get very hot so whatever you use must be able to withstand around 220 degrees.
This method is just so easy – no clattering in the cupboard looking for the right loaf pan, no anxiety about your ball of dough settling into more of a splat on a baking sheet (it’s happened…) just pop it in the pan and look forward to a crusty, beautifully risen loaf.
White Bread in a pan
It you have a stand mixer then this will take literally minutes of your time to rustle up. Before I got ours though I still made this and happily kneaded it for around 10 minutes. It is a calming way to spend 10 minutes (come on, it is only 10 minutes!) and you will be rewarded tenfold!
500g strong white bread flour
10g salt
10g dried yeast
1 tablespoon soft butter (optional)
300ml lukewarm water
Put the flour into a large bowl (or the bowl for your mixer) with the salt on one side and the yeast on the other. Add the butter (if using) and water and bring it all together to form a sticky mess into a dough. Then using the dough hook put your mixer on for 6-7 minutes or knead by hand for 10. Sprinkle the inside of the bowl with a little extra flour, put the dough into the bowl, cover with a cloth and leave somewhere warm and draught free for an hour. After this time you will see your dough has risen so gently punch the air out of it by kneading a couple of times then form it into a ball. Put it onto a piece of floured baking paper, dust the top with flour and leave to rise for a further hour in a bowl or proving basket if you have one (covered). Towards the end of this time preheat your oven to 220 and put your le Creuset or pot of choice in the oven to heat at the same time. When ready to bake, USING OVEN GLOVES remove the pan from the oven, take off the lid and gently lower your dough into it, slash the top a couple of times, replace the lid and cook for 40 minutes by which time it should be perfectly bronzed. Let it cool on a wire rack and then dig in.