Chocolate and Mint is a match (Matchstick) made in heaven, a truly great combination. For as long as I can remember I have loved that marriage of fresh, clean, cool mint and rich, smooth melty chocolate. From After Eights liberated on the quiet from their box in the dining room to that crazy Ice Breaker of the 70’s – ludicrously sharp little peppermint shards incased in chocolate – remember that one? I loved the look of Bendicts Bittermints and though I tried them regularly, desperate to enjoy their sophistication, the super bitter dark chocolate proved an effective barrier between the young me and the soft mint patty within. Fry’s Peppermint Cream, Mintolas and Mint Aero – don’t believe I’ve ever turned my nose up at any of the above. Continuing the theme, my parents even had a bottle of Royal Mint Chocolate Liquer – very racy.
So I thought I’d make my own and could it be any easier? Melt some chocolate, add a little peppermint extract, drop spoonfuls on parchment, let it cool.
Can that be called a recipe? No, honestly it is just too ridiculously simple but that is pretty much it. My children love making (and eating) these and they are superb as a present when you go to someone’s house for lunch or supper. Fun to make during the Easter holidays or afterwards if you need something to do with the surfeit of chocolate that often lingers after the children have gone back to school.
Finally, if like me you have given up chocolate for Lent, I suggest you stockpile some of these, then set your alarm early on Easter Day and tuck in.
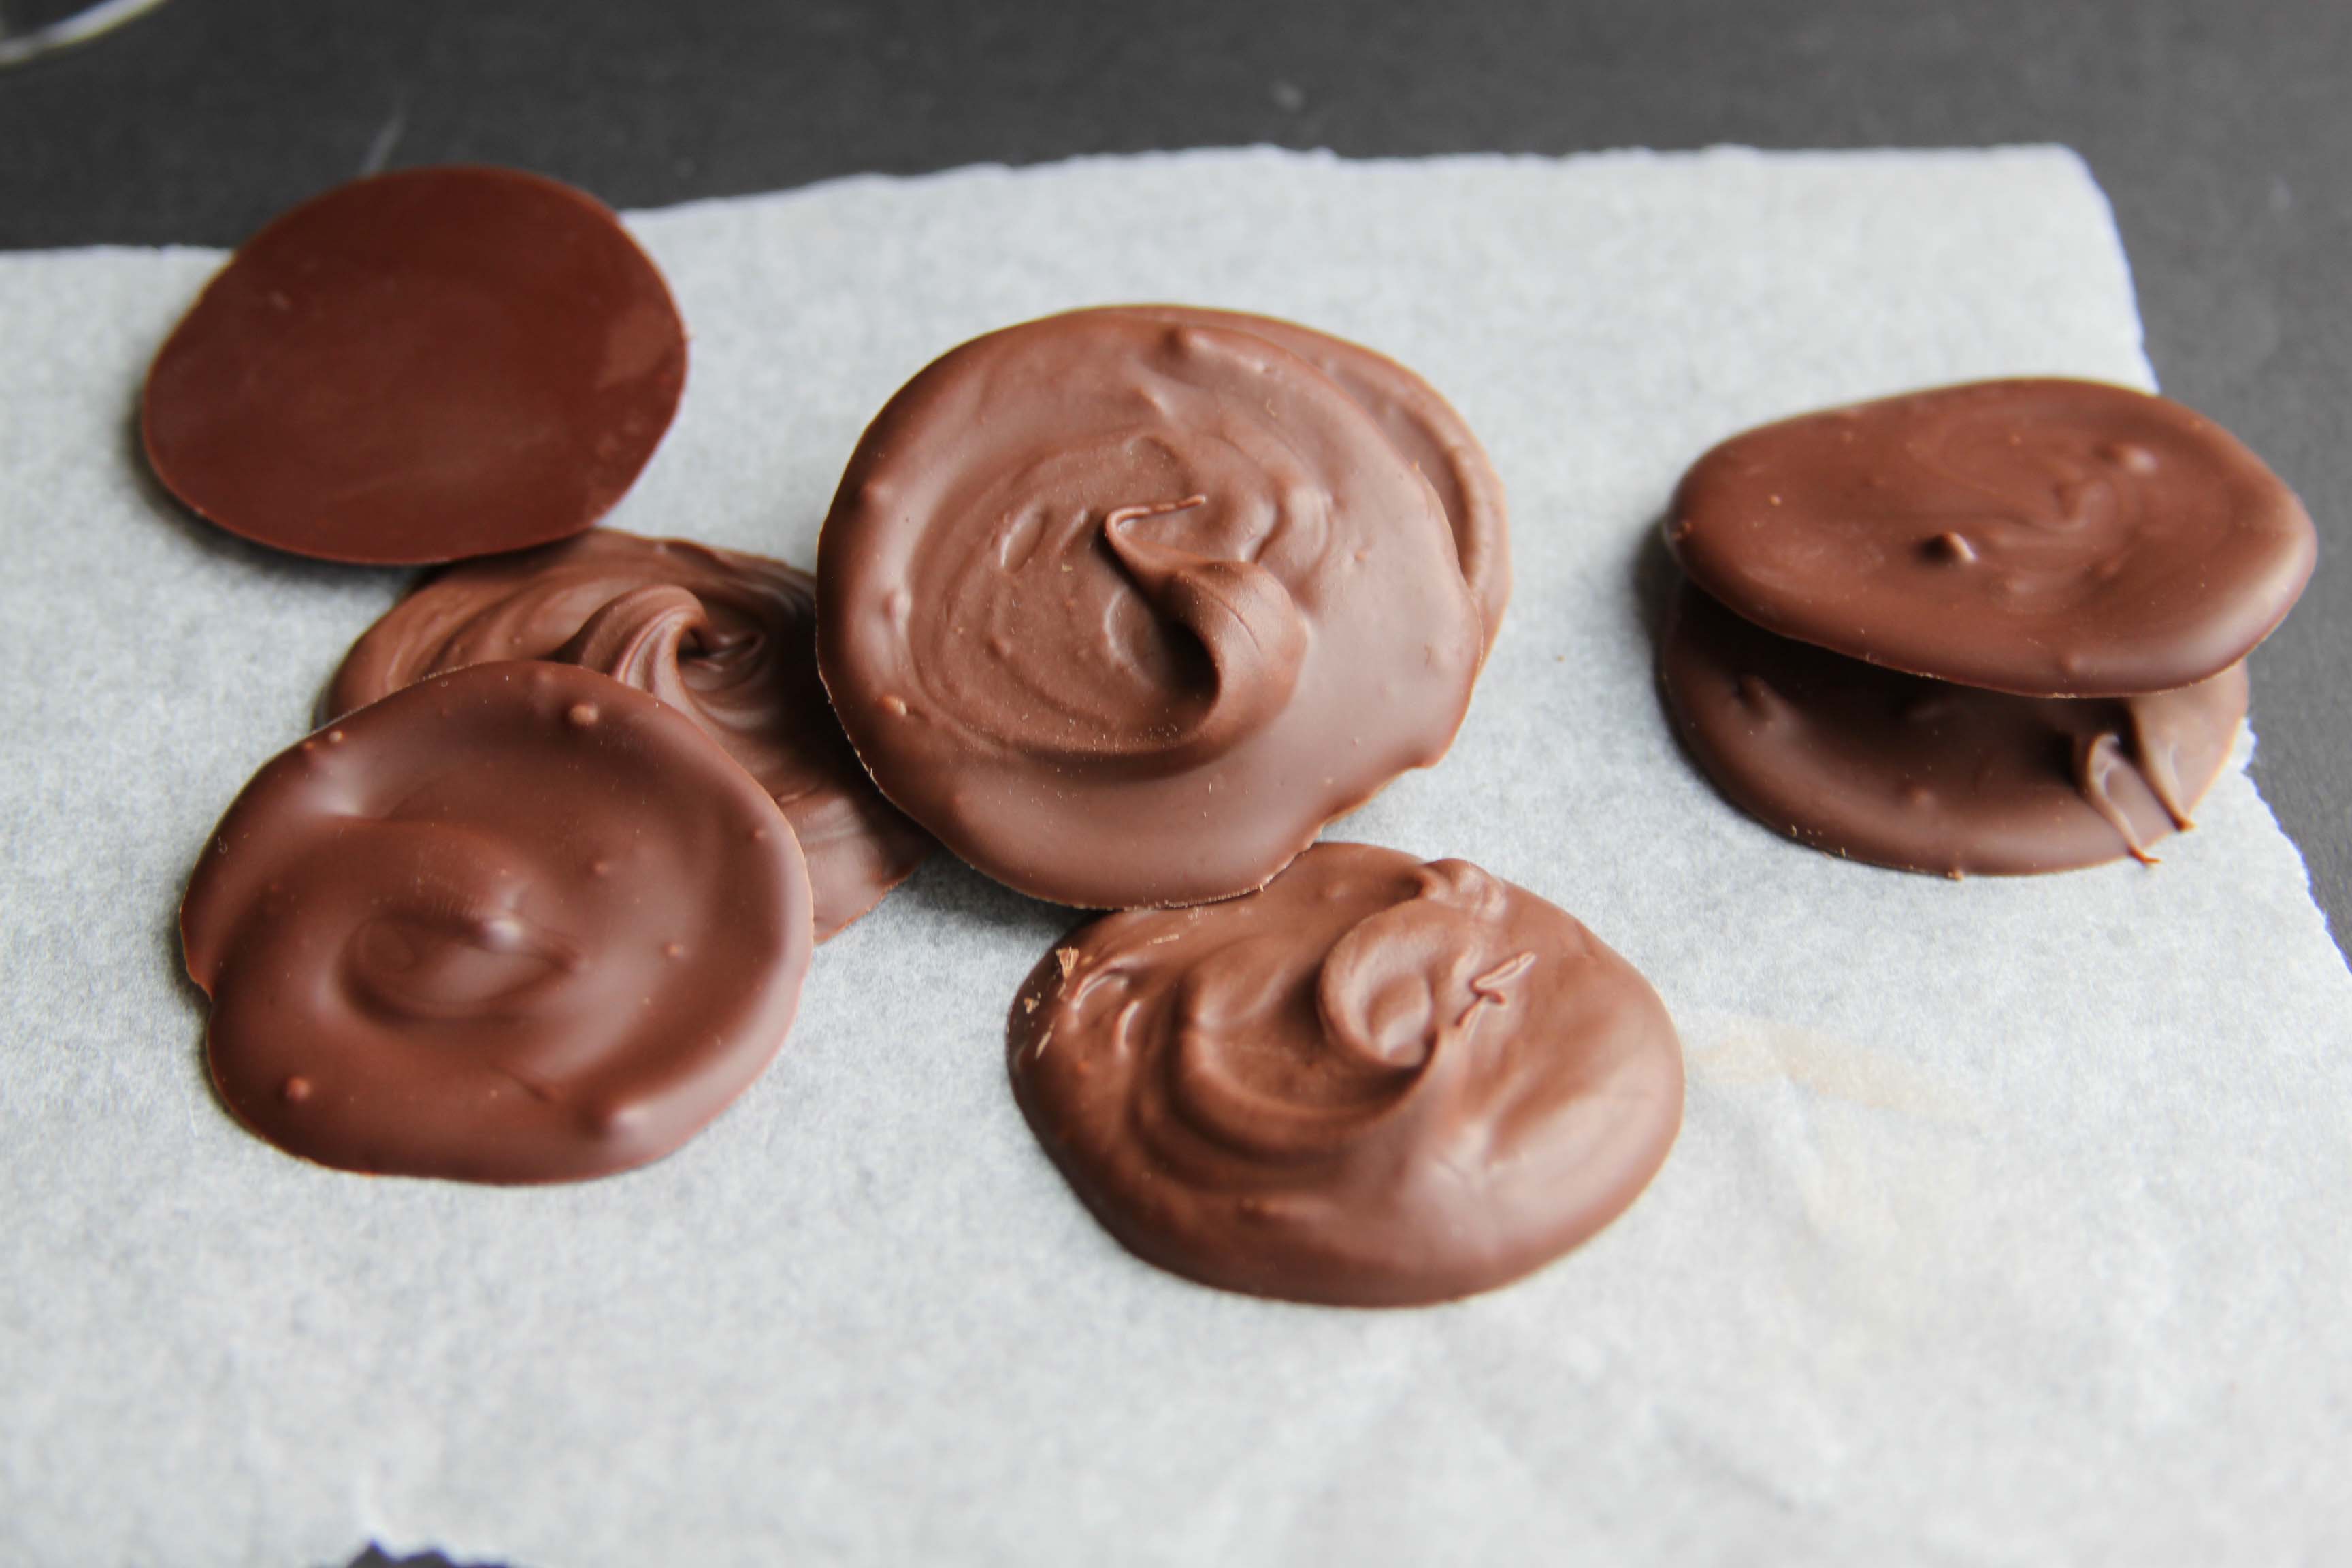
Mint Chocolate Drops
I use a combination of milk and plain chocolate as that is what we prefer either in the ratio of 50/50 which the children like or 70 plain 30 milk if you want something a little darker and more bitter to serve after dinner. All plain chocolate is too bitter for me but, as ever, it is up to you.
For every 65g of chocolate use 1/2 teaspoon of peppermint extract
Melt the chocolate with the peppermint. I do this in a bowl over barely simmering water but I believe a microwave is an even better way to melt chocolate (I don’t have one). Either way do it very gently so the chocolate doesn’t seize. Drop teaspoonfuls onto parchment and leave to cool. Don’t put it in the fridge as this makes the chocolate go a little dull. This amount of chocolate yields about 10 drops.