To me this has a faintly Autumnal air about it and I had been saving it until the end of the Summer but then someone asked me for the recipe. In truth it is good any day of year and as apples are around all the time a good one to have up your sleeve.
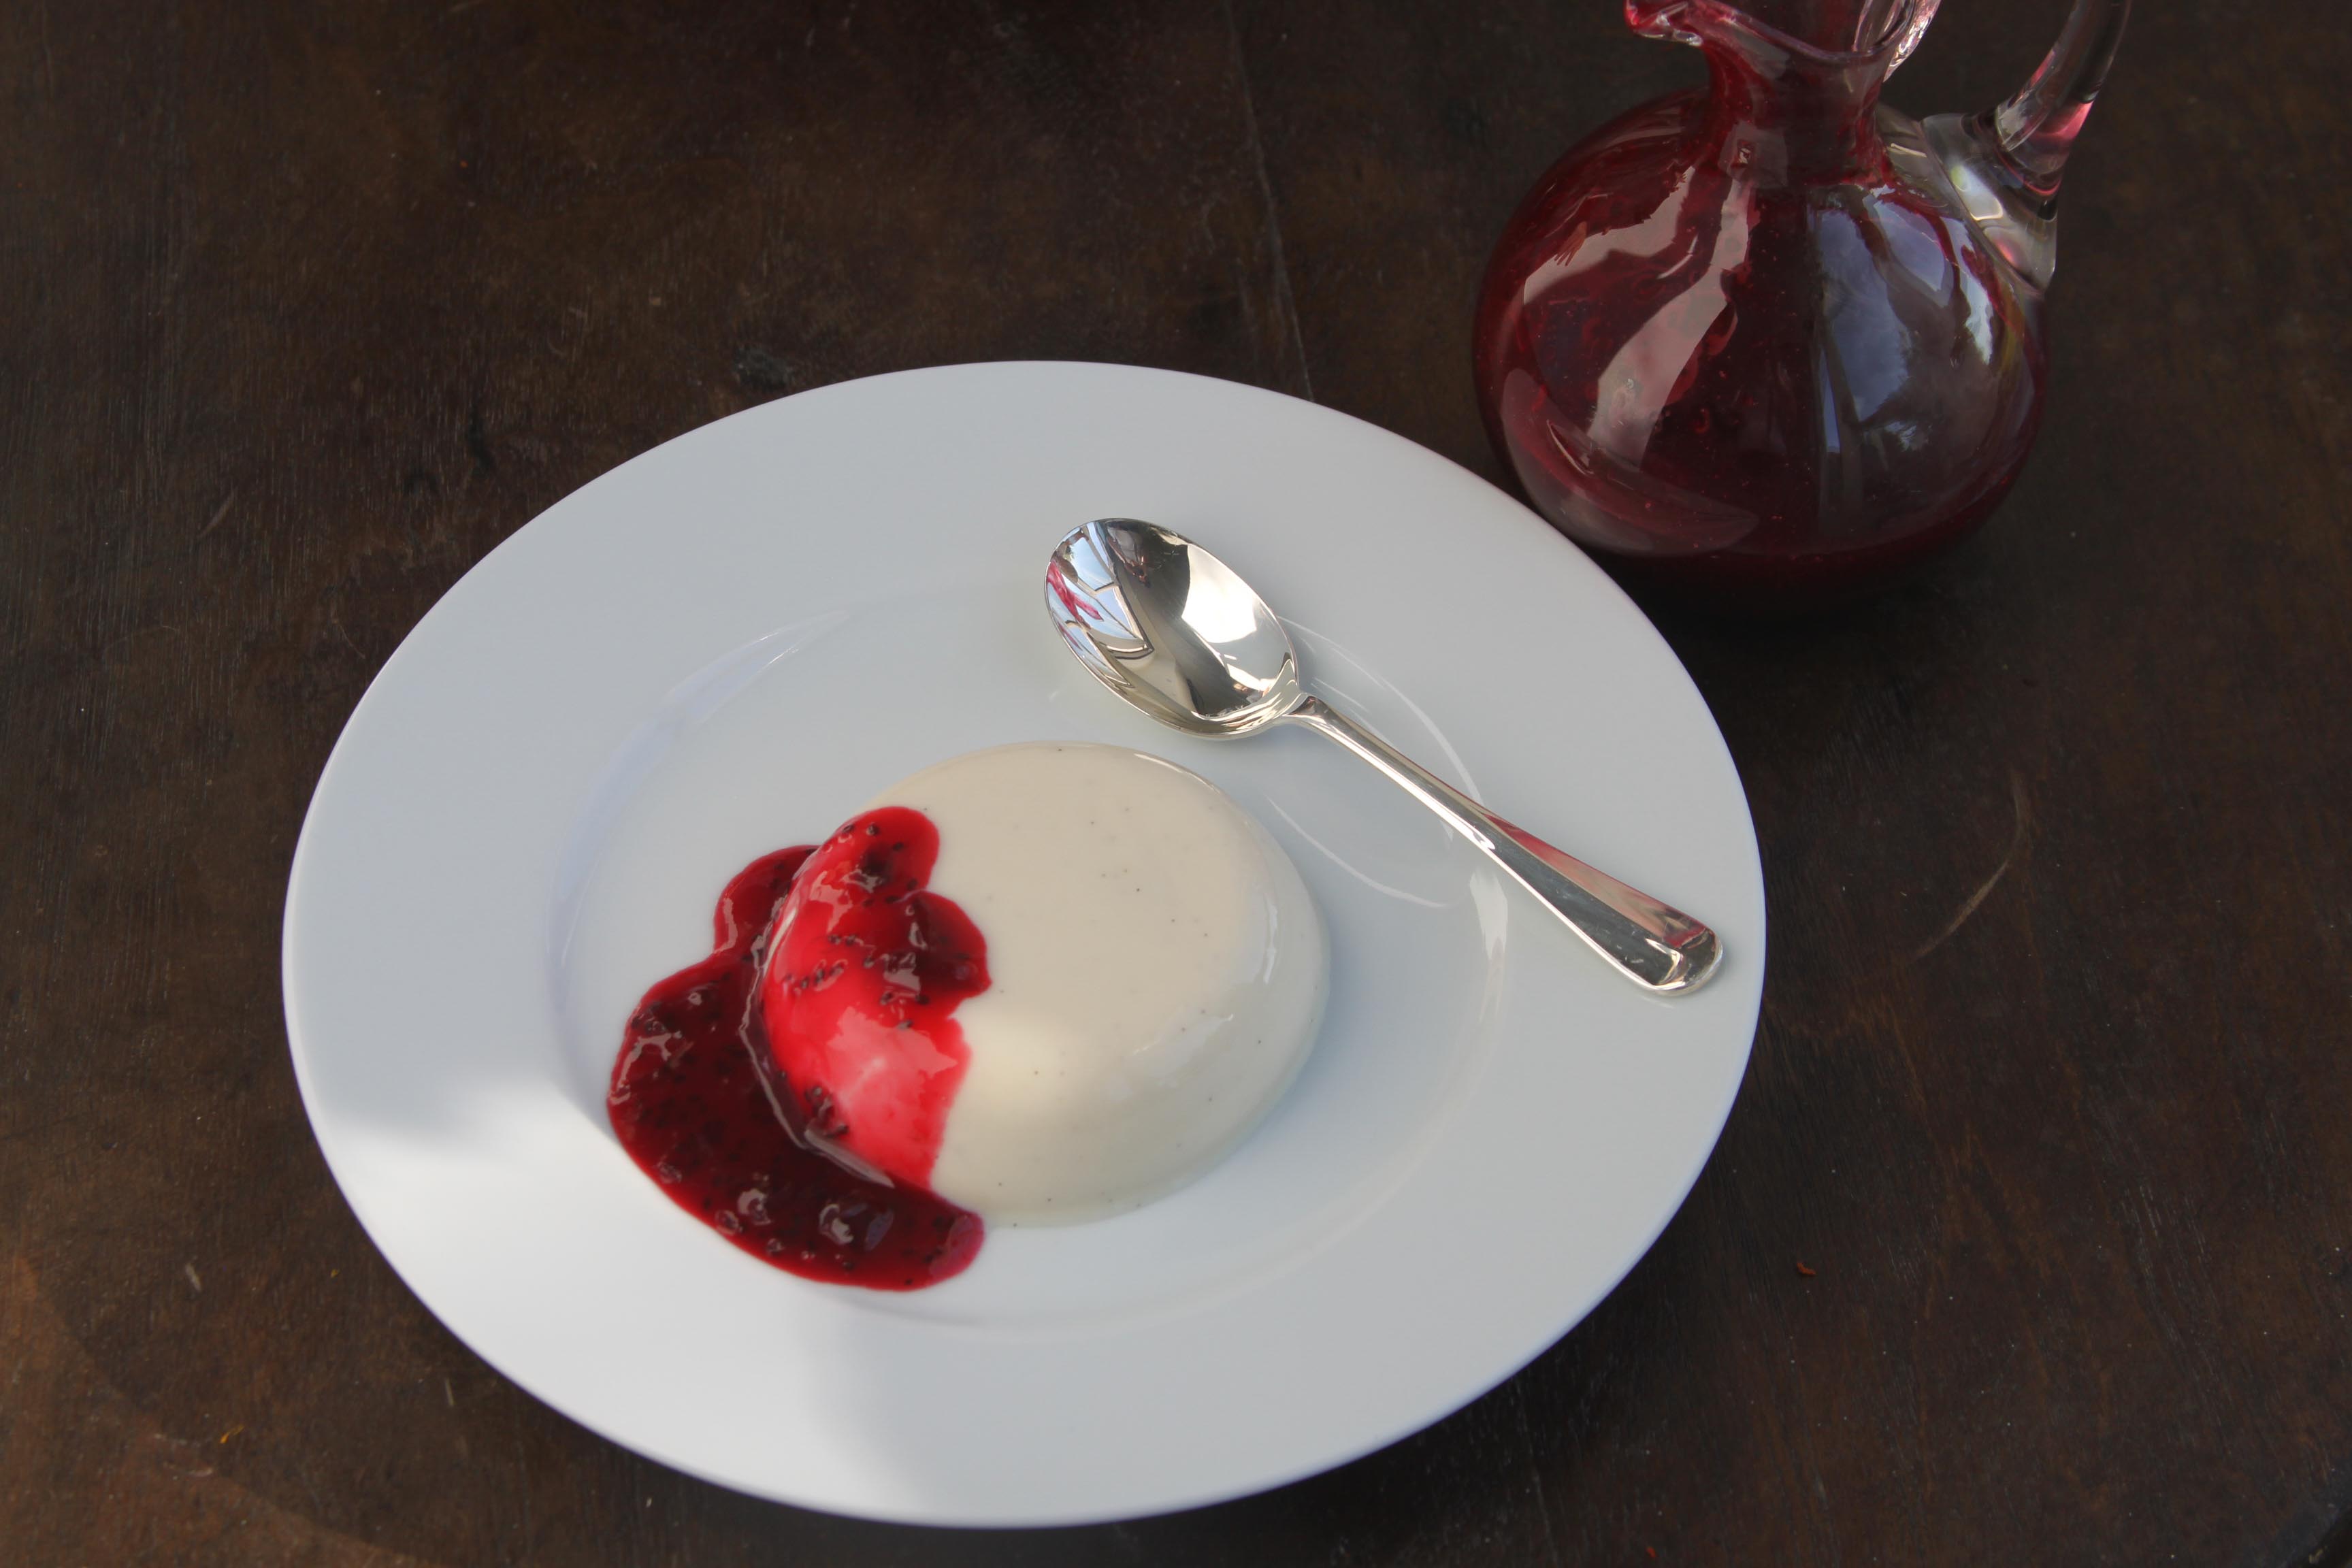
I adore Pannacotta, there is something about the creamy wobbliness that is irresistible. Usually I make a vanilla version which I can then serve with any fruit that happens to be in season, pureed gooseberries, rhubarb and blackcurrants all being favourites. Should the fruit bowl be bare however, then a good chocolate sauce (one without cream) makes them a pudding of dreams. You can find my Vanilla Pannacotta here (July 2014).
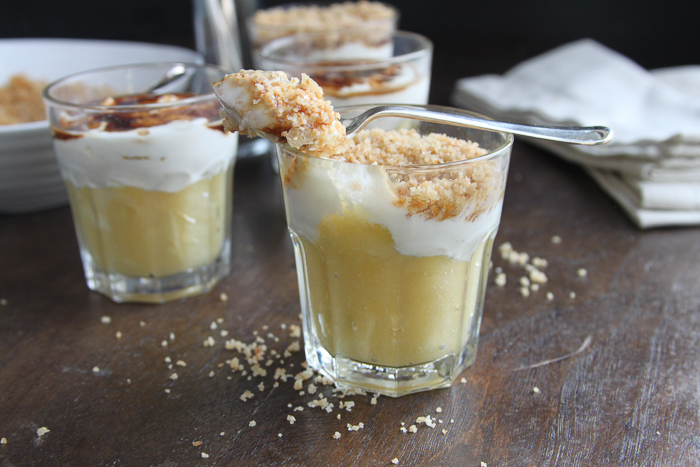
This one came about because I’d made a note ages ago to combine cinnamon with apples and maple syrup and eventually got around to having a go. A favourite North American combination I suspect and a possible Jelly Bean one too if that is your thing. I tried pie and crumble and whilst a good combo the individual flavours got a little muddled. An ice cream was a nice idea but try getting apples to make themselves heard against cinnamon in an ice cream. This pannacotta really works though. Gently bosky sweetness from the cinnamon goes so well with the creaminess of the pannacotta which is kept the right side of too rich with the addition of yogurt. The apples and maple syrup compliment each other politely, allowing both to show themselves off.
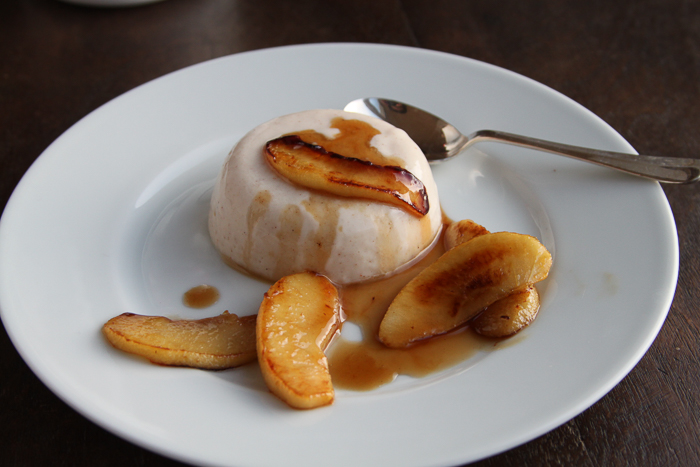
Cinnamon Pannacotta with Maple Syrup Apples
On another occasion just make a panful of these sweet, soft apples and serve over vanilla ice cream.
200ml whole milk
100ml single cream
100ml Greek yogurt
1/4 teaspoon ground cinnamon
60g caster sugar
2 gelatine leaves
2 eating apples such as Braeburn, peeled, cored and finely sliced
1 tablespoon butter
2 tablespoons maple syrup
Put the gelatine in a bowl of cold water to soften. Heat the milk, cream, cinnamon and sugar until it just reaches boiling point. Remove from the heat and add the squeezed out gelatine, whisk well and leave to cool, stirring occasionally. Whisk in the yogurt and divide between 4 ramekins or small metal moulds. Put into the fridge for at least 4 hours to set. About 20 minutes before serving prepare the apples, melt the butter in a frying pan and cook the apples gently in this for about 10 minutes until turning golden brown and becoming floppy. At this point add the maple syrup and cook for a further 5 minutes until the apples are well coated and the syrup reduced. To serve, dip each ramekin briefly into hot water before turning out onto a plate and serve with the apples. Serves 4.