I only have to hear Van McCoy’s The Hustle and I am transported back to Yorkshire that hot summer of 1976. The fair came to our local town, Ripon and one evening, as a treat, we went to check it out. The market square was full dodgems, waltzers and even a big wheel. The air was heady with excitement, the music and the residual heat of the day. Girls in their cheesecloth tops and cut off jeans hot pants and the boys watchful with their James Hunt hairdo’s and a packet of JPS tucked casually into capped t shirt sleeves. The memory stays with me and reminds me of that long dusty hot summer with the school holidays reaching ahead for weeks. Without any internet or electronic games we had to amuse ourselves and there was a lot of playing in the garden, den building, making camps followed by general milling around.
These summer holidays have started off promisingly warm and I am keen for my children to fill their time as I did, mucking about outside, splashing in the river and climbing trees. One way I’ve found to keep them busy is to get them to cook and campfire cooking has got to be up there as the best kind. Even the most bored or bolshy child desperate to get onto their phone can usually be tempted by the thrill of the fire and ensuing feast.
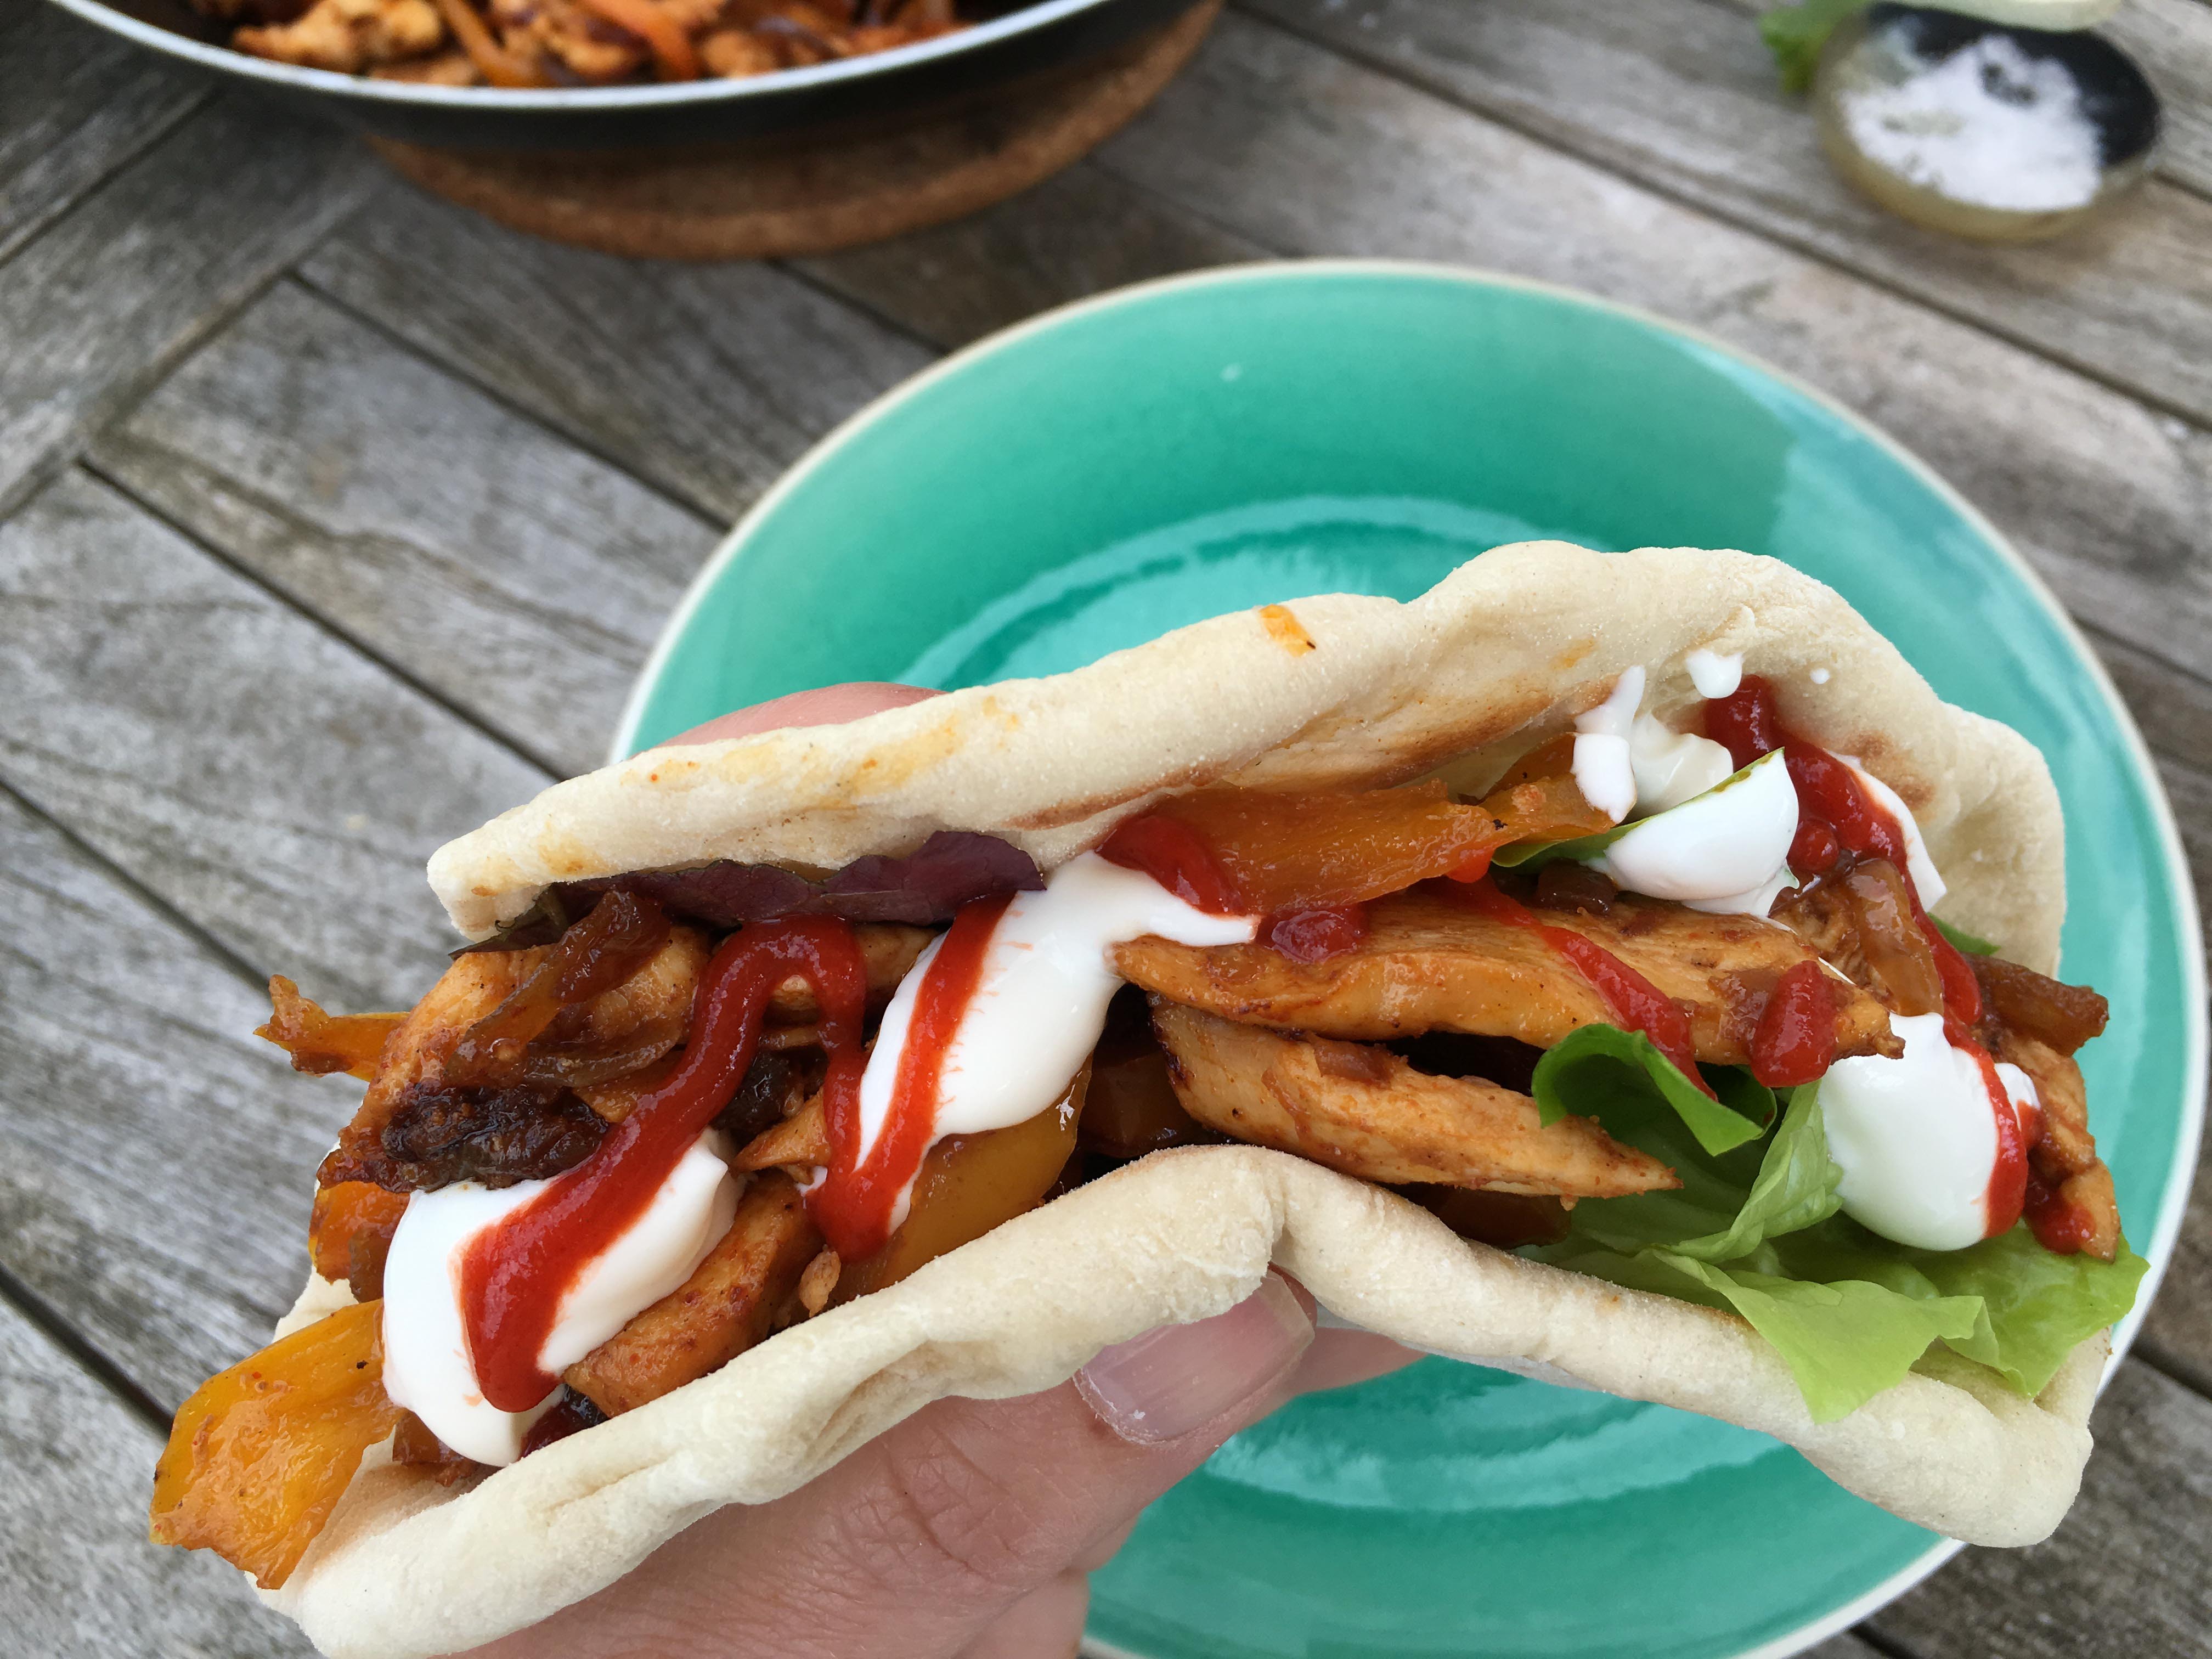
These fajitas are perfect for a camp cook out, a doddle to make and seem to keep everyone happy. You can cut up the vegetables and chicken or depending on their age, get your little darlings to do it for you, I am all for a bit of delegation/child labour. We made the flatbreads you see in the picture and they could not be easier but by all means buy some if that is a step too far. Much to my childrens’ disapproval I like to add lettuce to my wraps and if you are particularly carb-phobic you could dispense with the bread all together and fold your chicken and peppers into a large lettuce leaf.
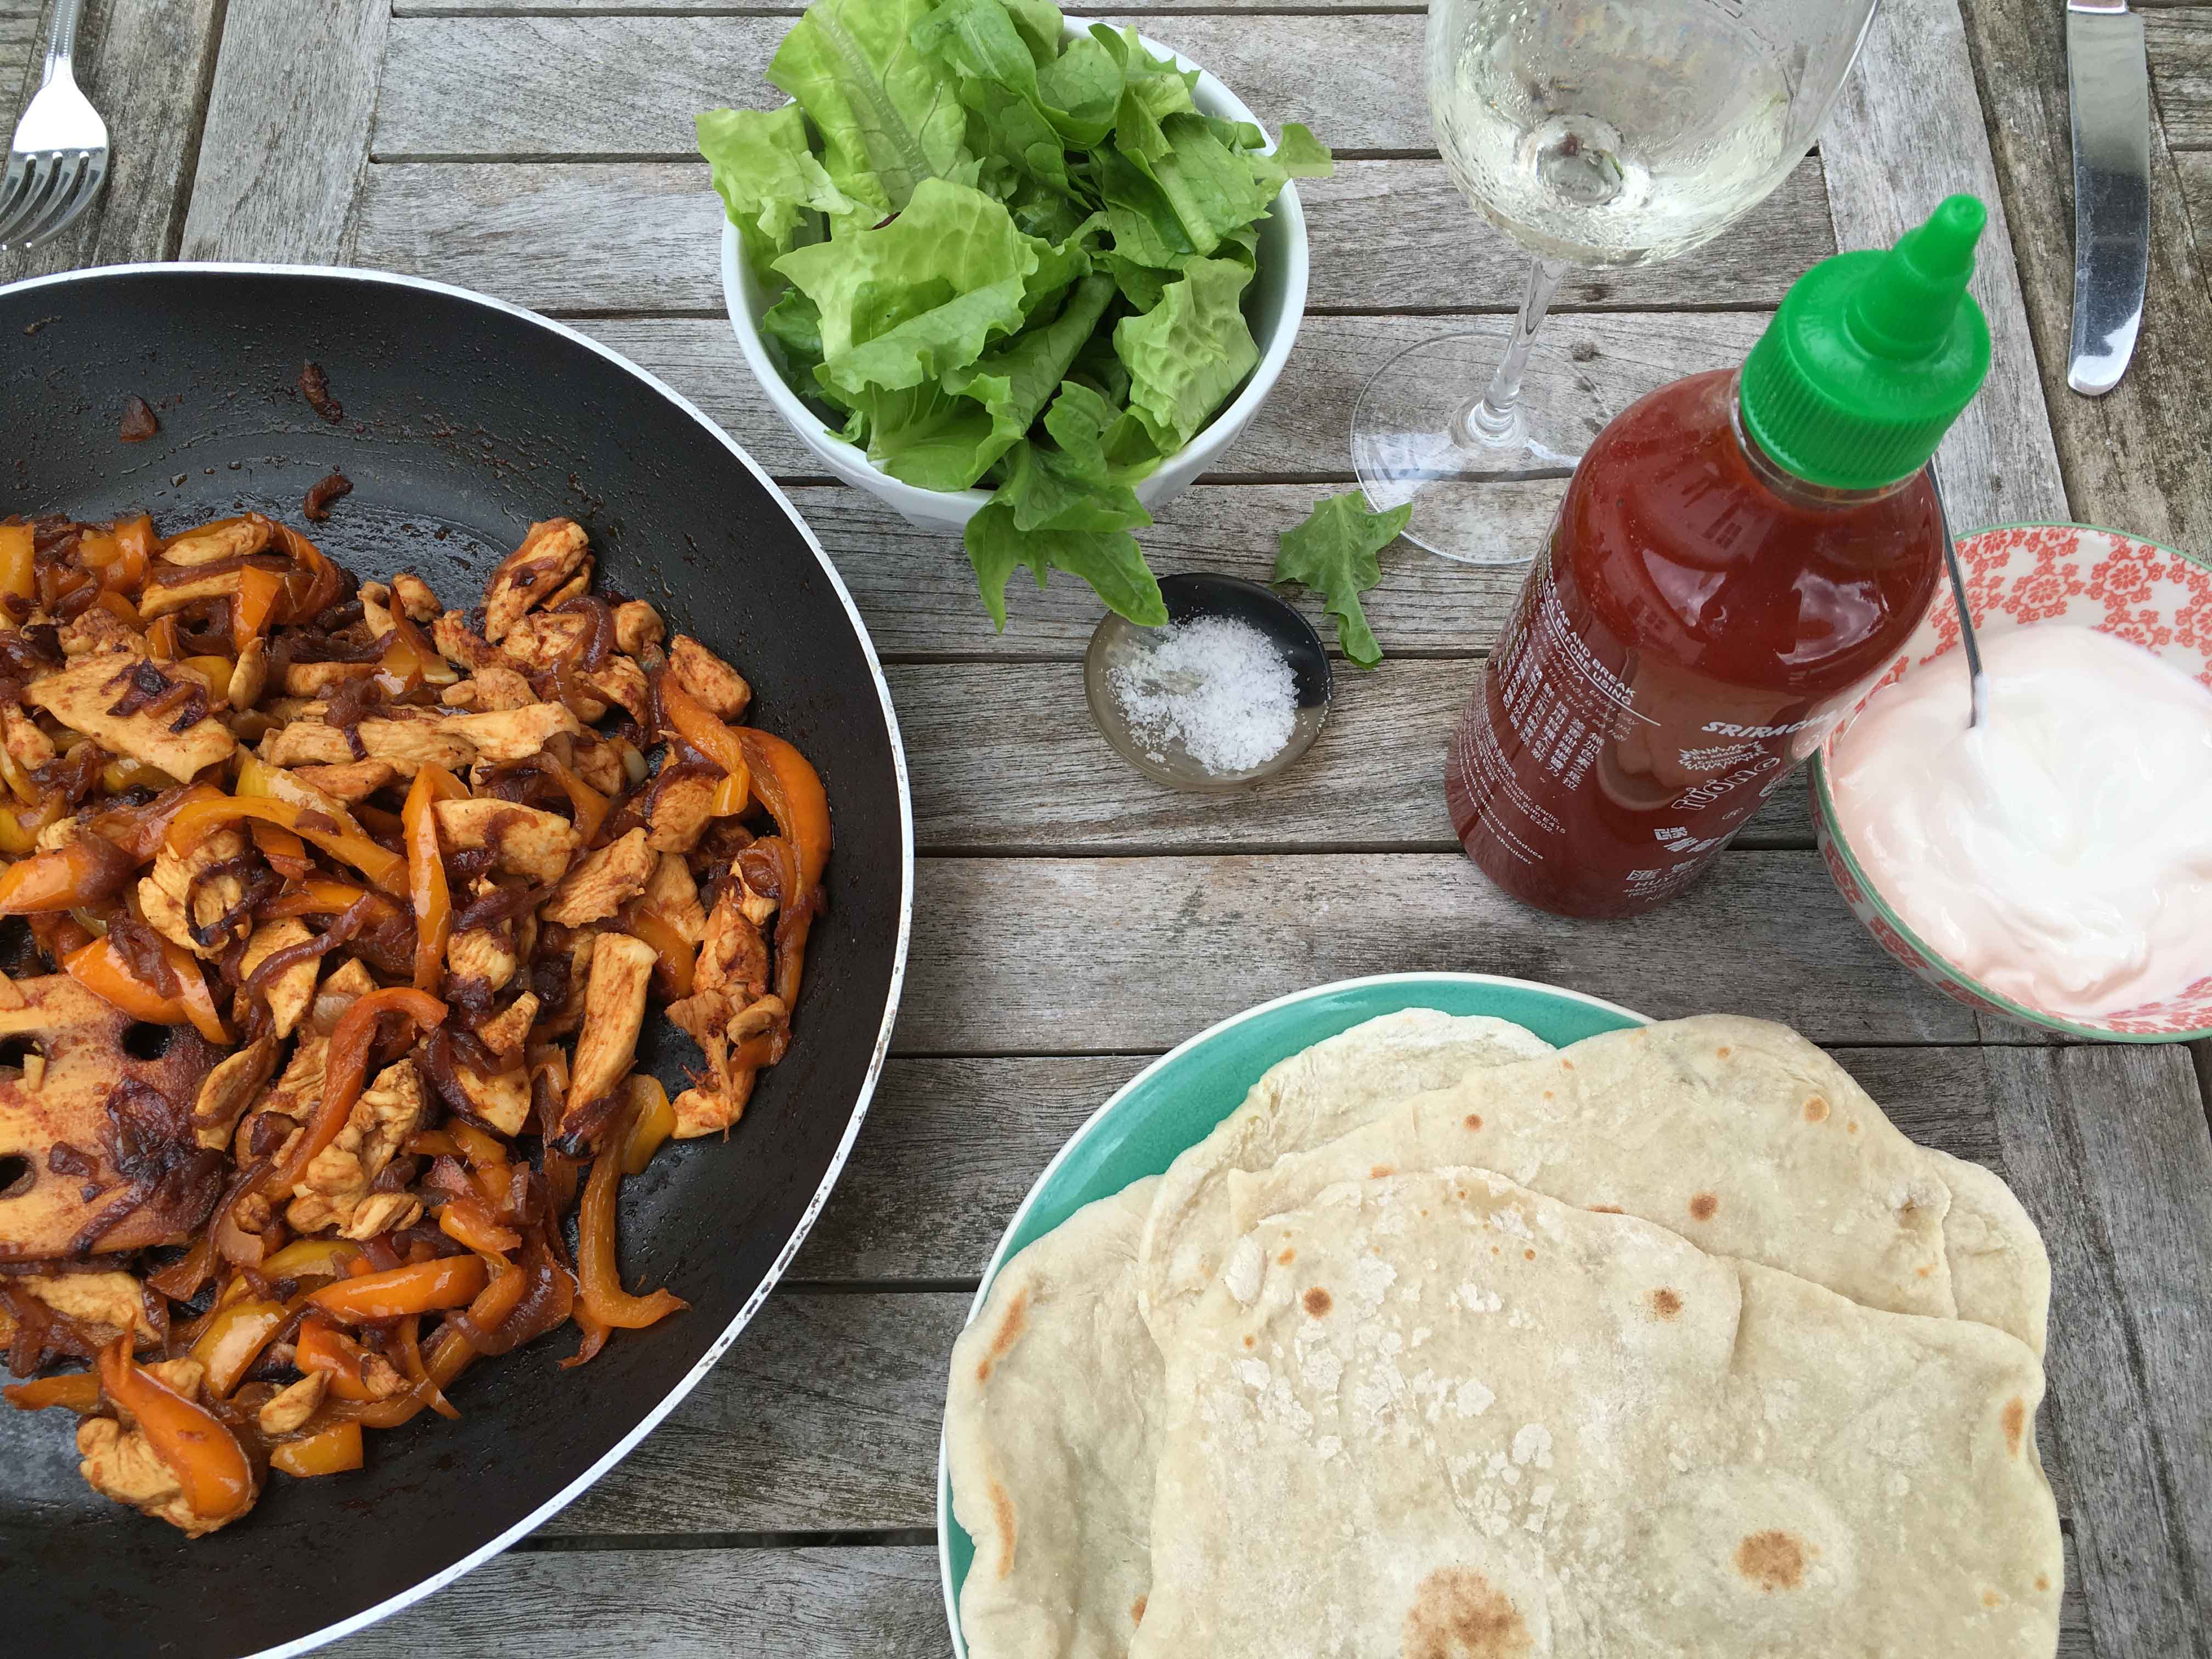
There are all manner of goodies you can add to your wraps. I don’t add too much chilli when cooking to keep these family friendly so a drop of two of sriracha is mandatory for me and we always have sour cream or greek yogurt. I might make a chunky guacamole or my quick pickled onions (August 2014) which add fabulous crunch and tang – the point is that the children love making these to their own specifications. If you make the bread dough first then this can rise whilst you get on with the chicken and vegetables. I use my usual bread recipe but on this occasion it only needs one rise before rolling them out. If you are dong these on a camp fire I find a paella pan or large frying pan the best option. Cook the filling first then put it on a plate to one side whilst you cook the flatbreads, they only take a few minutes each and this way you can use just one pan.
Camp Fajitas
2 tablespoons olive oil
2 large onions, peeled and sliced
3 large peppers, cored and sliced
2 large cloves of garlic, peeled and sliced
2 large chicken breasts, sliced into fairly small pieces
1 teaspoon cumin
1 teaspoon paprika
A pinch of cayenne pepper (more if you want it a little more spicy)
Salt and pepper
500g strong white bread flour plus a bit extra for rolling out
10g fast action yeast
10g fine salt
300ml lukewarm water
Mix the flour, yeast and salt with the water and combine to a dough. If you are at home and have a stand mixer use this otherwise knead by hand for about 10 minutes then leave the dough covered for an hour to prove. Put the oil into your large pan (see intro) and cook the onions and peppers with a good pinch of salt over a medium heat until soft, probably around 20 minutes. Towards the end of this time add the garlic and cook for a few minutes. Put the peppers and onions on a plate and cook the chicken in the same pan, you shouldn’t need anymore oil but add a bit if necessary. Once golden add the spices and a pinch of salt, cook for a few more minutes then add around 100ml of water to create a bit of sauce, check for seasoning. Put all this onto the plate with the peppers and onions and wipe the pan with a bit of kitchen roll but don’t bother washing it.
Take balls of the bread dough about the size of a satsuma and roll out in a little flour until the size of a large side plate. Keeping the pan on the heat cook these for a couple of minutes either side until slightly puffed up and browning at the edges. Put each flatbread into a folded tea towel to keep warm and soft while you do the rest – you should get about 8 to 10. Bung the filling back into the pan if it needs warming through and then tuck in along with any extra bits and pieces you have decided on (see intro).