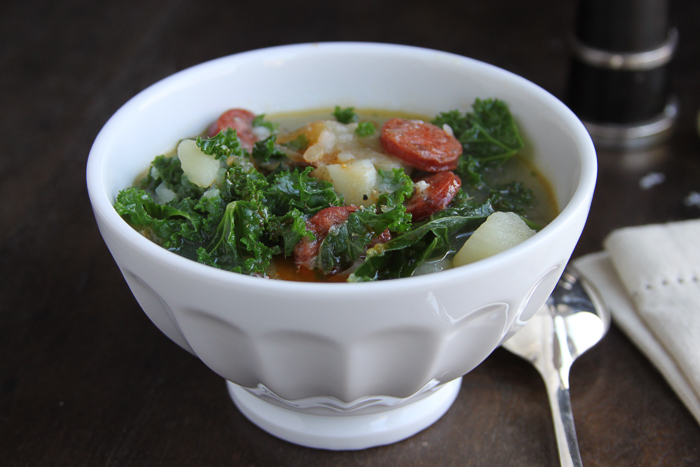
I heard something absolutely extraordinary last week. Whilst tucking into tea, my daughter stated the previously unimaginable “I love kale”. I stopped talking and sat slack jawed in amazement. This is the child that will shy away from vegetables apart from a grudging tolerance for peas and cooked carrots. This the child who would normally show wide eyed panic in the face of anything cabbagy and try distracting tactics when I am dishing out. Yet here she was and here it was – kale. Now kale is one of the tougher and if we are honest more bitter winter leaves and so this particular entente was all the more surprising. What was the magic, what was the secret alchemy you ask. One of the oldest tricks in the book, a bit of olive oil, a sprinkle of salt and a brief sojourn in a hot oven. That is all it takes to transform these frilly green leaves into a salty, savoury snack comparable (if not better) to the finest potato crisps.
The thing is I really want my children to like vegetables, I don’t want those stand off scenarios where I insist that vegetables are good for them while they will sit, mulish and resistant, eyeing me as one who wishes to enforce horror. So I make it my goal to make their veggies more palatable, whatever it takes, I will keep trying different sauces, salsas and cooking methods until I have cracked it.

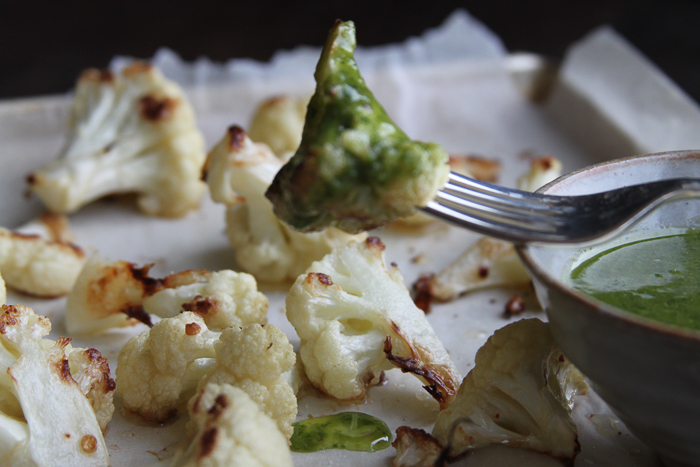
Cauliflower along with cous cous were two things my son had asked me, in all honesty, why God had invented. He couldn’t bear either of them, couldn’t see their point and so some time ago having tried all other routes I thought to roast cauliflower. What do you know they will now clamour over the last little floret and I can’t blame them, the oil, salt and hot oven trick turns these innocent little white sprigs into gold singed, roasty delicious mouthfuls.
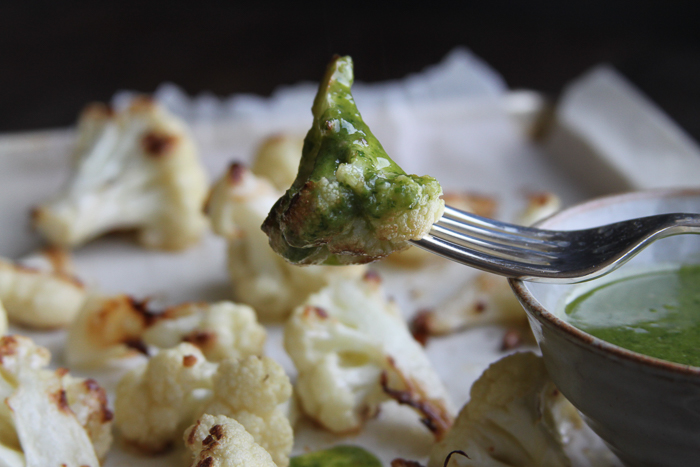
These are not just something I serve to children and in fact the cauliflower in this form with the dipping sauce is a great choice to put on the table at the beginning of supper or to add to a tapas style spread. The green sauce is my Fresh Herb Sauce (July 2013).
Roast Cauliflower
The addition of some chilli flakes to the cauliflower before roasting gives a lovely pop of heat but I generally don’t add them when doing this for children. I have previously given the recipe for kale crisps, essentially just tear the leaves into mouthful size, turn in a little olive oil, spread out onto a baking sheet, sprinkle with salt and cook at 200 for about 7-10 minutes, turning once or twice and eyeing them like a hawk so they don’t burn.
1 medium size cauliflower
2 tablespoons olive oil
Sea salt
Preheat the oven to 200. Trim the cauliflower , break into small florets and spread onto a baking sheet. Pour over the oil and turn the cauliflower really well making sure every bit is coated in oil. Sprinkle with salt and roast for 20-25 minutes until it is just turning golden brown and catching slightly at the edges. Cool for a minute or two and taste, you might want a tiny bit more salt then serve with the green herby sauce.