I remember dinner parties when I was a child – those were the days of going the whole hog – long dresses, velvet jackets, hair up and that 1970’s phenomenon – a selection of puddings. Now, what was that all about? If it wasn’t enough that you would wade through a starter and main course, there would always be cheese served with biscuits, grapes, a jar of celery and whatever else but then a choice of puddings. Perhaps oranges in caramel, a lemon soufflé – the chilled kind rather than oven baked – chocolate roulade or profiteroles. Always three, always cold.
So different from how we entertain now. When we have friends for supper, I might make a big stew, pie or paella which can be served at the table (no hostess trolley) with perhaps a salad to follow. Then depending on our mood, the weather and many other vagaries, cheese (sometimes served with the salad) or a pud. Rarely both as I am incapable of leaving one or other alone if presented with them both and will then feel like a beached whale at the end of supper. What I would do with three puddings I don’t know….well I do. I don’t often serve a starter but prefer to offer something with drinks beforehand. I can’t quite bring myself to call these canapés as I am not dextrous enough to create those little masterpieces you see in smart restaurants. No, spiced cherries in bacon, a little onion tart or these cheese biscuits with rosemary salt.
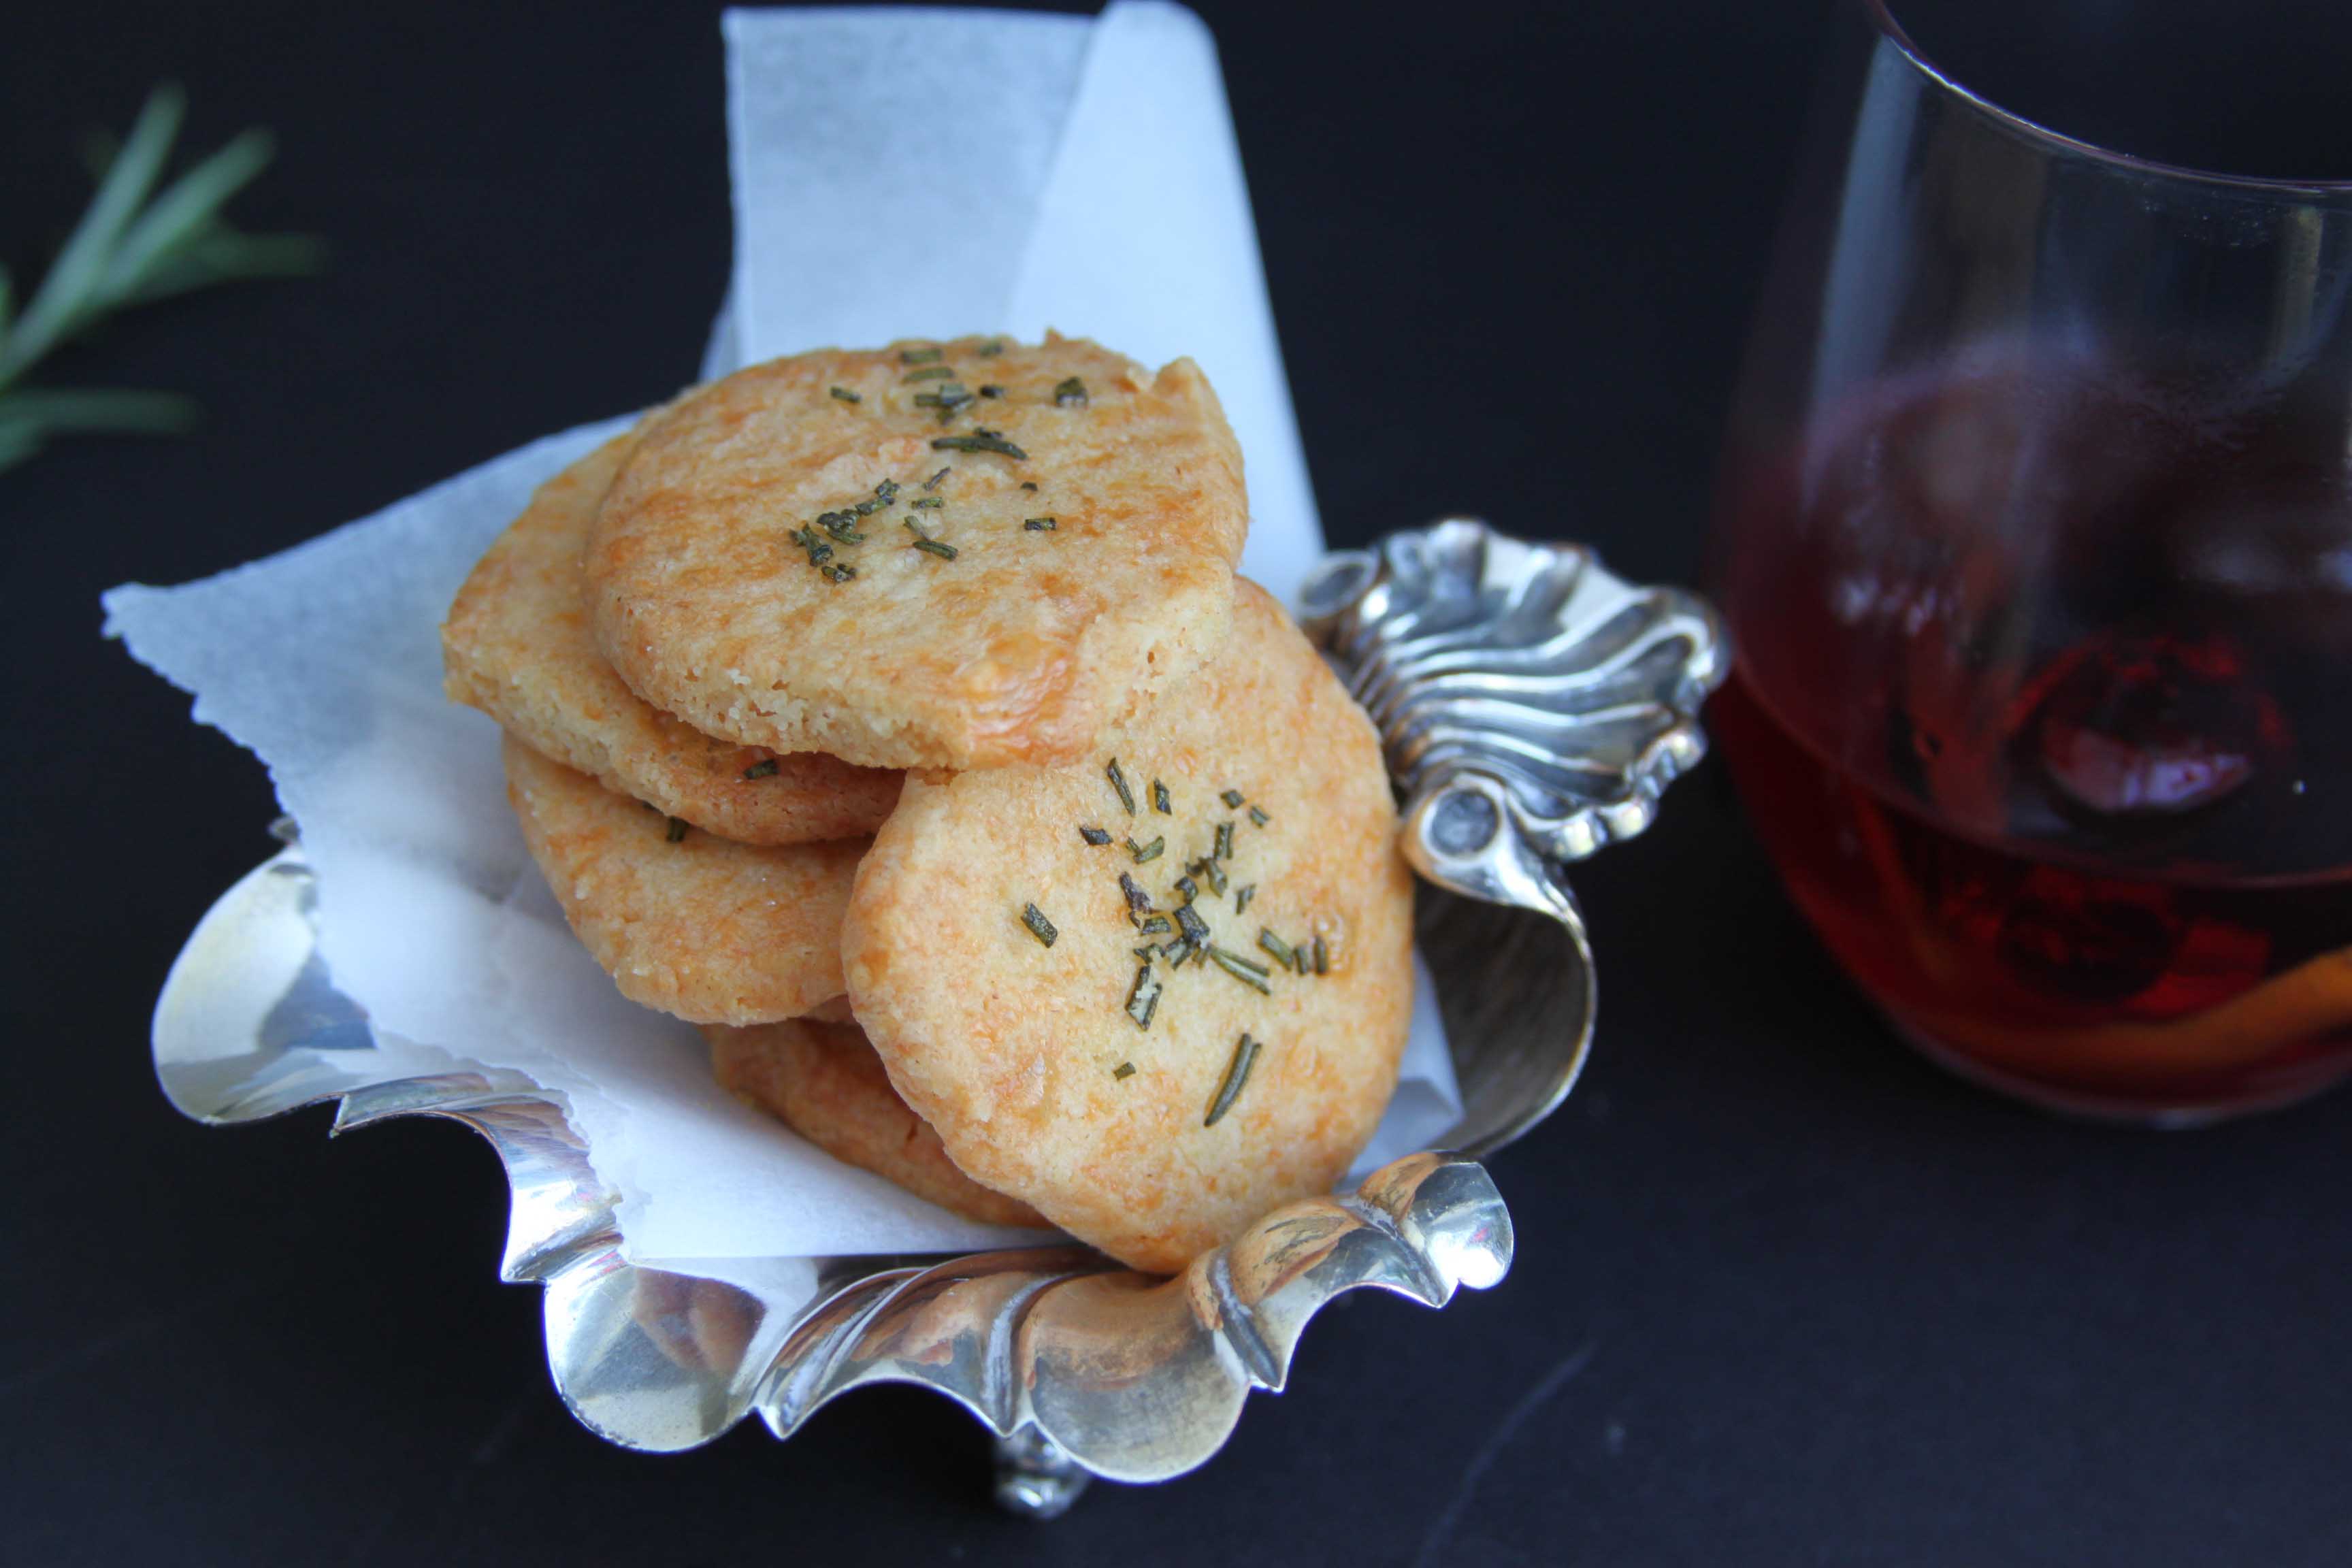
Can there be anything more fantastically savoury and moreish to have with a cocktail than a little cheese biscuit? That tang and crunch just go perfectly. These ones are crisp with a good bite from strong cheese and a kick from the cayenne. Despite the feisty flavour my children adore them. Make a load to stash away in your freezer ready to whip out when entertaining over Christmas.
As you can see from the photograph I served these with a Negroni and I thought they went together perfectly but naturally the choice of drink is up to you. Admittedly, one of the friends I gave a Negroni to made a face like I’d give her soapy water to drink and gave me the glass straight back. You can’t please everyone…..but at least she loved the cheese biscuits!
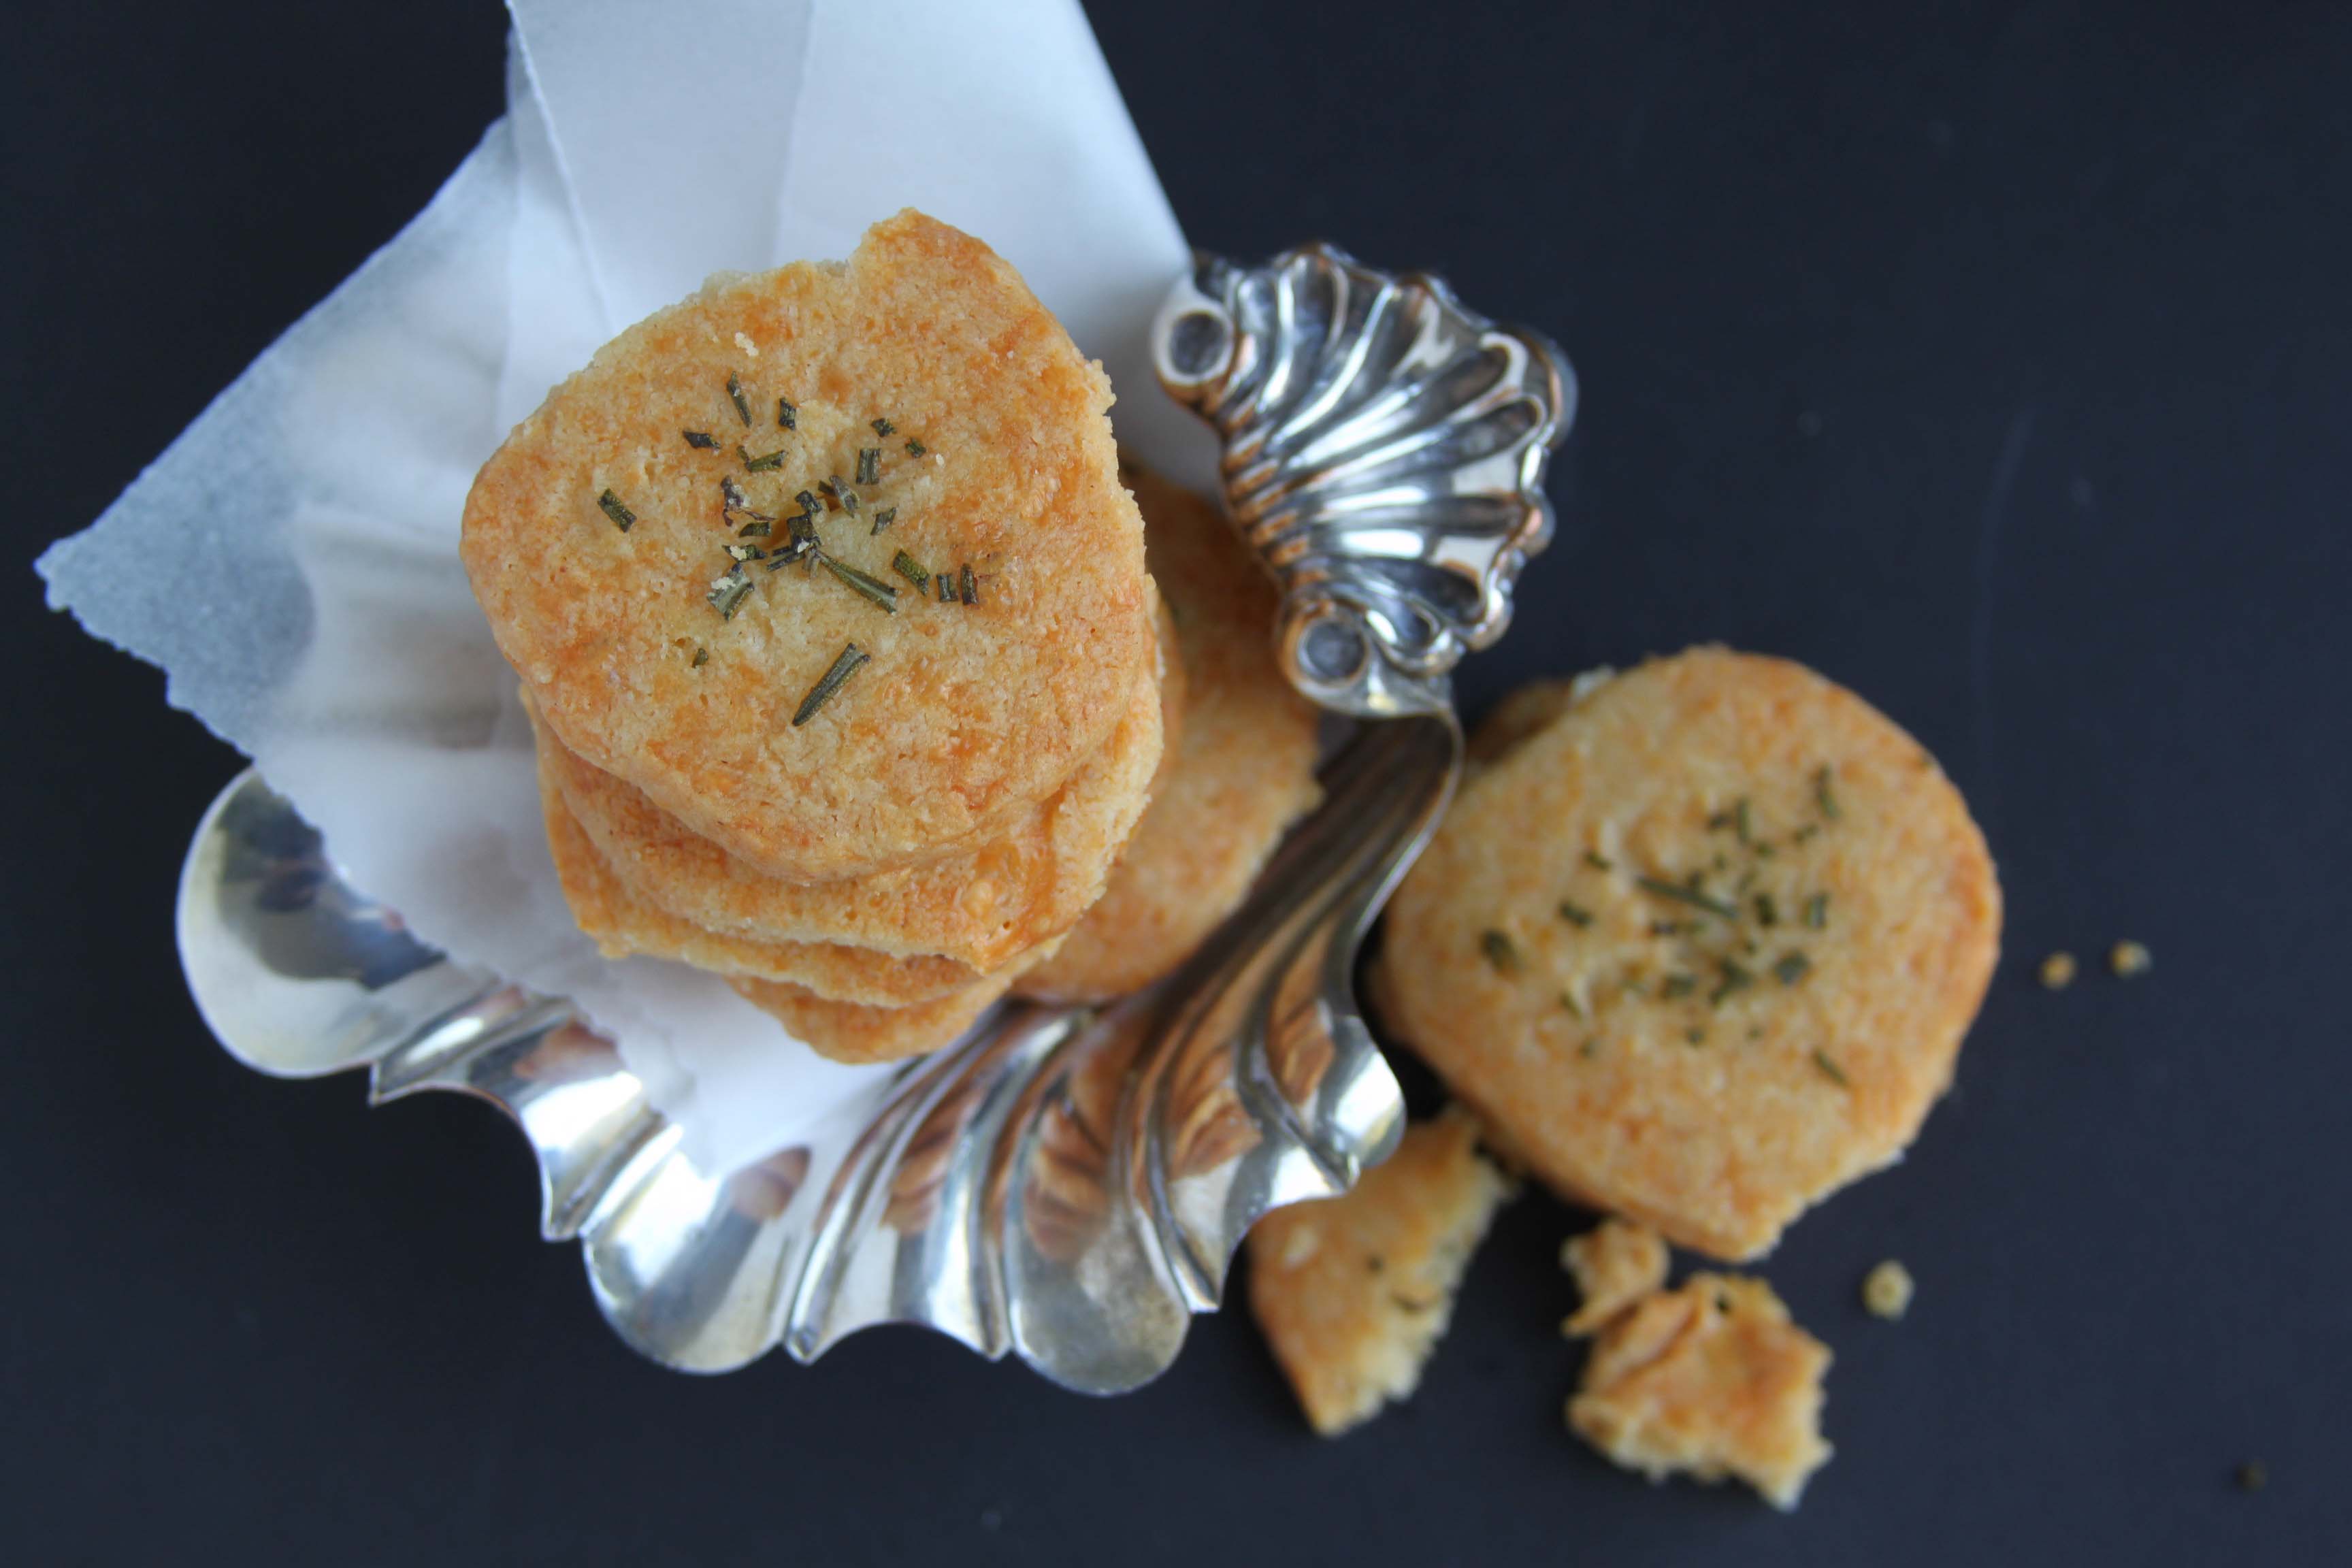
Cheese Sables with Rosemary Salt
100g soft butter
100g self raising flour
100g strong cheese, grated (I use 50/50 parmesan and vintage cheddar)
A pinch of cayenne pepper
1 tablespoon rosemary, finely chopped
Preheat the oven to 180. Whizz the flour and butter together, add the cheese and cayenne. Mix to a dough and form into a roll, wrap in cling film and put in the fridge for 20 minutes to firm up a little as this will make the cutting easier. Cut into thin slices and put onto a parchment lined baking tray. Pound the rosemary in a mortar with a pinch of sea salt and sprinkle a little of this onto each biscuit. Cook for 13-15 minutes until golden on top. Cool on a wire rack where they will crisp up. Makes about 25.